Are you looking to connect TrustPulse to software with which we don’t have a native integration? Our Zapier integration allows you to connect TrustPulse to Zapier’s 5000+ apps! Here we’ll show you how to set up TrustPulse as an action in Zapier to start connecting.
Here are some things to know before you begin:
- Learn how to get started with TrustPulse using these guides.
- Learn how to add, edit and delete a site on TrustPulse with this guide.
- Before getting started, you’ll need to either create a new campaign or edit an existing campaign. Check this guide for more details.
- It is recommended that you have created a Zapier account and you are logged into your Zapier account in the same browser as that of your TrustPulse account before you start.
Step 1 – Create a TrustPulse Campaign for the Zapier Integration
1. Following the steps that are listed in this guide, create or edit a campaign.
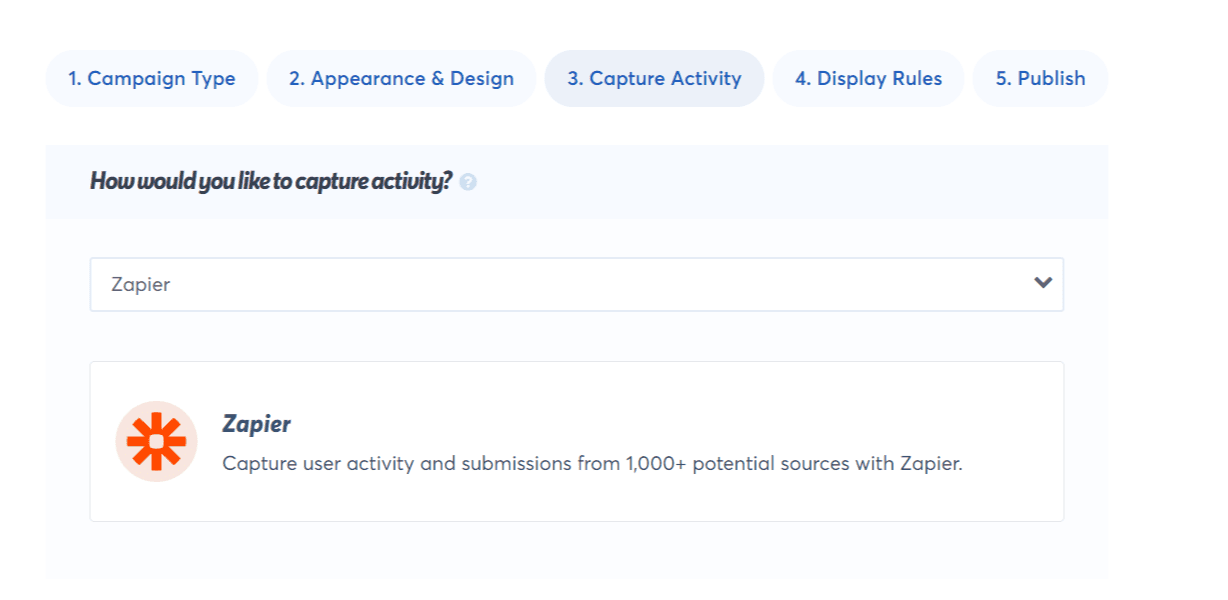
2. In the Capture Activity settings of the guide, set the How would you like to capture activity? option to Zapier.
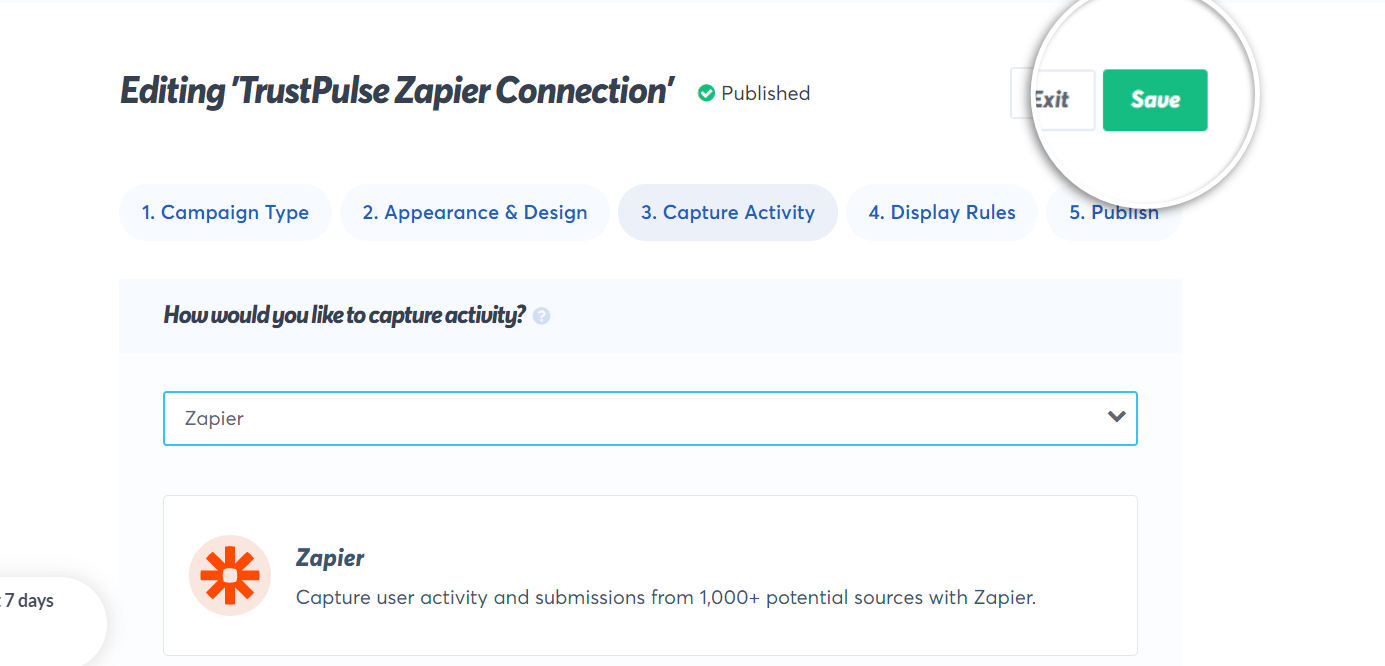
3. Click on Save and return to your dashboard.
Step 2 – Configure the Zapier Integration
In Zapier, create a new zap and choose the trigger that you want to use for your TrustPulse campaign. For example, you can create a trigger for Shopify or WooCommerce that fires when someone makes a purchase. You could also connect to your email service provider so that it fires whenever someone subscribes to your email list.
In this example, we are going to use a Google Sheets trigger that fires whenever a new row is added to a specific Google sheet.
NOTE: TrustPulse is an action-only app. This means while you would find us in the search bar, you cannot start a Zap with TrustPulse as it does not have any triggers.
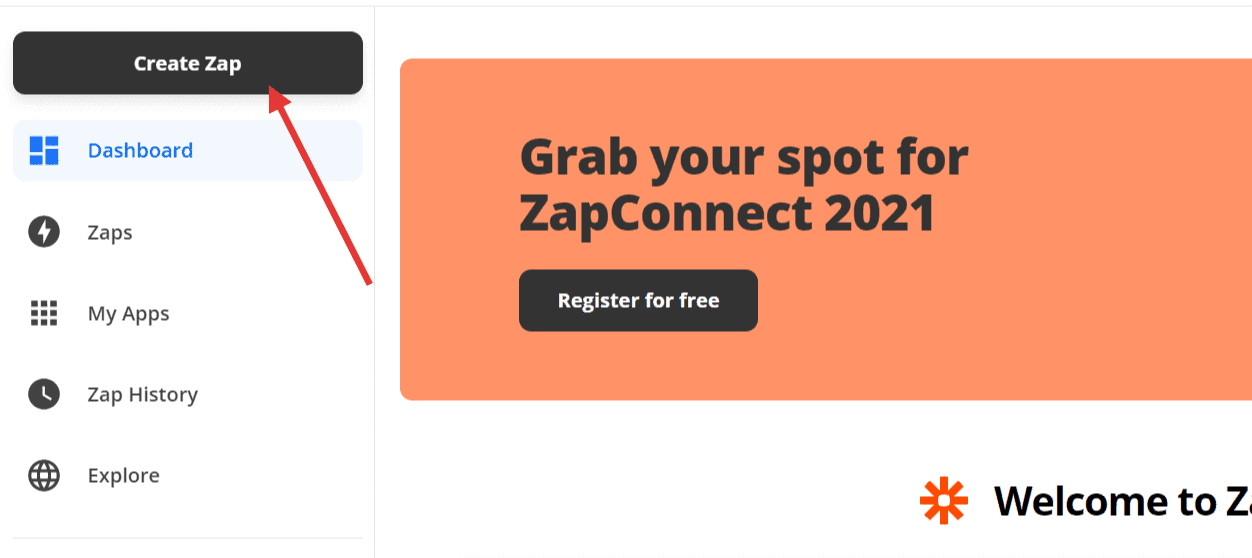
1. From your Zapier dashboard, after logging in, click on the Create Zap button.
2. Give your Zap an appropriate name.
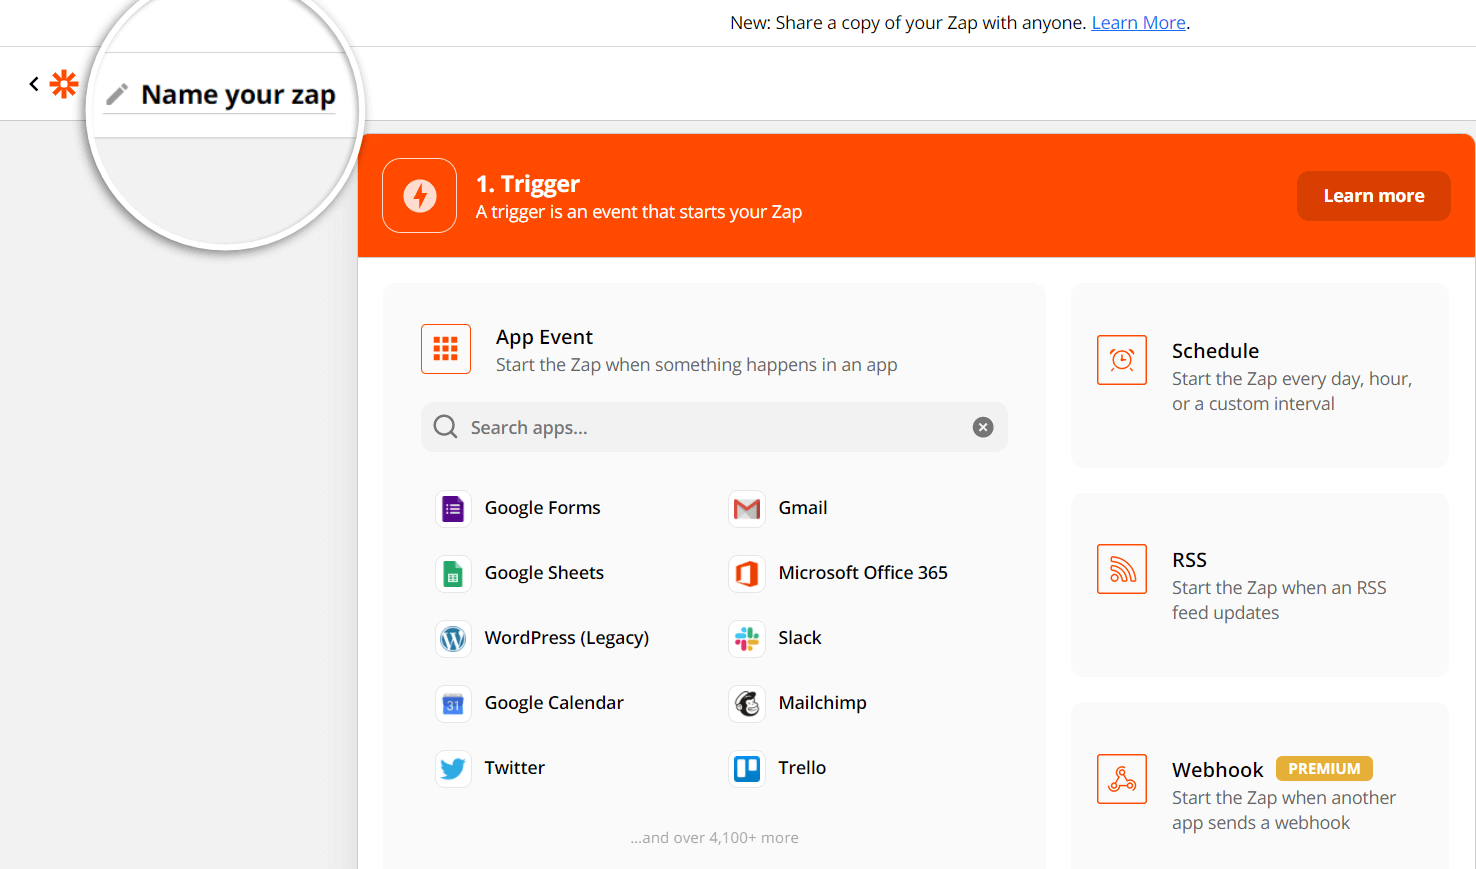
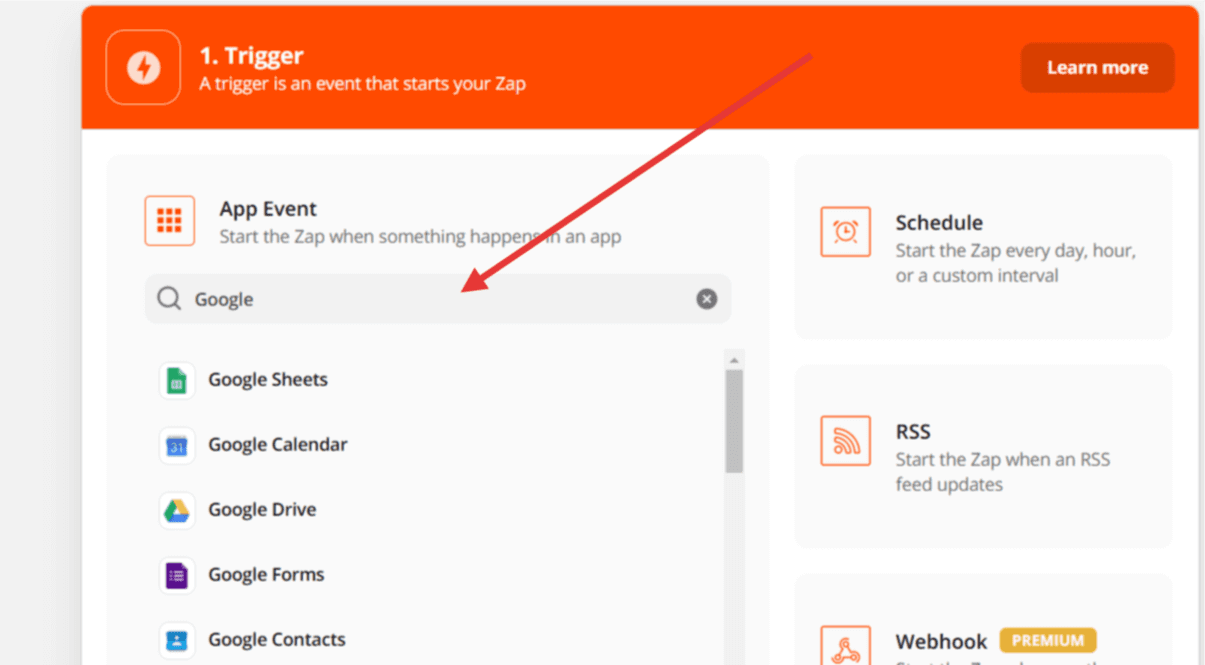
3. Search for your preferred trigger app if it is not visible from the list of apps already present and click on it to set up an appropriate trigger mechanism.
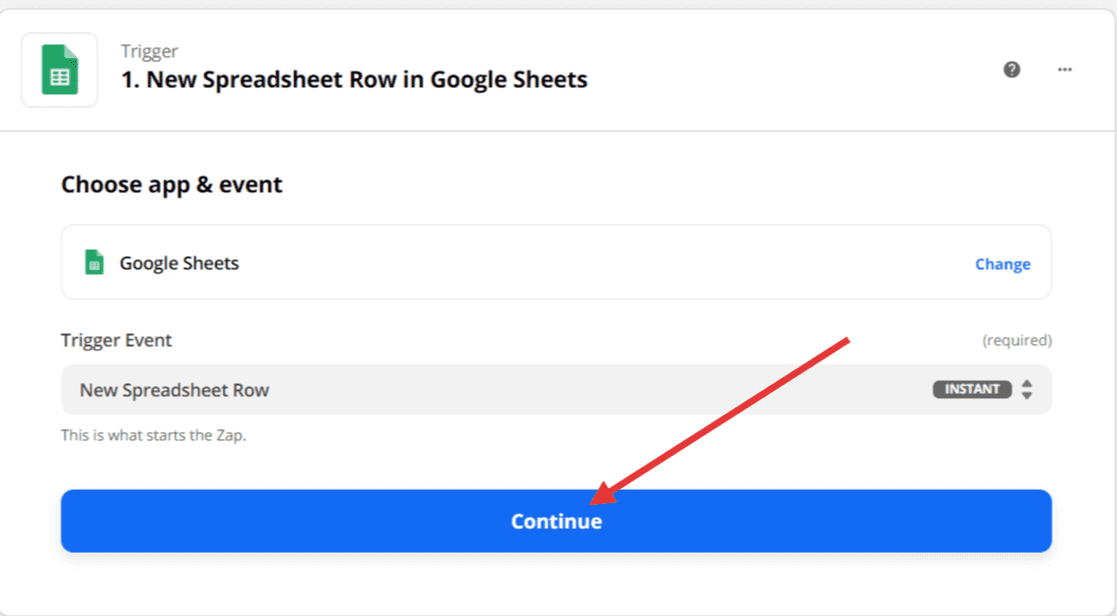
4. Select a trigger event that fits your business needs. In this case, when a new spreadsheet row is added.
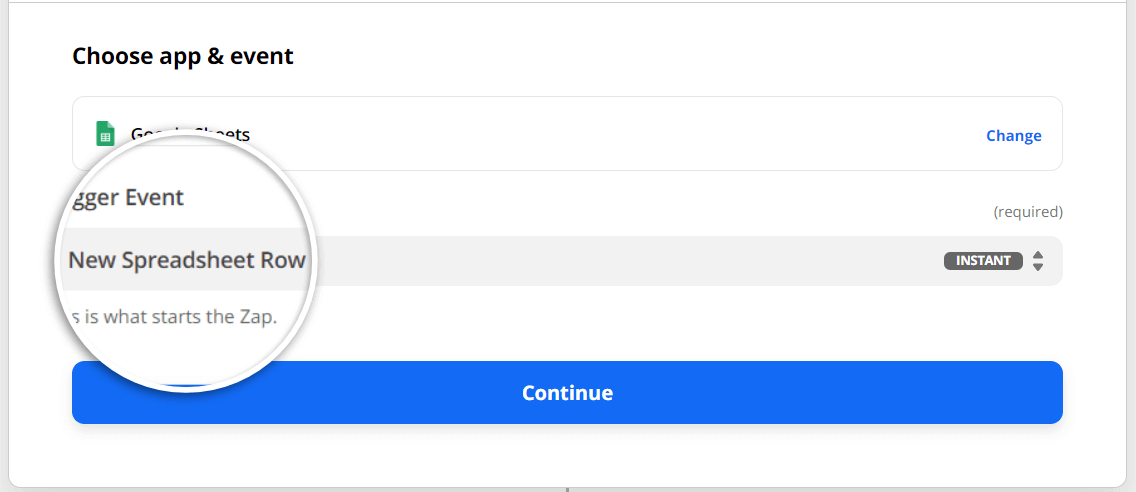
5. Click on the Continue button to proceed to the next step.
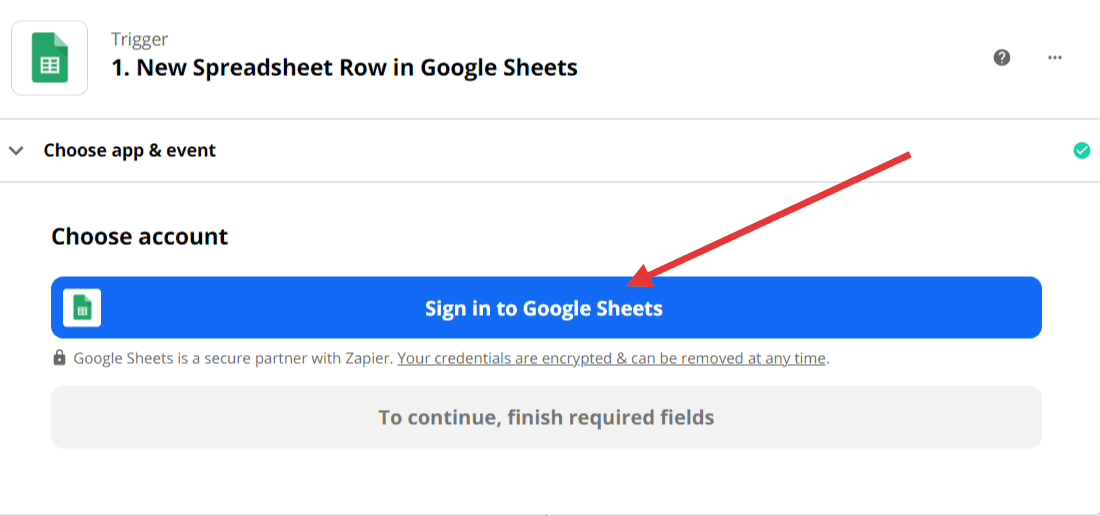
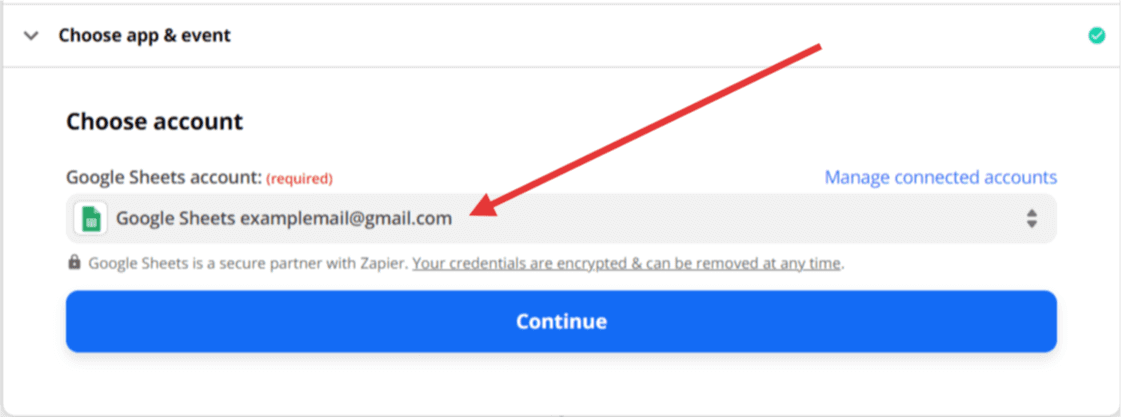
6. Next, sign in to authenticate access to the trigger application that you selected. In this case, Google Sheets, through your Google Account.
7. After allowing and agreeing to terms of information exchange between your personal trigger app (Google Sheets for this example) account and your Zapier account, you would observe successful connection by that account being listed and selected.
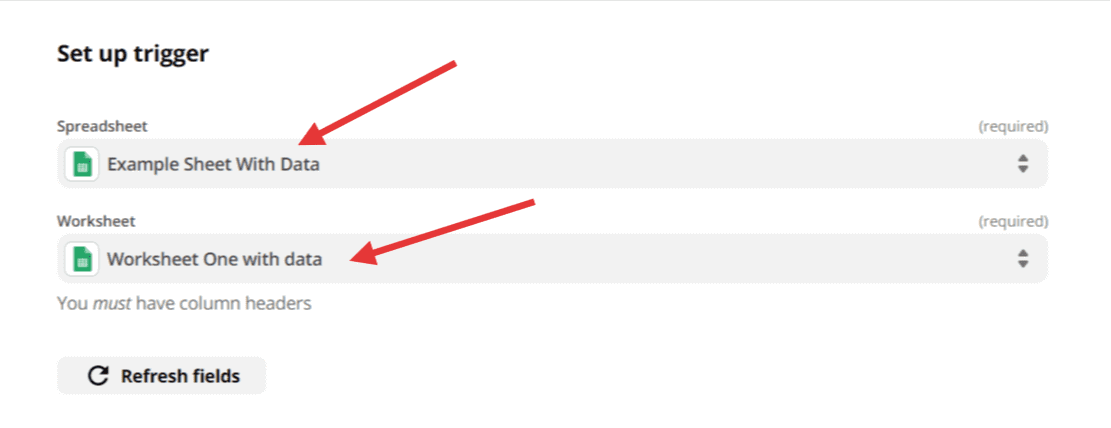
8. Next, proceed to select the data sources available on your connected trigger app account to complete the trigger source selection then click on Continue.
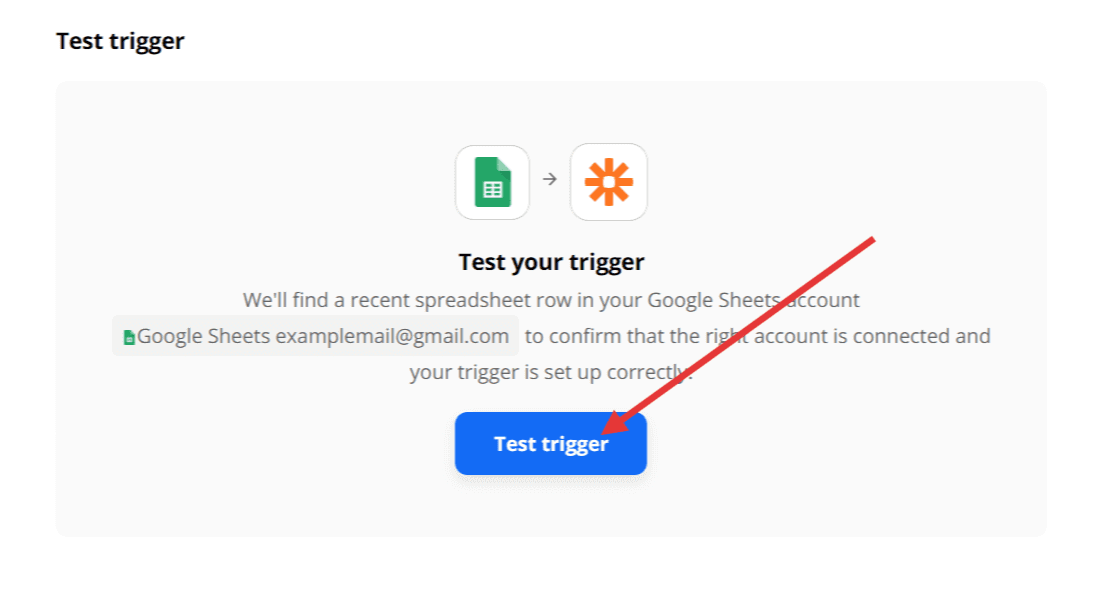
9. In the resulting step, Click the Test Trigger button to ensure that a proper authentication happened.
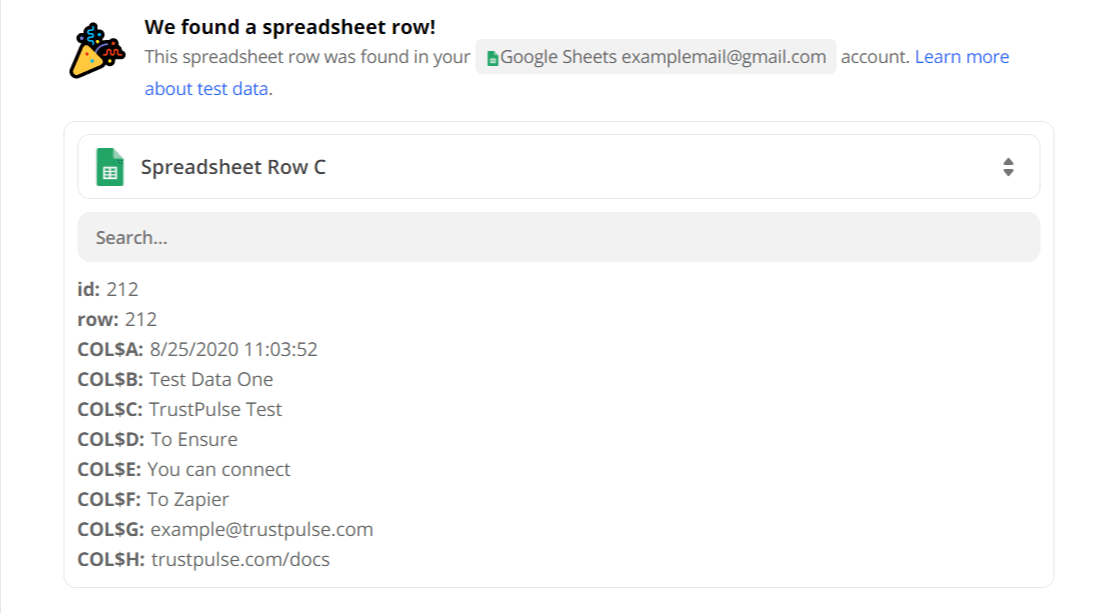
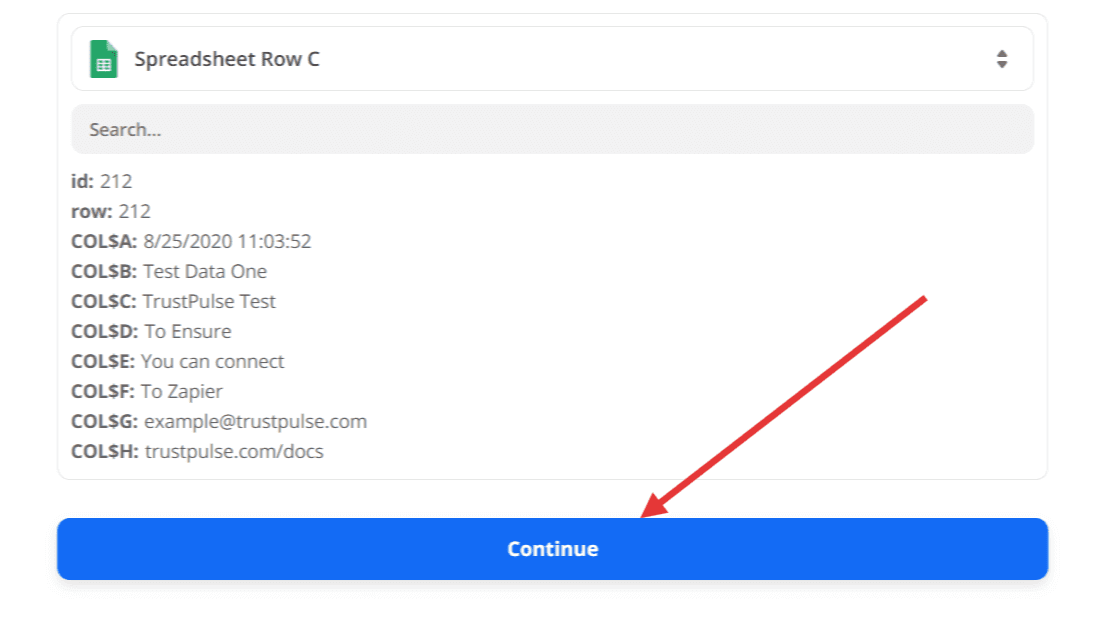
10. A sample piece of test data would be pulled from your selected trigger app account data source, inspect it to be sure that it represents what is actually on your account.
11. Click the Continue button after you have confirmed the test data is accurate to move to the Action Application settings.
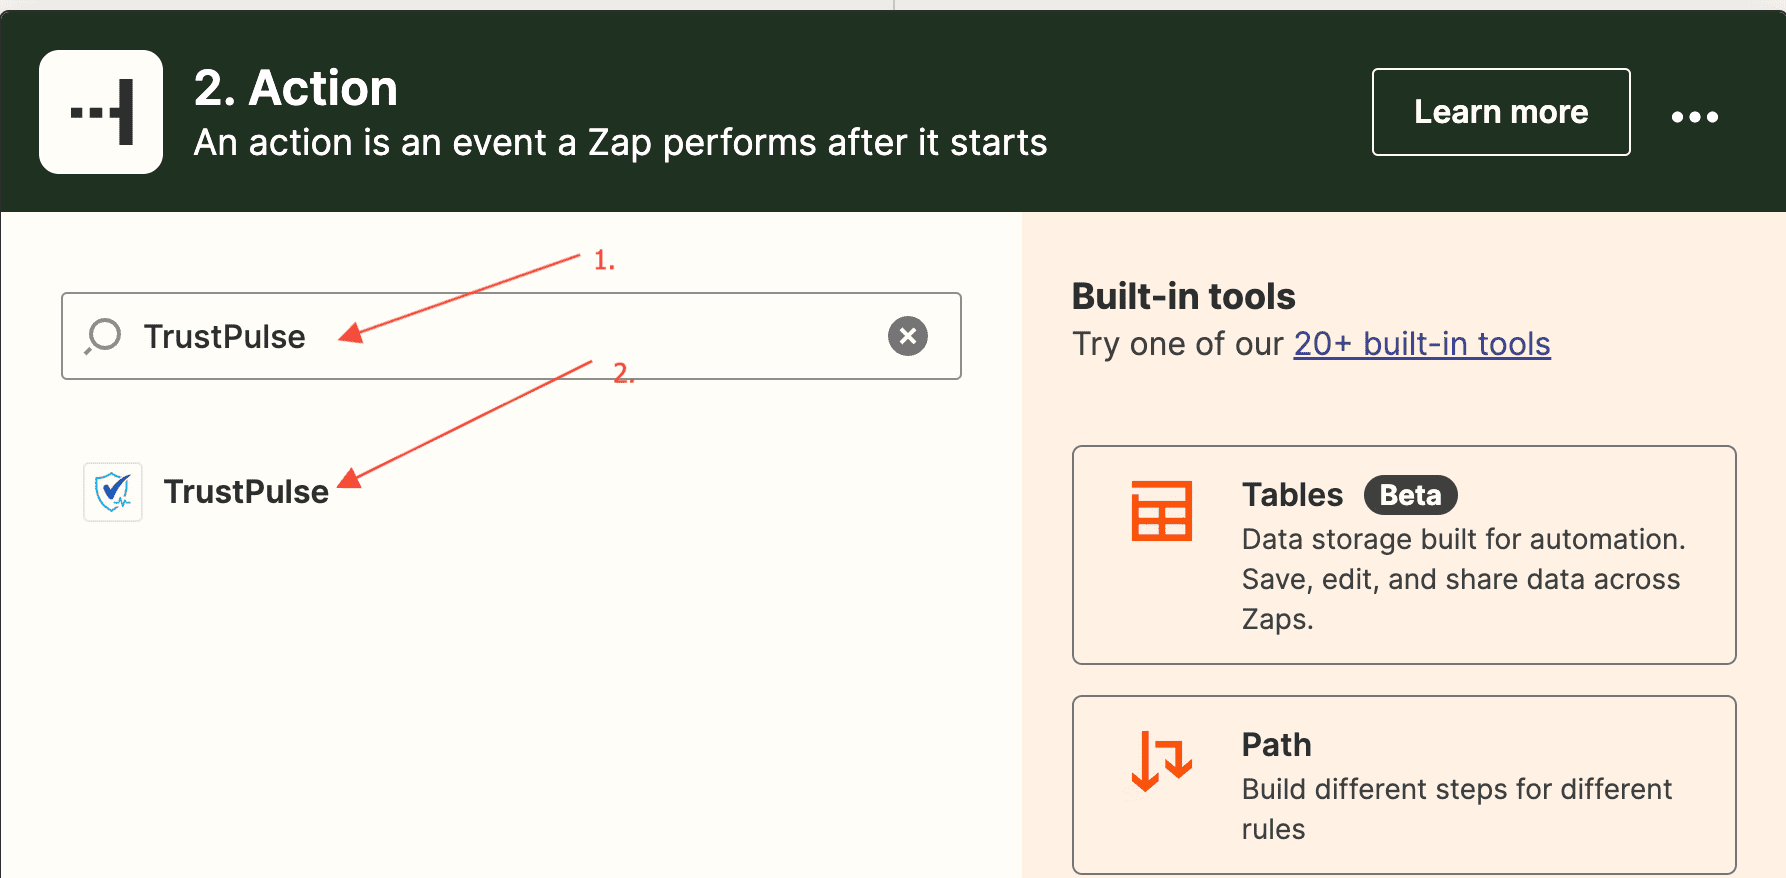
12. Search for TrustPulse in the Action App search bar and select the TrustPulse App.
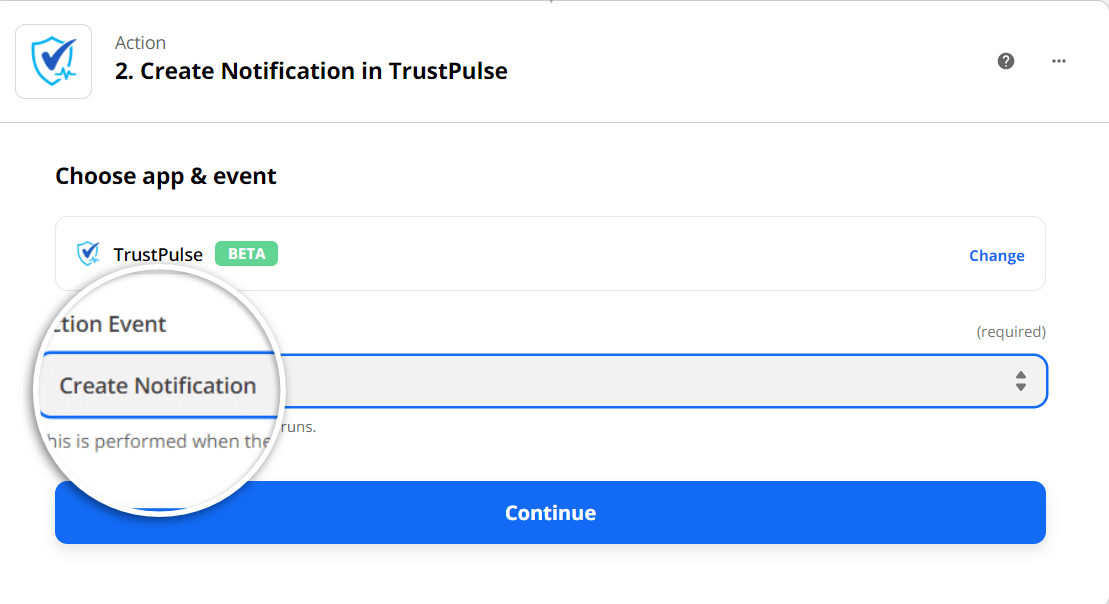
13. Next, select TrustPulse’s only Action Event – Create Notification.
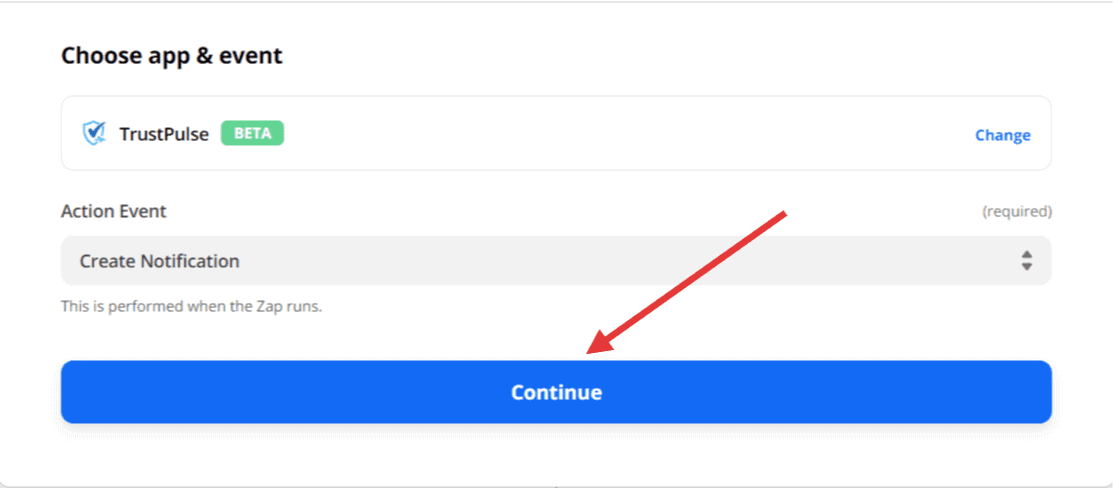
14. Next, click the Continue button.
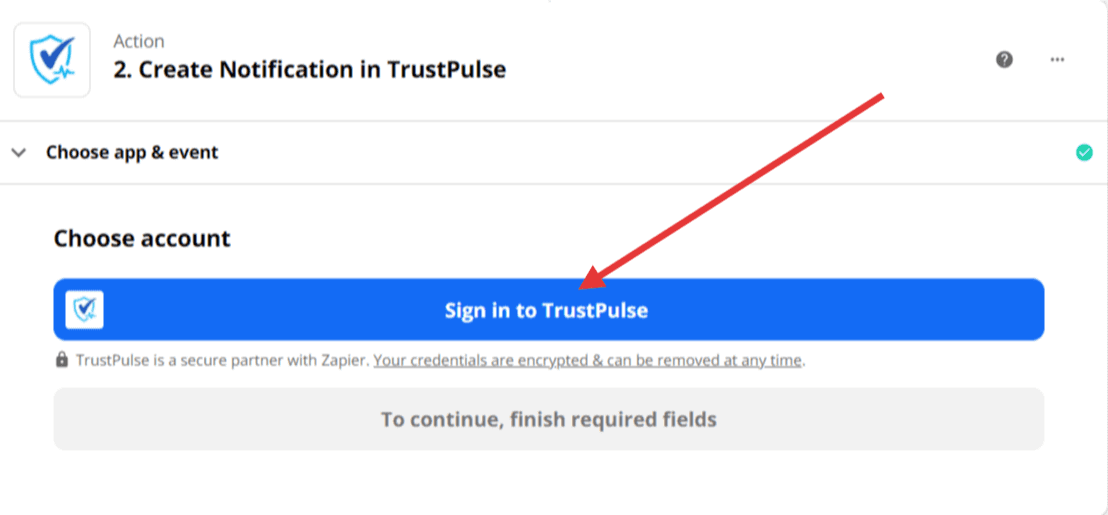
15. Click on the Sign In to TrustPulse button, if you have not authenticated TrustPulse to connect with Zapier before.
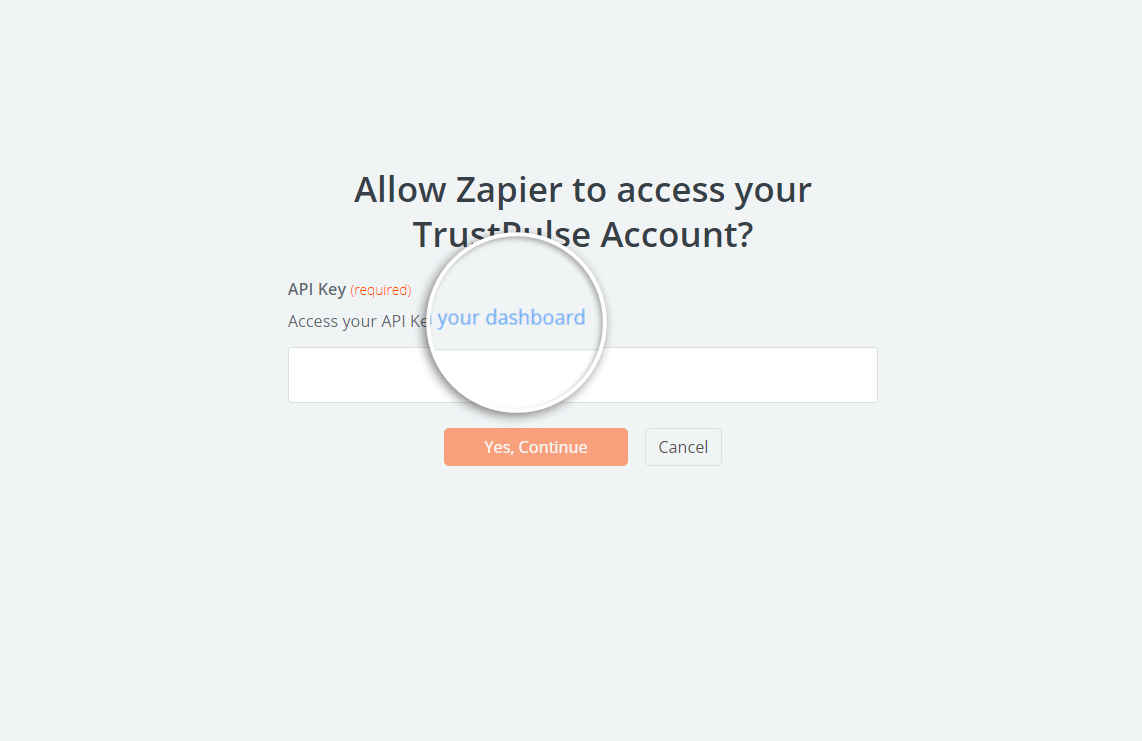
16. From the resulting modal, click the your dashboard link to access your TrustPulse API key to paste it into the provided textbox for authentication.
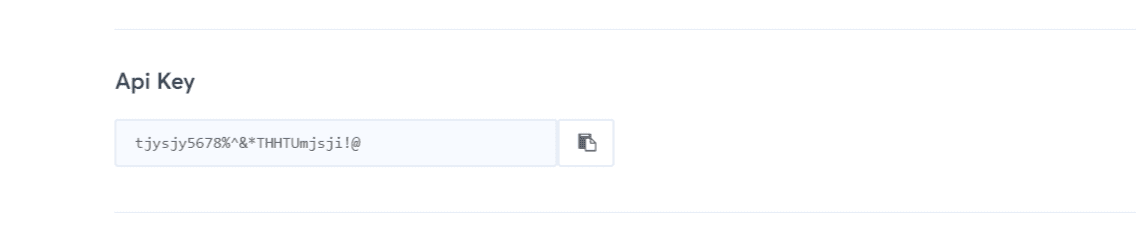
17. Copy the API Key from your TrustPulse dashboard.
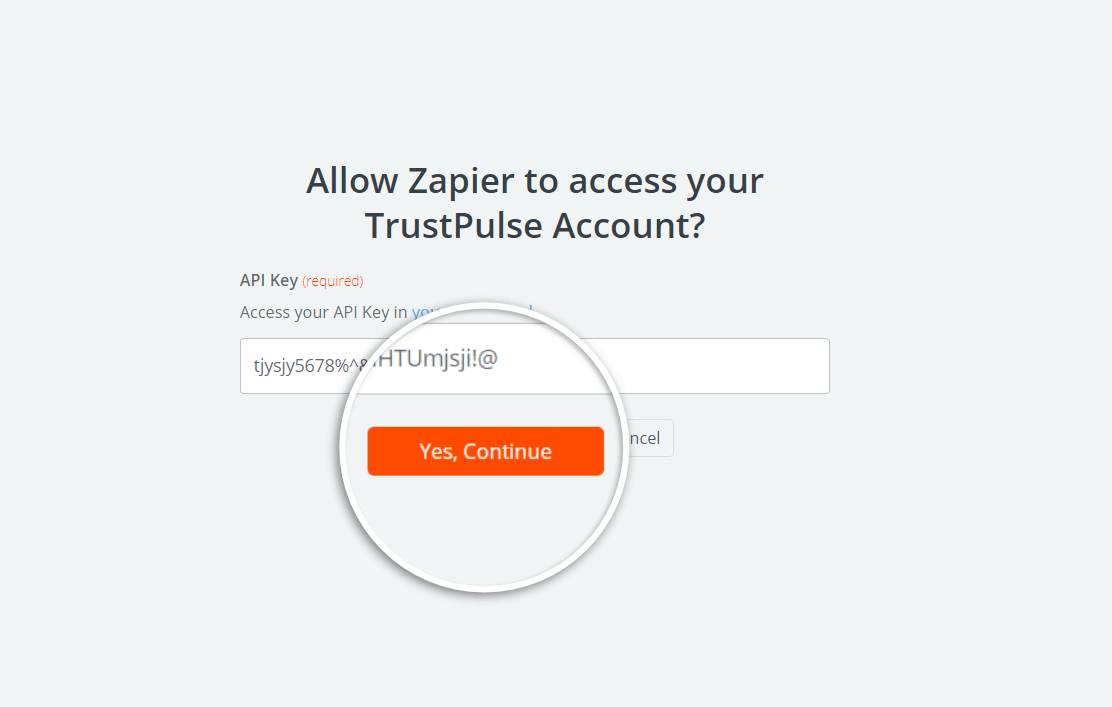
18. Paste in the API Key and Click the Yes, Continue button to confirm the authentication of TrustPulse to your Zapier account.
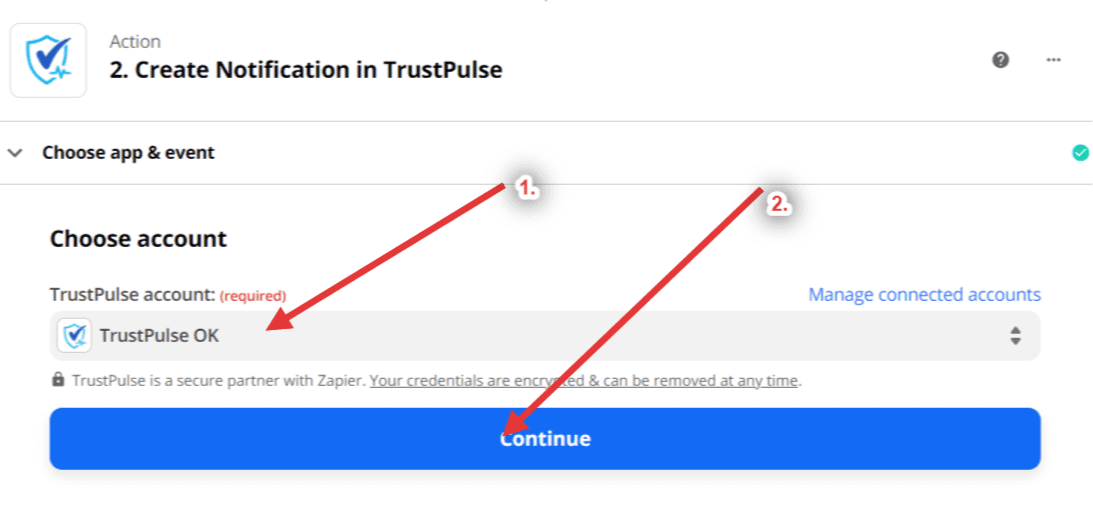
19. Next, on your Zap page, you would notice that TrustPulse is connected by having the connected account selected from the TrustPulse account dropdown. Click on the continue button after this is confirmed.
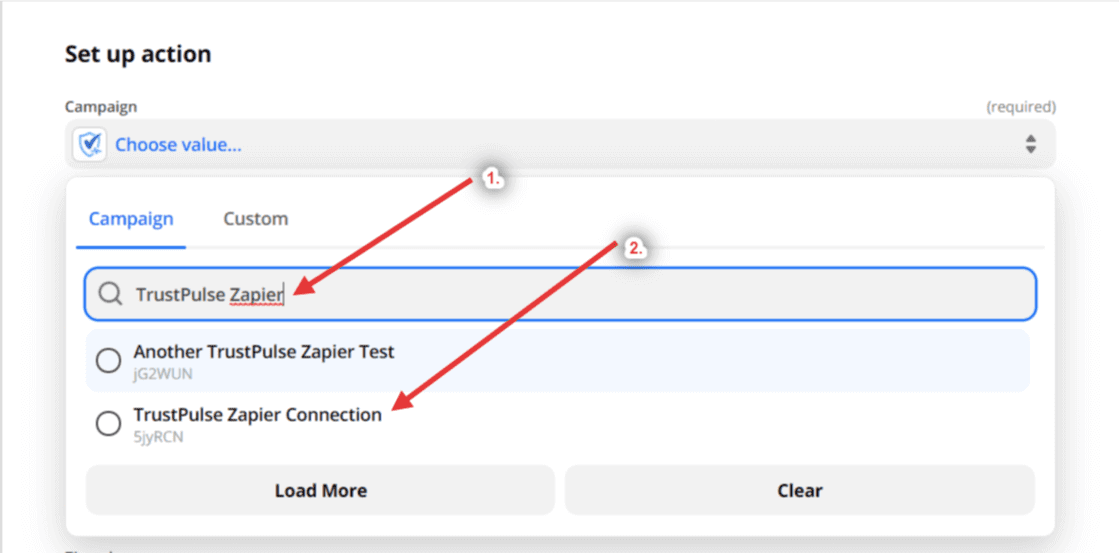
20. Next, select from the list of campaigns from your connected TrustPulse account. You can search for the campaign you want the Zap to be connected to. For this example, we would search for the campaign we created in step one, TrustPulse Zapier Connection.
21. Fill in all the required fields and with data that is available from your trigger application.
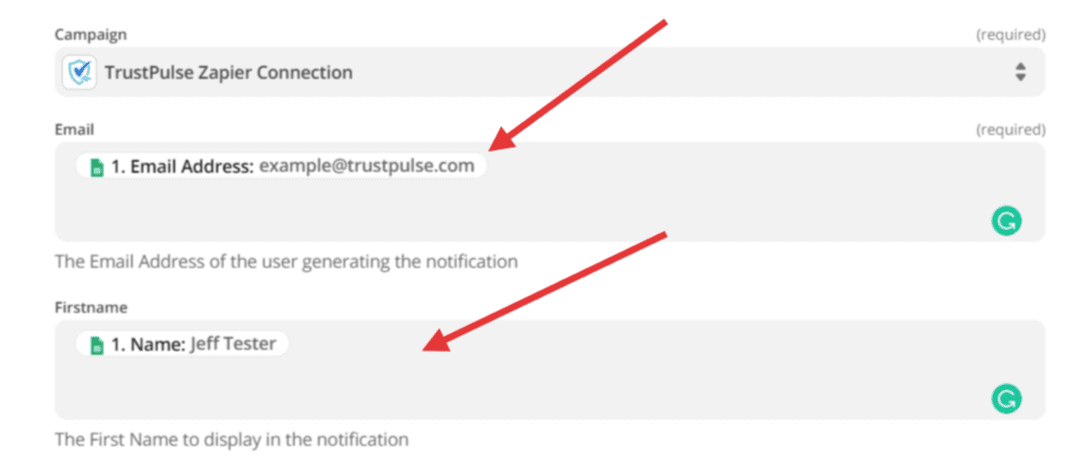
22. Next, click on the continue button

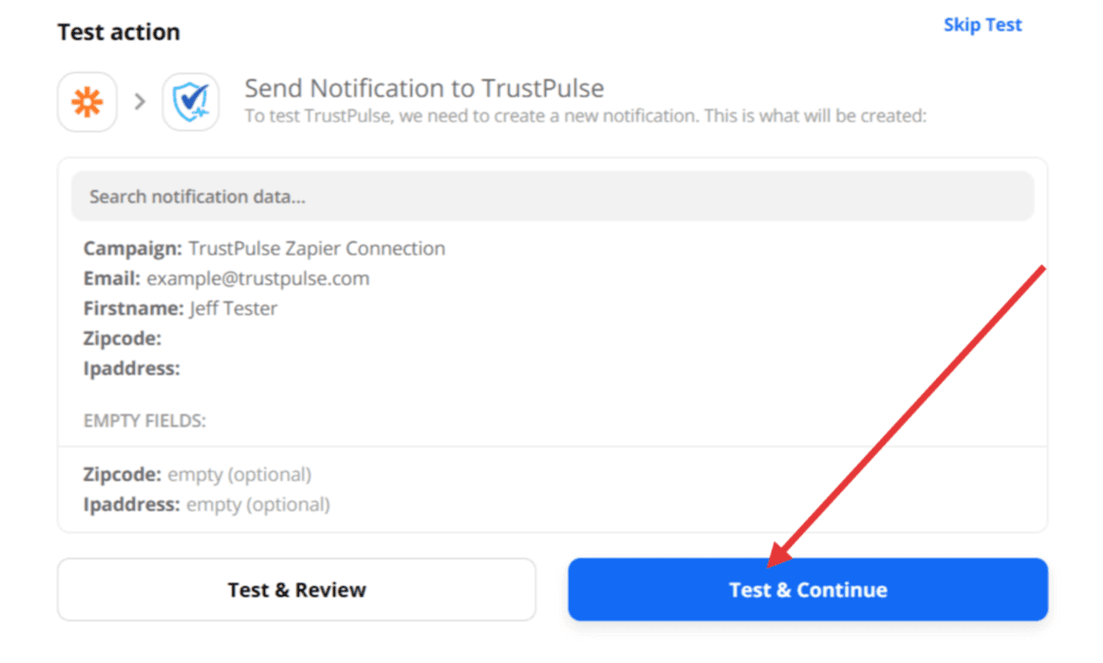
23. Next, click the Test and Continue button
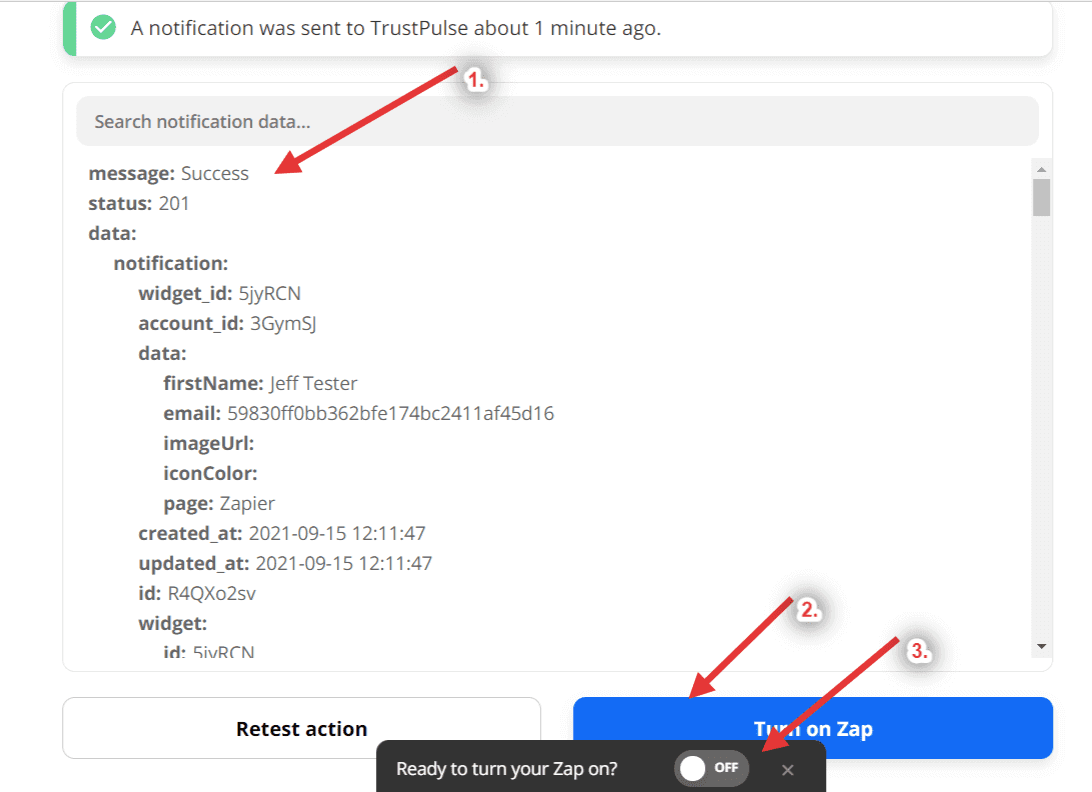
24. After successful confirmation of the connection and data transmission from the Zap to TrustPulse, turn on the Zap using either the Turn On Zap button or the Ready to Turn your Zap On toggle button at the bottom of the page.
That’s it! You’ve connected your TrustPulse campaign to Zapier.
If you haven’t gotten started with social proof then supercharge your website with TrustPulse today!