TrustPulse makes it easy to modify the design of the notification that is displayed on your website.
In this article, you’ll learn how to modify the Default Notification for a campaign so that you can have a Welcome Message visible when no notifications have been captured yet.
Before You Start
Here are some things to know before you begin:
- Learn how to get started with TrustPulse using these guides.
- Learn how to add, edit and delete a site on TrustPulse with this guide.
Creating a Default Notification
1. While creating or editing a campaign, select Recent Activity or On-Fire campaign type. These are the only campaign types that allow you to create a default notification.
2. Next, click on the Next Step button to navigate to the Appearance and Design Tab.
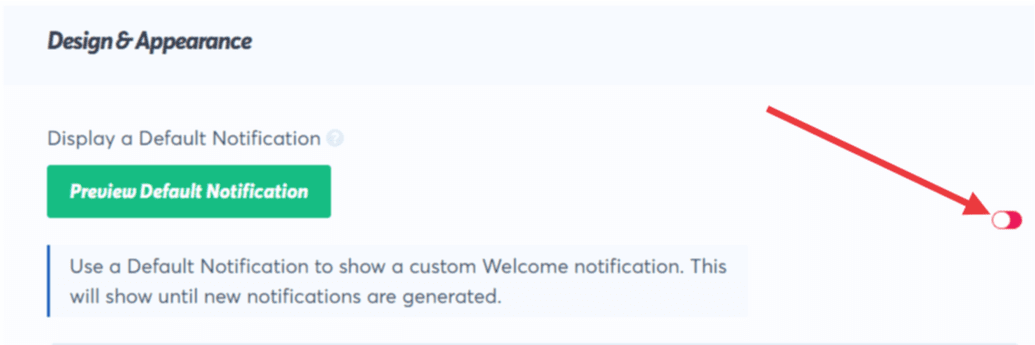
3. Here, you will see Display a Default Notification toggle, which opens the settings for the Default Notification.
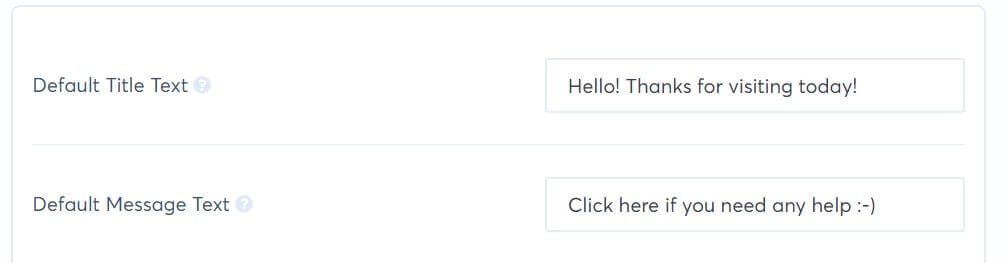
4. Begin customizing by editing the Default Title Text and Default Message Text fields. Since this is a static message what you put here will be what is shown.
5. Next, you can add a link in the Default Message Link field if you want site visitors to visit a page when they click on the notification.

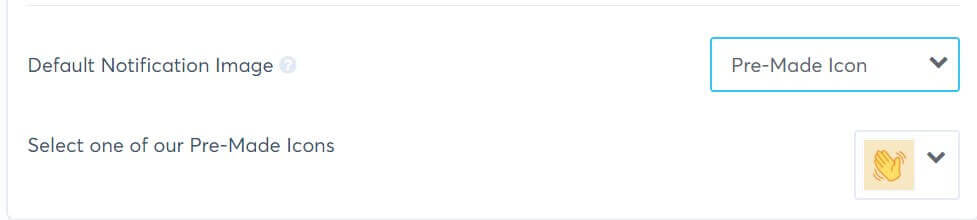
6. The final step is to select a Default Notification Image.
7. You are all set with the creation of your default notification and can continue to create or edit the rest of your campaign.
If you haven’t gotten started with social proof then supercharge your website with TrustPulse today!