TrustPulse can work with any website and makes it easy to connect directly to your WooCommerce store.
In this guide you’ll learn how to integrate TrustPulse with WooCommerce to create purchase notifications that you can show for social proof notifications.
- Create a Campaign
- Authorize TrustPulse to connect with WooCommerce store
- Recording Your WooCommerce Check-out Events
- Troubleshooting
Before You Start
This guide assumes you already have WooCommerce and TrustPulse plugins installed on your WordPress website. You also need to be on the TrustPulse Pro Plan or higher.
Create a Campaign
See this guide on creating and editing your campaign for a step-by-step walkthrough if this is your first time creating a campaign.
Authorize TrustPulse to connect with WooCommerce on your Site
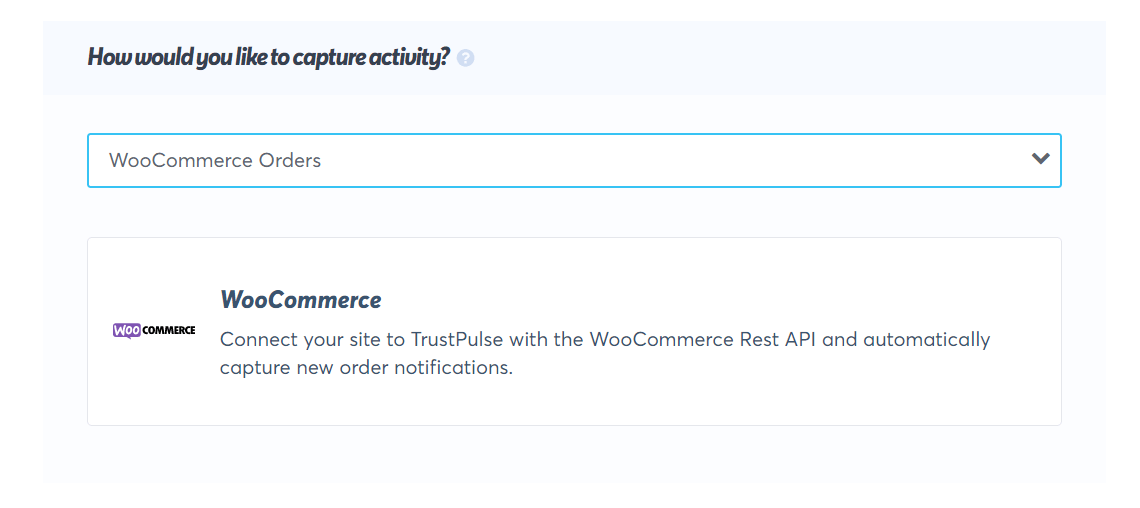
While editing your campaign, go to the Capture Activity settings and do the following:
1. Select WooCommerce Orders from the How Would You Like to Capture Activity? dropdown.
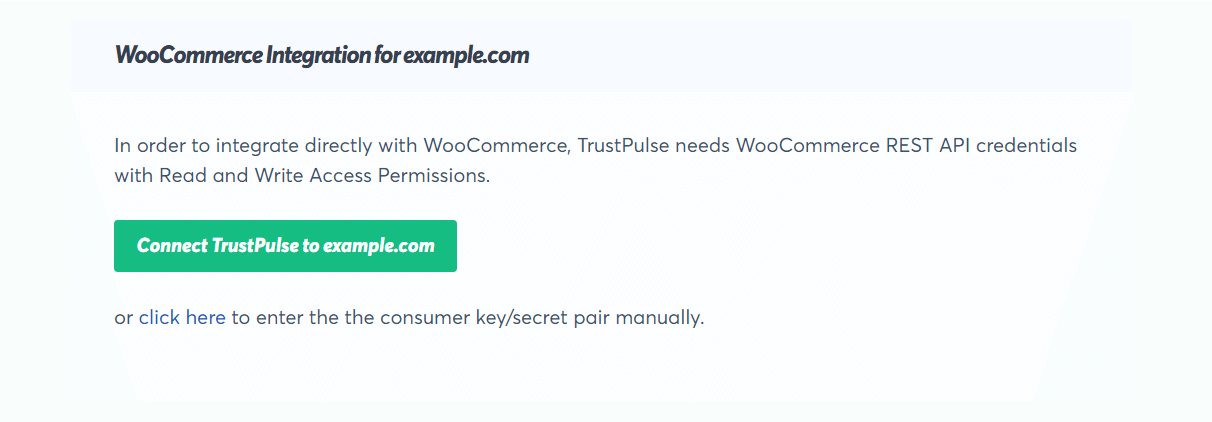
2. Next, click on the Connect TrustPulse to your website button to launch the connection window.
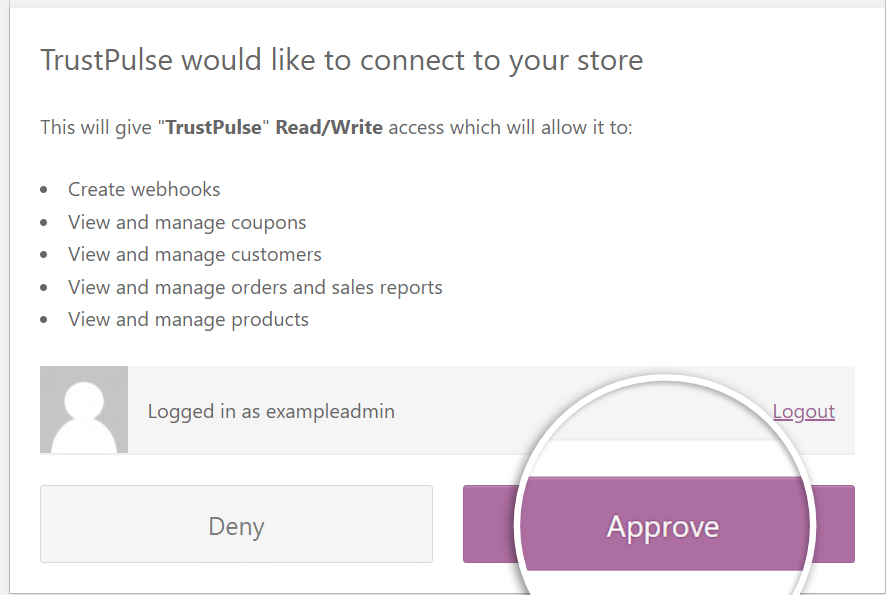
4. Approve the new connection so that your TrustPulse campaigns will be able to create a webhook for new order notifications.
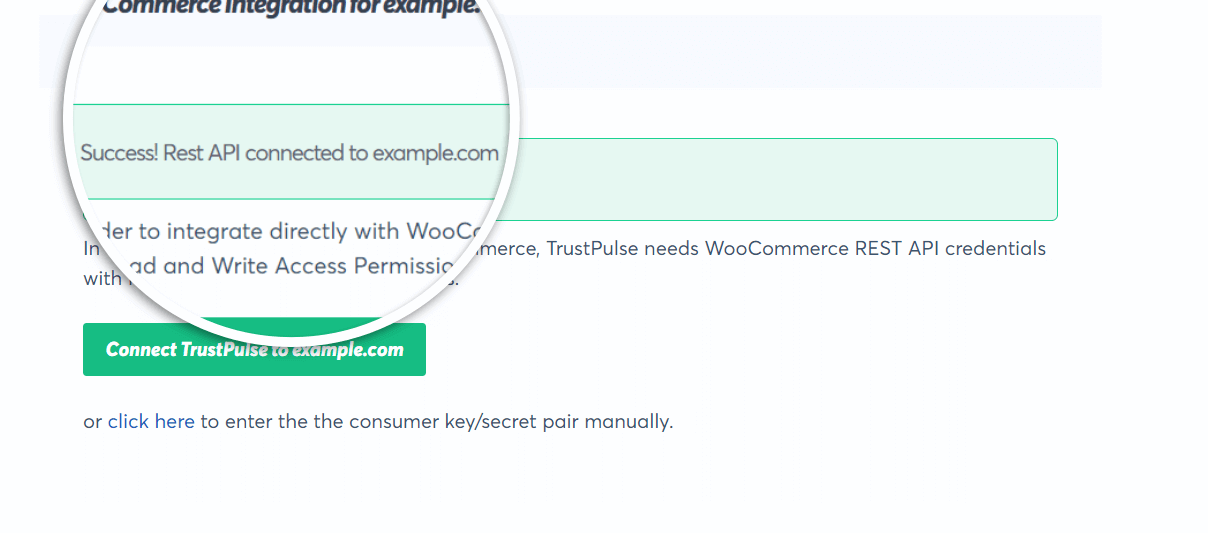
5. After clicking on Approve, the authorization window will close and you will see a Success message for the new connection.
6. Now that your store is connected you can click on the Create new webhook button. This ensures that each time an order is created a notification is created for this specific campaign.

Customize Your WooCommerce Notifications
1. Next, customize the notification message text. You can use TrustPulse Smart Tags in the textbox for the Message text.
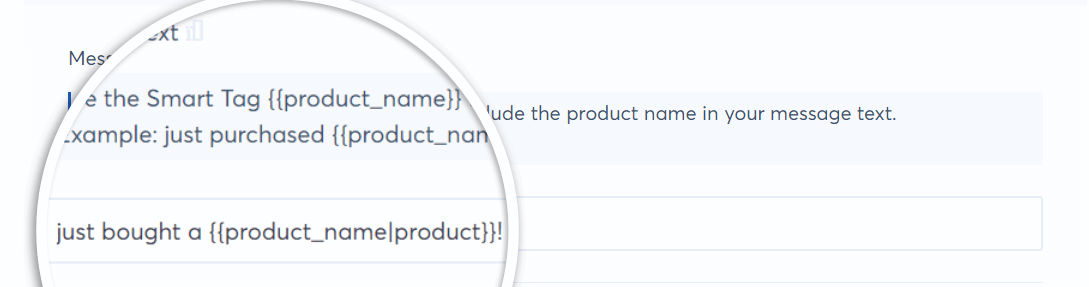
2. For customer orders that contain multiple products you can choose to use the First, Most Expensive, or a Random product from the Single Product Priority (from capture) option. This single product is used in the product_* smart tags and the image used for the notification when enabled.

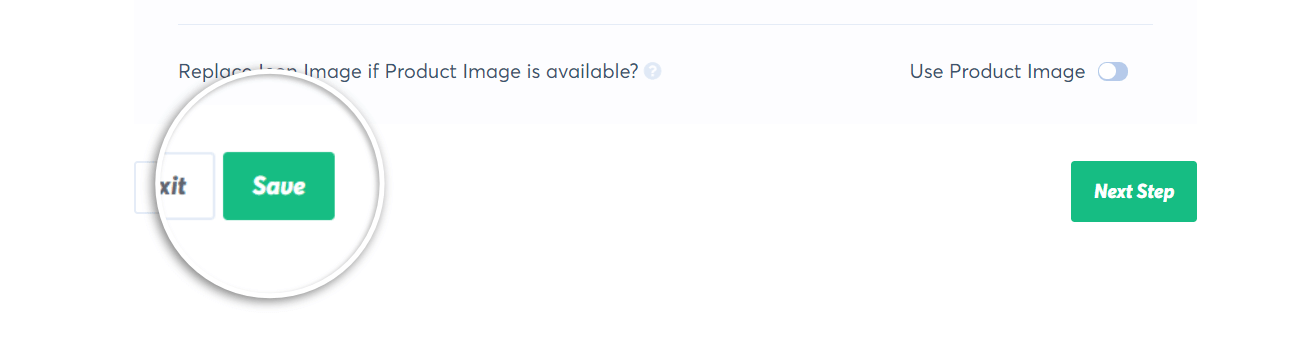
3. By default the image in the notification will be the product purchased for this notification if one was set in WooCommerce. Toggle this off if you want to use the option selected in Appearance & Design. The preview in the builder will not show a product image.
 4. Next, click the Save button.
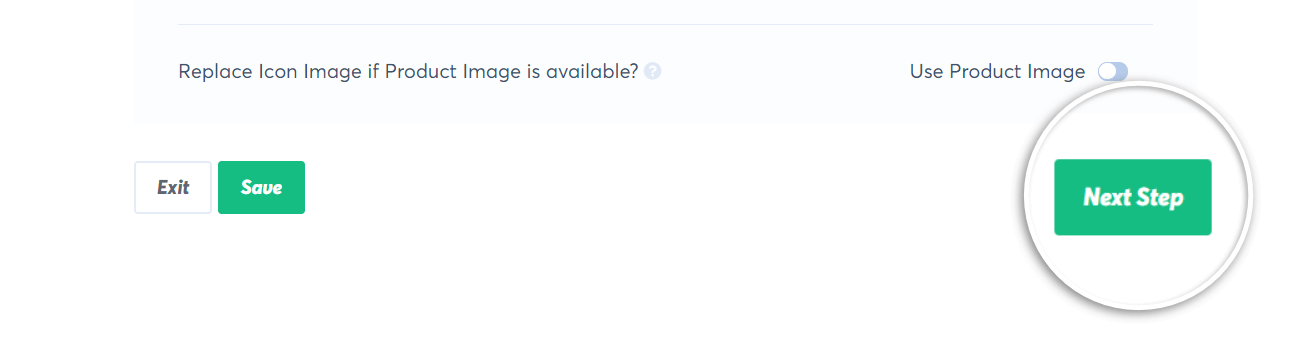
 5. Click on Next Step to customize the Display Rules for this campaign.
6. Finally, Launch the campaign to display notifications from your WooCommerce store.
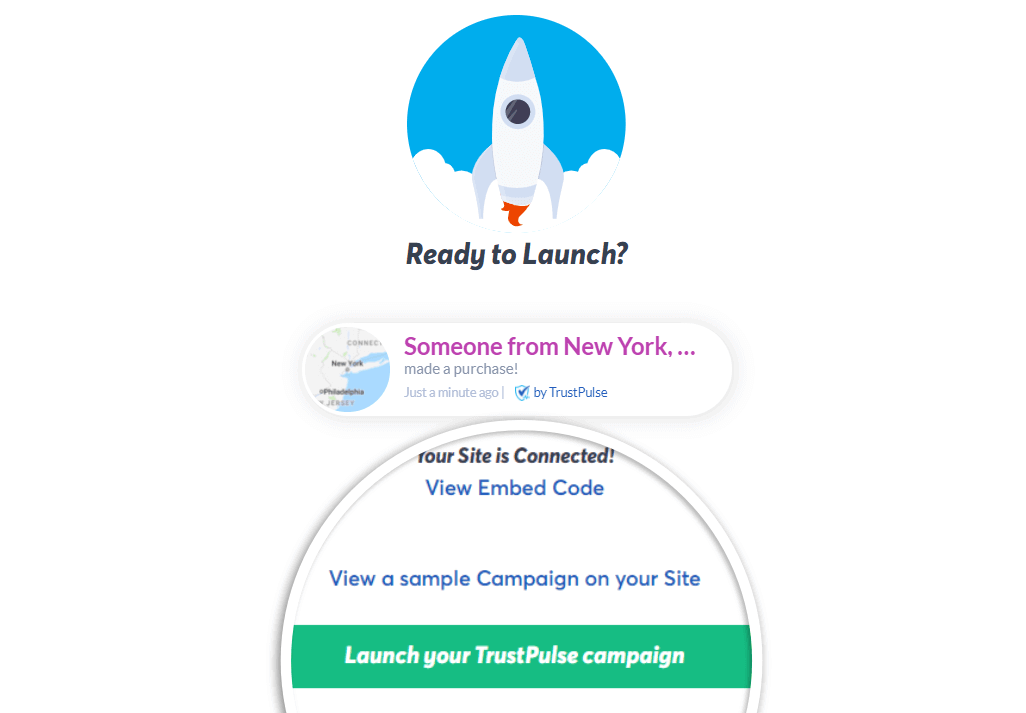
The end result is an easy, automatic notification proving the popularity of your products any time a product is purchased from your WooCommerce store:

Troubleshooting
How can I manually connect WooCommerce with TrustPulse?
You can manually generate your own Keys in WooCommerce following these steps:
1. In the WordPress admin navigate to the WooCommerce > Settings > Advanced > Rest API screen.
2. Select the Add key button.
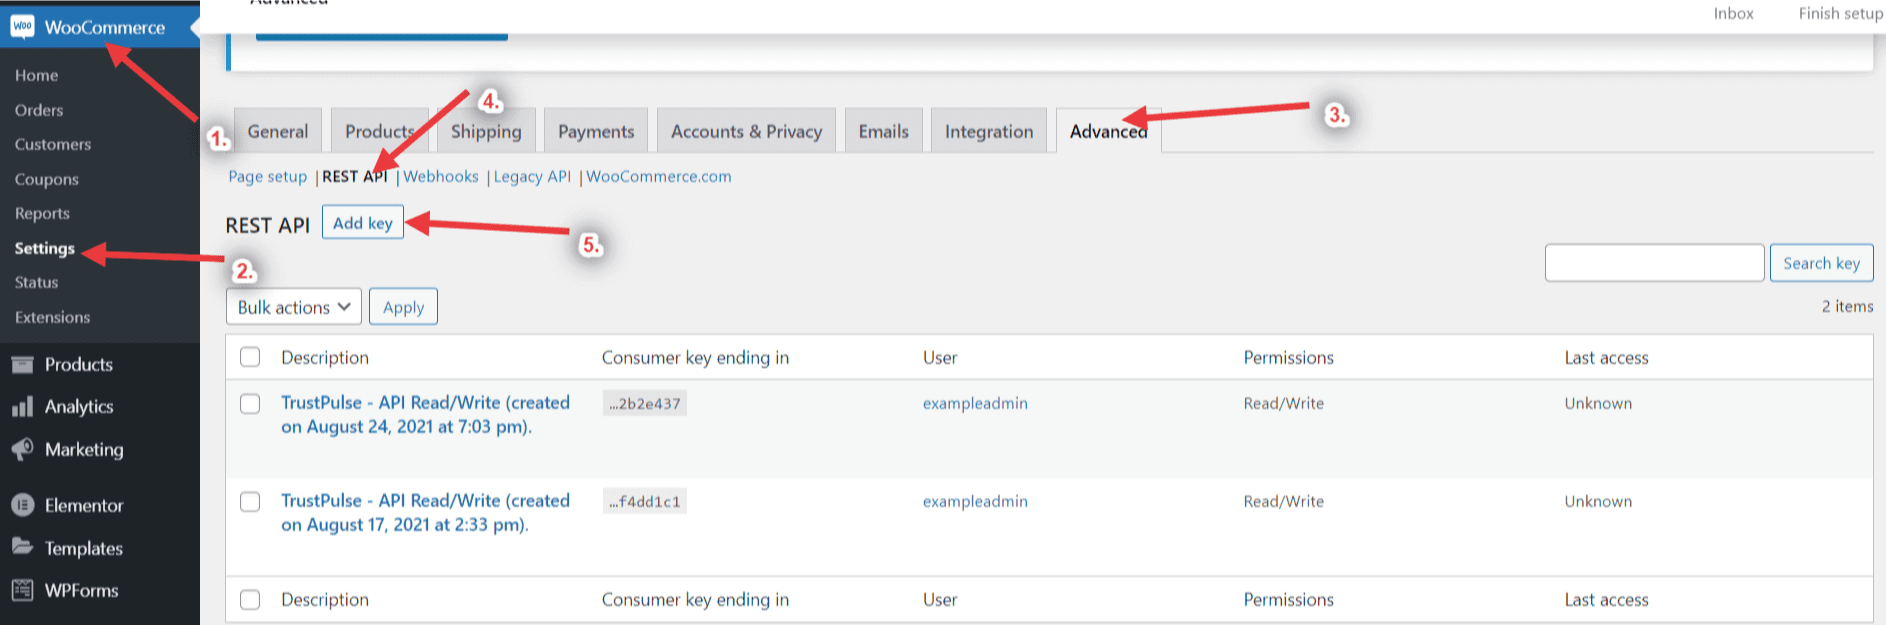
3. Give the Key an identifiable description, we recommend “TrustPulse”, then select the Generate API Key button. Ensure the permissions are set to Read/Write.
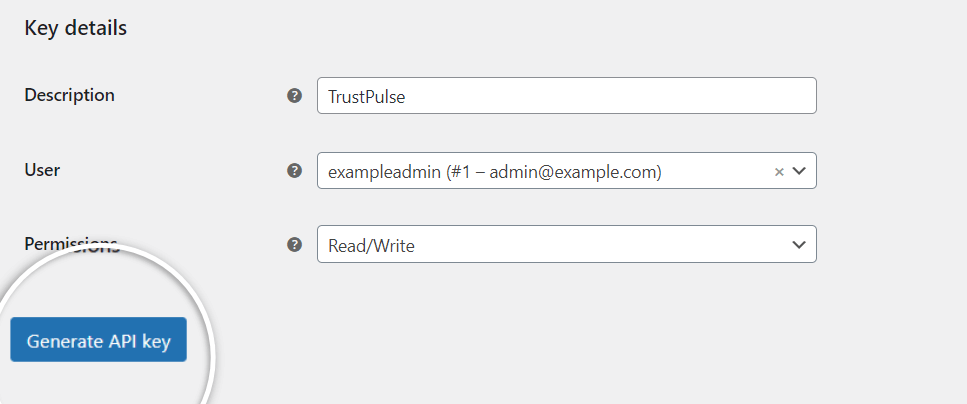
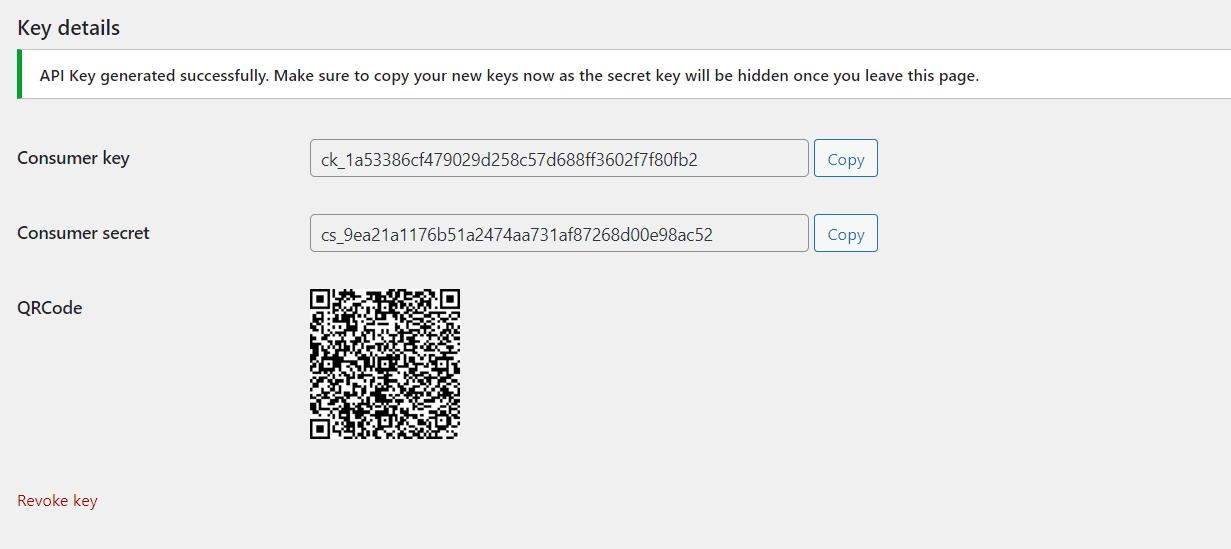
4. You’ll be provided with a Consumer Key and Consumer Secret to add to TrustPulse.
5. Next, Log into your TrustPulse dashboard and create or edit a campaign.
6. Go to the Capture Settings tab, click on the Click Here option below the Connect TrustPulse to website button.
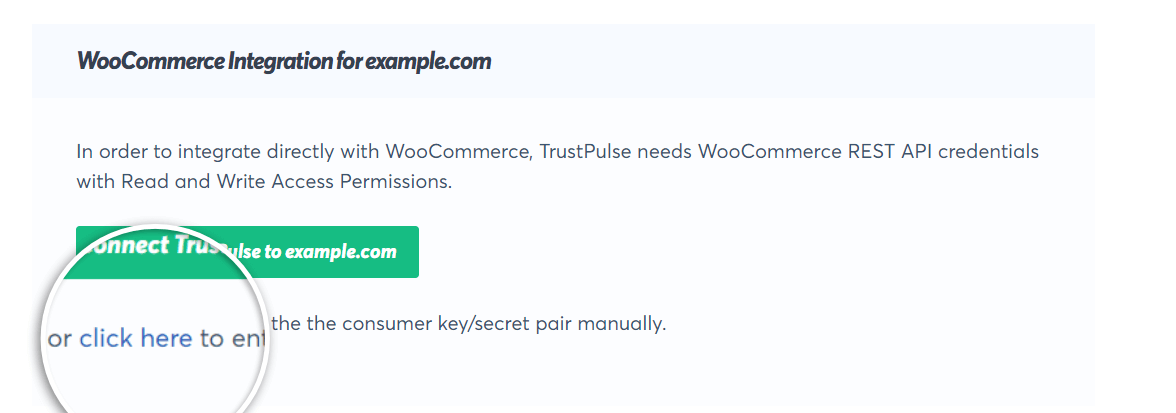
7. Next, add the keys in their respective text boxes and click the Connect button.
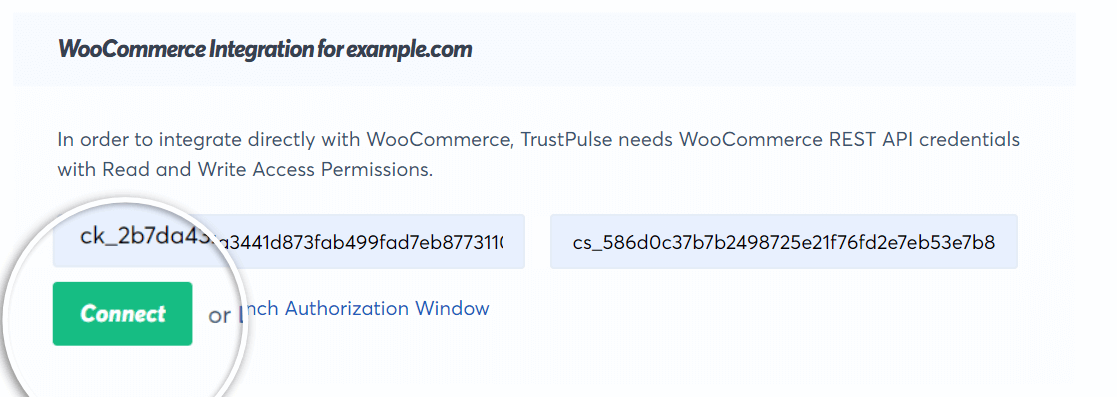
8. You will see a success message on a successful connection.
If you haven’t gotten started with social proof then supercharge your website with TrustPulse today!