Do you want to use FOMO notifications to increase your GetResponse subscribers?
GetResponse is email marketing software that lets you send personalized emails in bulk.
It’s everything you need to run targeted email campaigns to build better relationships with your customers.
And if you want even more subscribers, you should use FOMO notifications.
By the end of this tutorial, you’ll know exactly how to create a FOMO notification that automatically boosts your mailing list.
What is a FOMO notification?
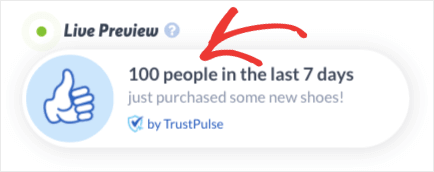
FOMO notifications are small popups that appear on your site to show your site visitors how people are engaging with your site in real-time.
The messages are generated by actual user activity on your site:
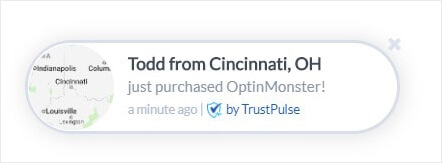
And these tiny alerts make a huge difference.
FOMO marketing has been proven to increase sales.
Why are FOMO notifications so effective?
FOMO marketing works because it’s based on the Fear of Missing Out, the psychological concept that as humans we don’t like getting left behind.
The feeling of slight anxiety when you see posts about someone’s holiday or party on social media?
That’s FOMO.
FOMO notifications trigger your audience’s desire to be kept in the loop.
This is closely linked to social proof, the idea that we’re influenced by the actions of other people.
When you get it right, these are great tools to encourage people to take action.
Put another way, FOMO notifications influence your site visitor’s behavior.
So, what do FOMO notifications have to do with growing your GetResponse subscribers?
Each time a new contact joins your GetResponse list, you can trigger a notification.
This is a real-time alert showing your site visitors that subscribers are joining your list.
If they see people just like them subscribing, they will want to sign up to.
This is closely linked to social proof, the concept that we’re influenced by the actions of other people.
FOMO notifications make it easy to use these powerful marketing techniques.
The best thing about these small, but powerful alerts is they require no effort from you at all.
Once you set up the notification, it’s generated automatically each time you get new signup.
So, it only takes five minutes to generate a constant stream of social proof and FOMO marketing on your website.
Adding GetResponse FOMO Notifications to Your Site
Adding FOMO notifications to your site is super simple.
Today, we’ll use TrustPulse to create this notification in less than five minutes flat.

TrustPulse lets you set up FOMO notifications easily with zero code.
And it’s totally free to get started. The free plan gives you 500 free sessions per month.
Let’s begin.
Step 1: Create Your Campaign
From your dashboard, click Create Campaign.
 On the next screen, you’ll need to:
- Name your campaign
- Assign it to your website
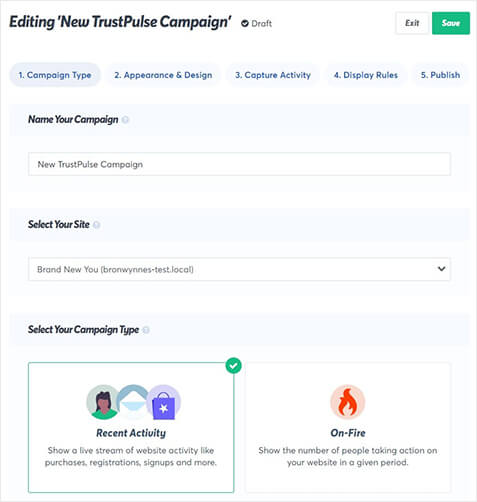
After that, you can select a Campaign Type.
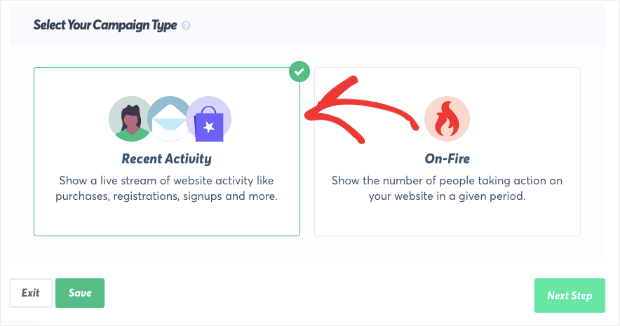
Here, you’ll have two options:
- Recent Activity
- On-Fire
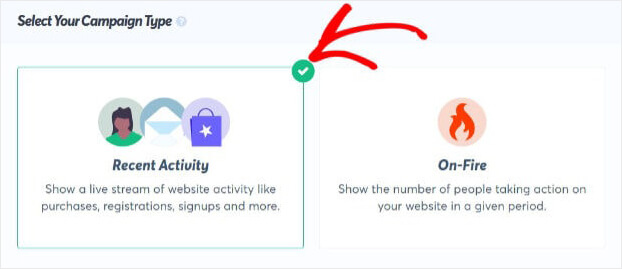
What’s the right campaign for you?
Recent Activity campaigns show a live stream of activity on your site. So, each time a contact is added to your GetResponse account, a new notification is generated. This is great for registrations and signups.
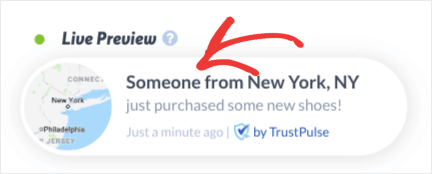
On-Fire campaigns track the number of people who convert on your site over a given period. These campaigns work well for events where you expect a large number of people to take action over a specific time. On-Fire FOMO notifications work well for things like flash sales, pre-orders, and time sensitive offers.
Today, we’ll go with Recent Activity because we want to create a new notification whenever an individual subscriber signs up for our newsletter.
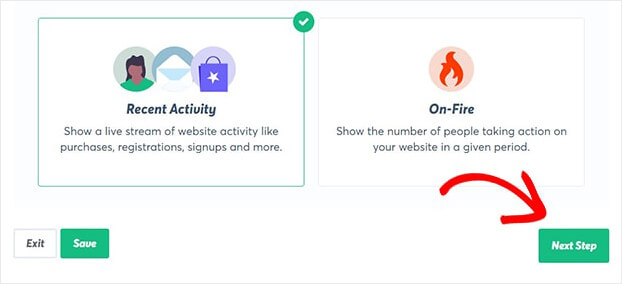
Once you’re done, hit Next Step.
Step 2: Design Your GetResponse FOMO Notification
You can customize everything about your FOMO notification in a few minutes:
- Language: the language your message will be displayed in
- Refer to visitors as: a visitor alias when their actual name isn’t available
- Message text: the copy in your notification
- Message link: the page people will be sent when they click on your notification
You’ll be able to preview any changes in real-time in the bottom corner of your screen.
From here, you’ll be able to check exactly how the notification will be displayed to your site visitor.
All you have to do to modify anything about your notification is:
- Add text to a field
- Choose an option from the drop-down menu
- Toggle a switch
That’s it.
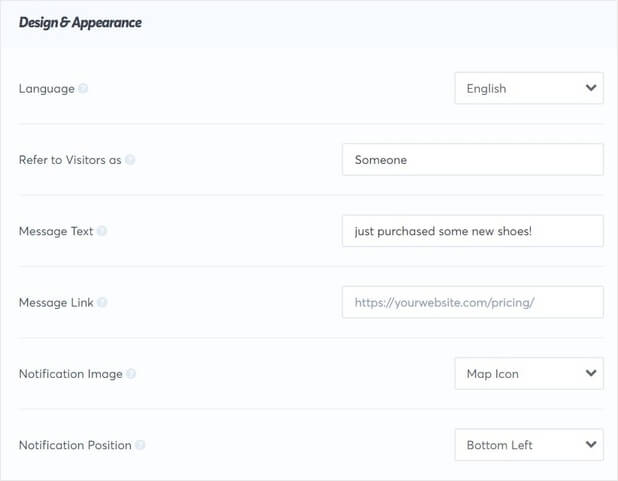
It’s that easy to change your GetResponse FOMO notifications.
If you want to increase subscribers, you might add the link to your signup form on your site. This makes it easy for your subscribers to join your list immediately.
You have plenty of options to design your notification.
- Notification image: choose from premade icons or upload your own
- Notification position: decide where to display the notification on your screen
- Notification corner style: choose from rounded or sharp edges
And more.
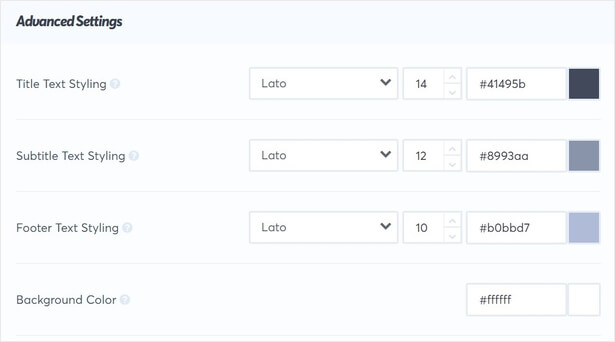
Below those options, you’ll be able to edit the Advanced Settings.
You can adjust the colors and fonts so they match your brand and your website.
Once you’re happy with the design of your notification, it’s time to capture your subscriber activity.
Step 3: Capture GetResponse Subscribers Activity
Now, we’re ready to create the trigger for our campaign.
That is the action that will make your notification appear.
You have two options on this screen:
- AutoMagic
- Zapier
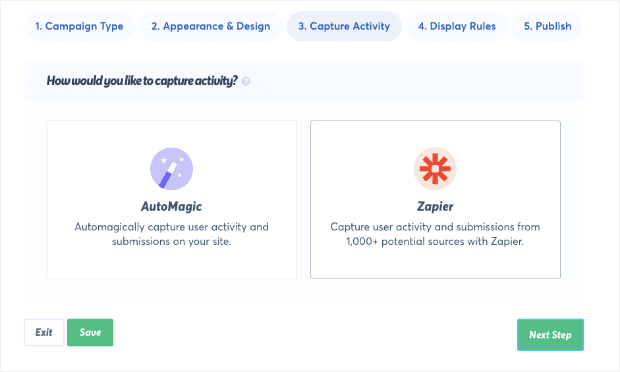
Here’s what they mean:
- AutoMagic: track activity on your site, so it’s great for things like sales and registrations
- Zapier: shows actions from 1,000+ sources
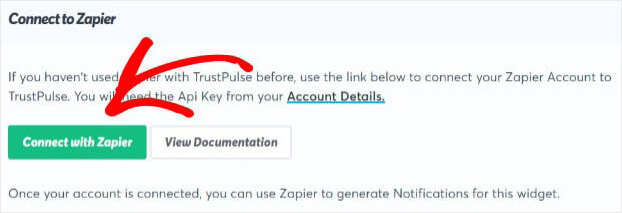
Today, we’re going to use Zapier to connect TrustPulse and GetResponse.
Click Connect to Zapier.
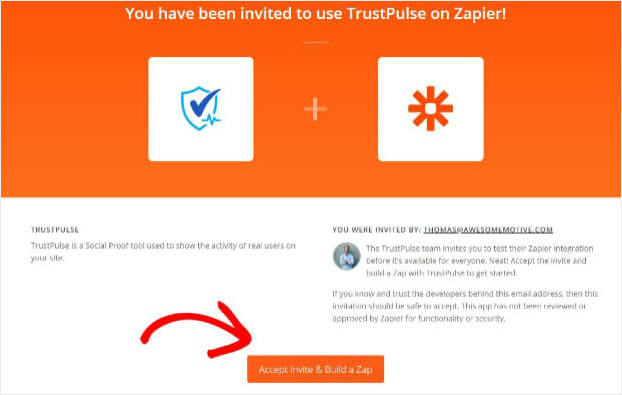
Once you’re in your Zapier account, click Accept & Build Zap.
You’ll now be in your Zapier dashboard.
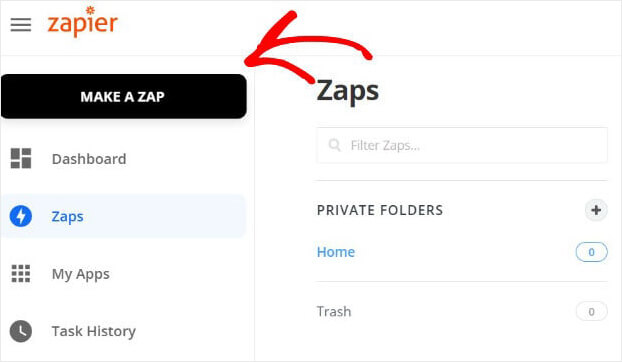
Click Make a Zap.
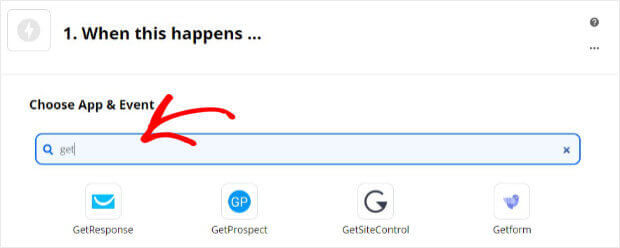
Type GetResponse in the search bar.
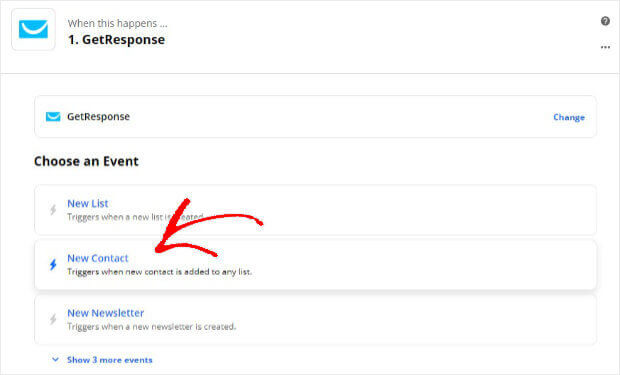
Next, you’ll need to choose the event that will trigger your FOMO notification.
Select New Contact. This means you want to trigger a notification when a new contact is added to your GetResponse mailing list.
The next step is to give Zapier access to your GetResponse account.
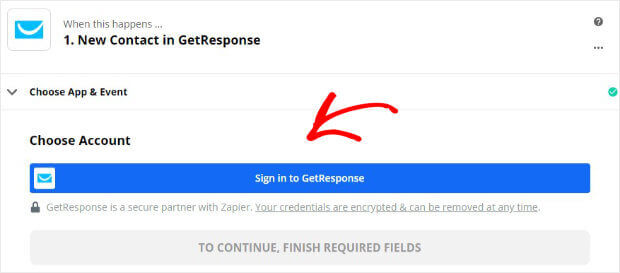
You’ll need to add your API key in the window that pops up.
You can find your API key in your GetResponse account.
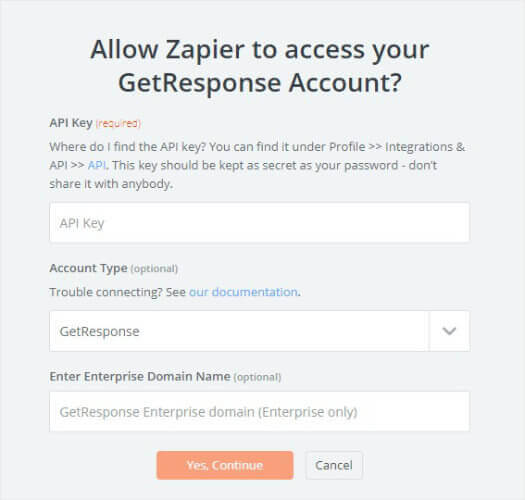
From your GetResponse dashboard, click Integrations and API.
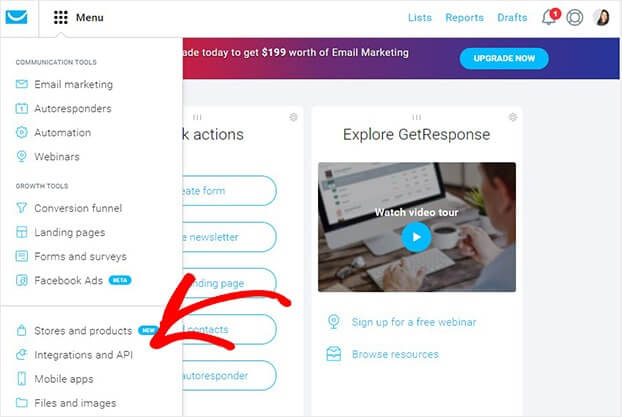
Click API on the next screen.

Select Generate API.
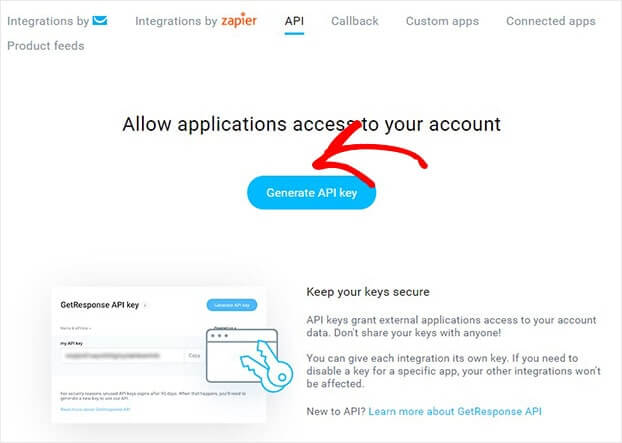
Now, copy the key.

Paste the API key back in the Zapier window.
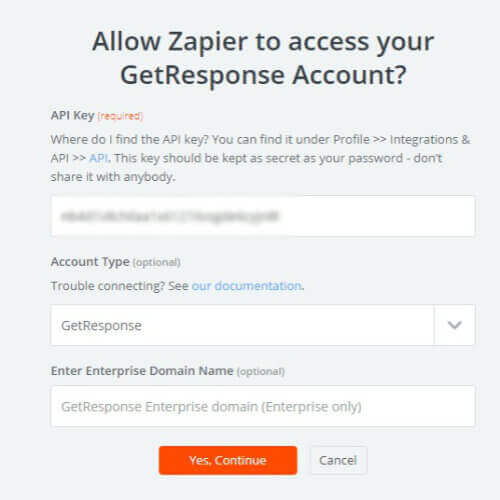
You’ll now be back in Zapier.
Choose the GetResponse list.
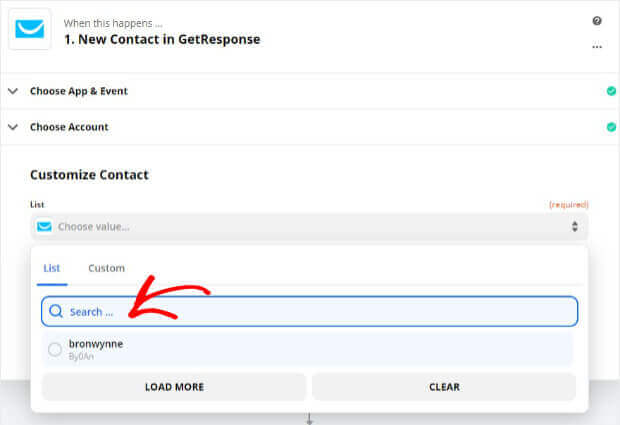
Finally, test your trigger.
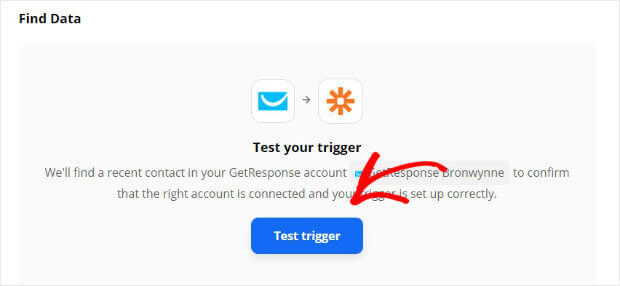
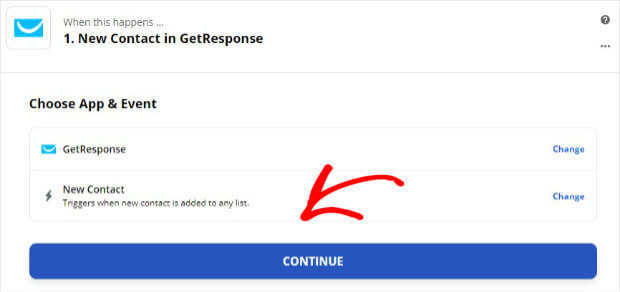
Go ahead and click Continue to connect your GetResponse trigger with TrustPulse.
Find and select TrustPulse from the list of apps.
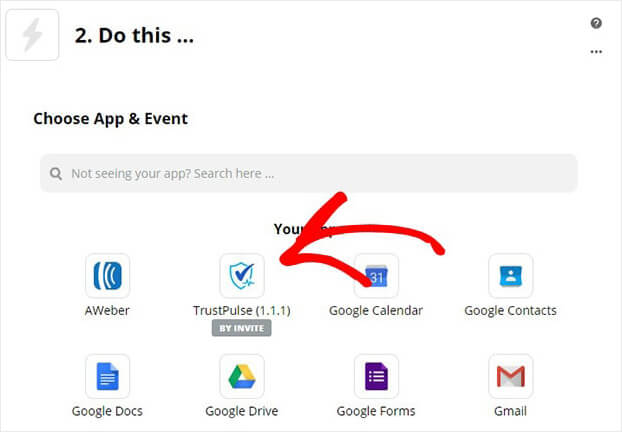
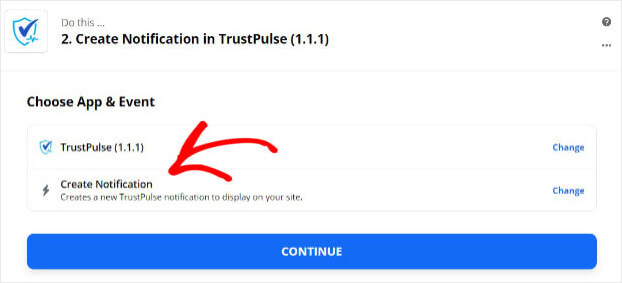
Choose Create Notification in TrustPulse.
Click Continue.
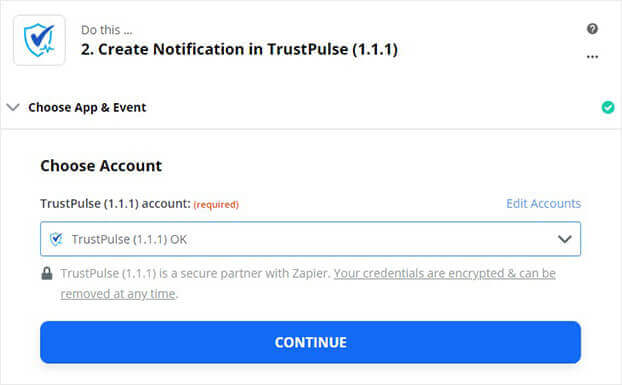
Once you have connected your account, you can select your TrustPulse account from the drop-down menu.
Click Continue.
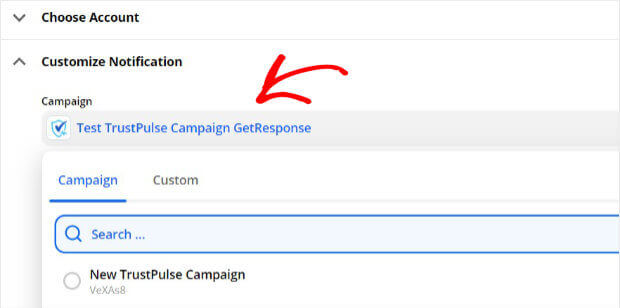
From the Campaign drop-down menu, select the notification you want to appear. This is the campaign you created in TrustPulse.
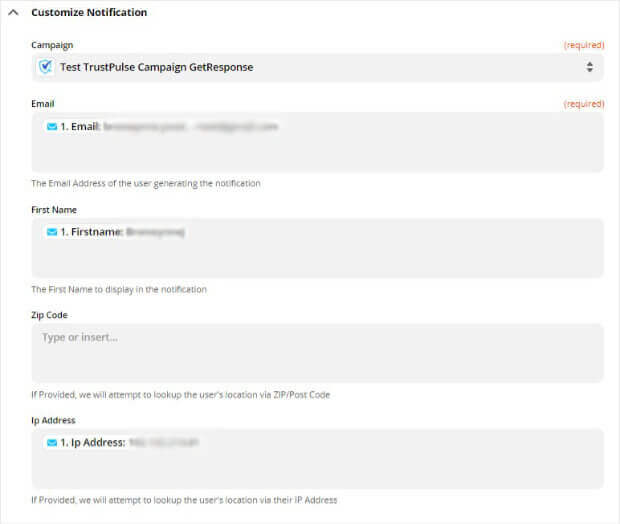
Match the trigger information you want to display with the fields in TrustPulse.
You can test the Zap. This will send a test notification to your website.

Once you’re happy everything is working, go ahead and Turn on Zap.
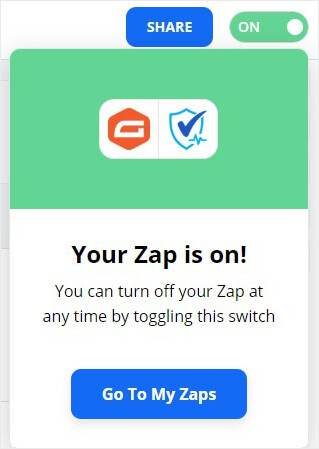
It’s time to display your GetResponse FOMO notification.
Step 4: Display Your GetResponse FOMO Notification
You can choose from the options under the dropdown menu, Where should we display your notifications?
By default, your notification will appear on every page.
But, you can target specific pages to show your campaign anywhere you want to.
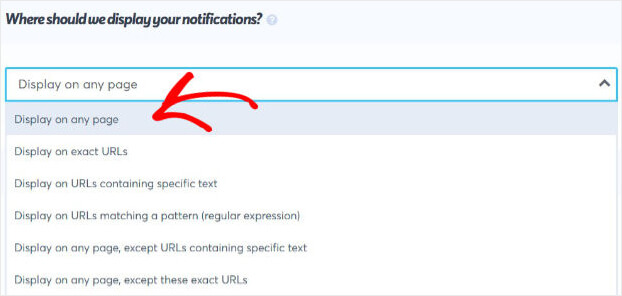
You can also edit your display settings to:
- Delay (in seconds) before showing first notification
- Display Duration (in seconds)
- Delay Between Notifications (in seconds)
Once you’re done, the next step is to publish your campaign.
Step 5: Publish Your FOMO Notification
You can preview your campaign on this screen to make sure it looks exactly the way you want.
If this is your first campaign, you might need to connect your site.
Connecting your site is easy no matter which website platform your use.
Learn how to integrate your WordPress site with TrustPulse in this article.
Not using WordPress? Check this guide for adding TrustPulse to any website.
When you’re ready, click Launch Your TrustPulse campaign.
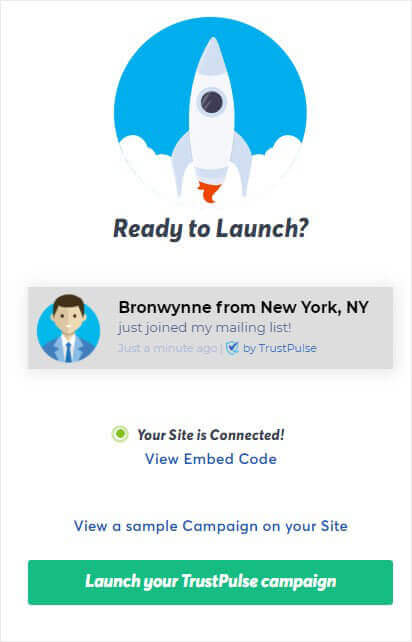
That’s it!
We hope you found our guide on adding FOMO notifications to your site from your GetResponse list helpful.
Ready to increase conversions on your site? Sign up for TrustPulse today.
