TrustPulse makes it easy to modify and customize the notification that is displayed on your website.
In this article, you’ll learn how to modify the Appearance & Design settings to fully customize your notifications.
Before You Start
Here are some things to know before you begin:
- Learn how to get started with TrustPulse using these guides.
- Before getting started, you’ll need to either create a new campaign or edit an existing campaign.
Modify Widget Appearance
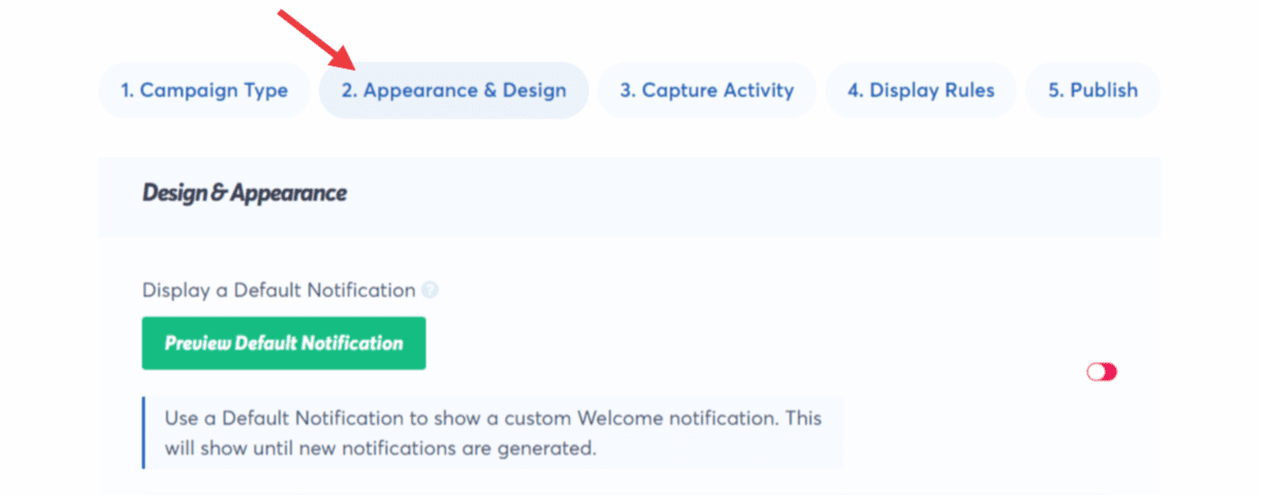
1. Open your campaign and then click on the 2. Appearance & Design tab to start customizing your campaign.
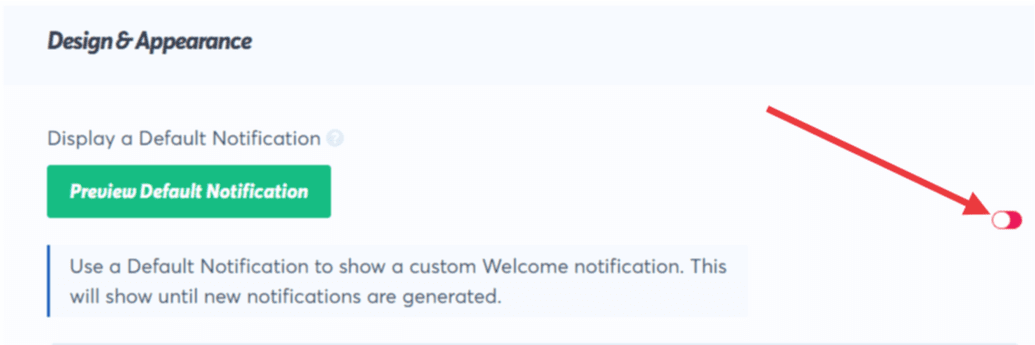
2. When available, you can use the Display a Default Notification toggle to enable and customize a Welcome message that will show if you have no other notifications available to show. Read the guide on creating a Default Notification here.
3. In the Language field, select your preferred language from the dropdown.

4. In the Refer to Visitors as field, you can modify the Default entry of Someone to a preferred term. This is used when a name is not available for a captured notification or when you don’t want to show names.

5. In the Message Text field, modify the text to show off what action this campaign has captured to show social proof.

6. In the Message Link field, input the link you want your site visitors to be directed to when they click your notification widget.

7. In the Notification Image field, use the dropdown to select an image type your notifications will show.
a. Map Icon – This is great for purchase notifications when you have visitors spread out geographically.

b. Default Icon – This gives a feeling of personalization as these are initials created from the name of the person from whom the notification was generated.

c. User Avatar – This is created from the visitor whose action generated the notification on your site.
![]()
d. Pre-Made Icon – TrustPulse comes with 20 pre-made icons that can be used to signify various types of actions that might be occurring on your website.
![]()
e. Custom Image – TrustPulse allows customers who have a Basic license or higher to upload custom images that would appear when their widget appears.

f. No Image – This option allows you to design the appearance of your widget without an image.

8. In the Notification Position dropdown, you can select from four positions – Bottom Left, Bottom Right, Top Left, and Top Right where you want your notification to appear on your website.
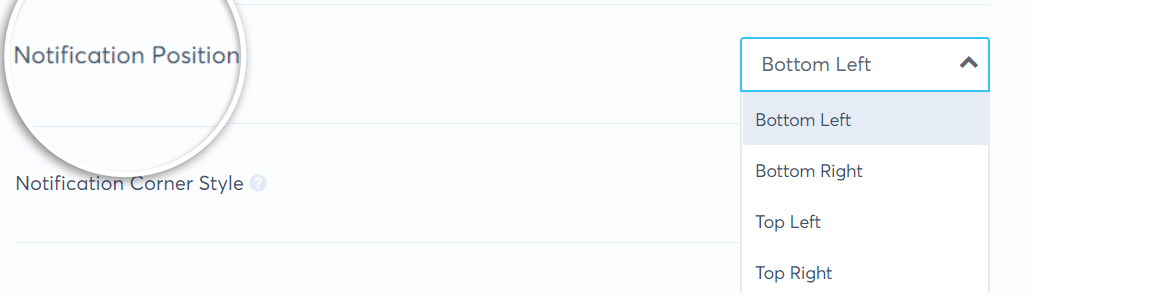
9. In the Notification Corner Style dropdown, you can choose a Rounded or Sharp corner style for your notification.

10. In the Notification Size dropdown, you choose from two different layout sizes: a compact or expanded size for your notification.

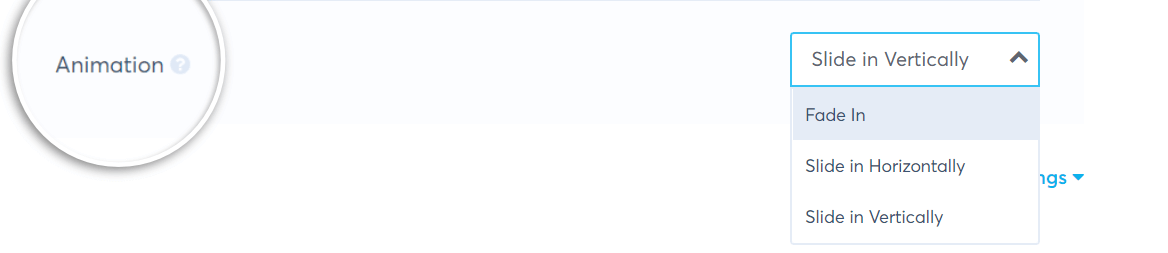
11. In the Animation dropdown, you can select the animation style as your notifications cycle. They can – Fade In, Slide in Vertically, or Slide in Horizontally.
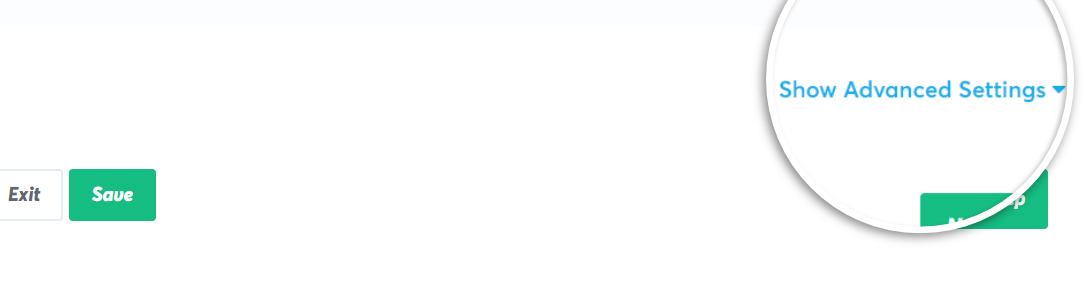
12. Next, you can toggle the Show Advanced Settings link to reveal Advanced Settings.
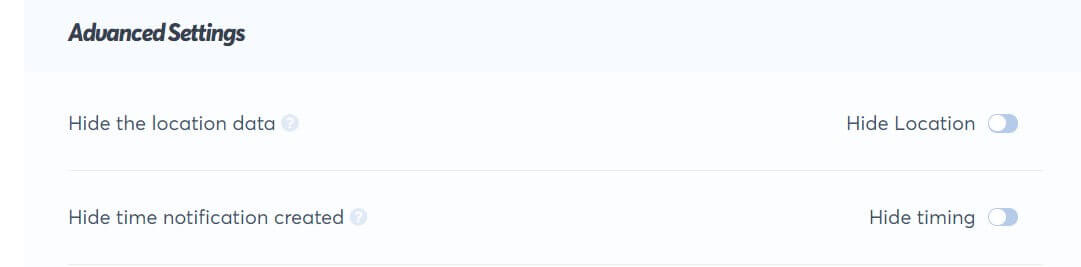
13. In the Hide the location data field, you can toggle the Hide Location button. If the toggle is green, location data available to your notification would be hidden. By default, TrustPulse displays location data.
14. In the Hide time notification created field, you can toggle the Hide timing button. If the toggle is green, time data showing on your notification would be hidden. By default, TrustPulse displays time data.
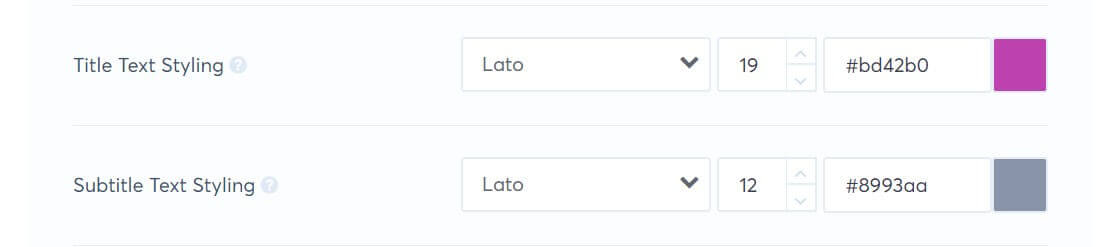
15. In the Title Text Styling field, you can alter the text type, text size, and text color to suit your brand preferences.
16. In the Subtitle Text Styling field, you can alter the text type, text size, and text color to suit your brand preferences.
17. In the Background Color field, you can alter the widget’s background color using a color picker or hex code.

18. In the Border field, you can create a border around your widget by increasing the border size from zero. You can also give the border a different color.

19. In the Drop Shadow field, you can alter the blur, spread, horizontal distance, vertical distance, and color.

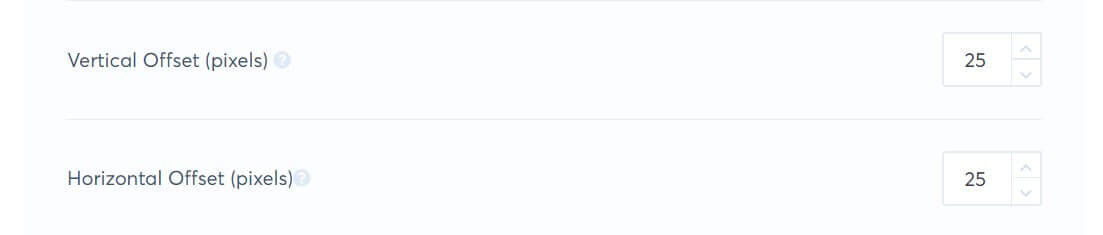
20. In the Vertical Offset field, you can set your campaign widget to appear higher/lower on your site.
21. In the Horizontal Offset field, you can set your campaign widget to appear more inwards/outwards from the edge of your page.
22. In the Text Direction field, you can toggle the Right to Left button to have a different Text Direction for the message text of your widget.

23. In the Show PoweredBy field, you can toggle the Show Powered by button to remove the TrustPulse badge on your notifications. This feature is on by default. You need to be on a Pro plan or higher to turn it off.

24. You are all set up with the Appearance & Design Tab. You can click the Save button to save these settings so they are reflected live for all notifications this campaign captures and has already captured.
If you haven’t gotten started with social proof then supercharge your website with TrustPulse today!