Do you want to use FOMO notifications to increase your AWeber subscribers?
AWeber is a powerful email marketing software for sending highly targeted emails to your subscribers.
By running email marketing campaigns with AWeber, you can:
- Build longlasting relationship with your users
- Increase return visits
- Grow sales and revenue
But if you want email marketing to grow your business, you need to add new subscribers to your list regularly.
And here’s where FOMO notifications can help.
A FOMO notifications is a quick, proven way to turn website visitors into AWeber subscribers.
Today, we’ll walk through the steps to add a FOMO notification to your website.
What is a FOMO notification?
A FOMO notification is a real-time alert on your site that’s designed to encourage your site visitors to take some kind of action. That action could be to make a purchase, sign up for your mailing list, or join your online community.
FOMO marketing is based on the Fear of Missing Out, a concept in psychology that us humans just can’t stand feeling left behind. It’s that nagging sense that we’re not part of something interesting, fun, or beneficial.
Businesses use FOMO to persuade their customers to take action so they don’t regret missing out on a great deal. One example is offering limited discount deals.
And FOMO is especially effective when you pair it with another trusted marketing tactic called social proof.
Social proof is the idea that people are more likely to do something when they see other people doing it too. For example, showing real-time stats of people currently viewing your page is one way to implement social proof.
So, how do you use FOMO and social proof to grow your AWeber list?
FOMO notifications mean your site visitors get an alert the instant someone new signs up to your list. As they see more and more subscribers, they start to wonder if they’re missing out by not signing up.
And the easiest way to add FOMO notifications to your site is with TrustPulse.
TrustPulse is the perfect social proof software for increasing conversions on your website.
Here’s how it works:
TrustPulse tracks actual customer activity on your site and displays it as a small popup:
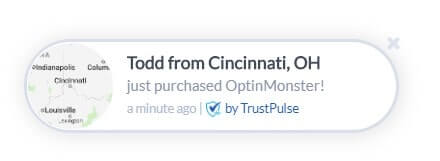
It’s a great way to build your credibility because TrustPulse only shows real activity on your site. So, your visitors don’t have to worry about being tricked by fake social proof.
The best thing is these alerts are so simple to set up and they’re remarkably effective.
TrustPulse increase conversions by up to 15%!
It means in less than five minutes you can set up a high-converting FOMO notification that dramatically boosts your AWeber subscribers.
That’s exactly how long it took us to create this alert:
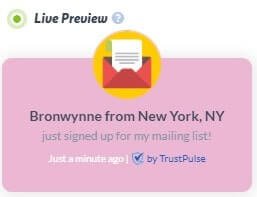
Now, let’s build a FOMO notification on your website for AWeber subscribers.
Add FOMO Notifications for AWeber Subscribers
Using FOMO notifications to grow your list of AWeber subscribers is simple.
First, get your TrustPulse account here.
TrustPulse provides:
- Easy setup: get started in less than five minutes with zero coding required
- Simple customization: create attractive notifications quickly
- Works on all websites: sync with any provider
Bottom line: you can easily create timely social proof notifications that will grow your AWeber subscribers.
Let’s get started.
Step 1: Create Your Campaign
From your TrustPulse dashboard, click Create Campaign.

On the next screen, you’ll name your campaign and assign it to your website.
Simply add the text to the field box to name your campaign.

Now, it’s it time to choose your campaign type.
You have two options:
- Recent Activity
- On-Fire campaigns
Recent Activity shows the actions of your individual site users. So, it’s great for activity like purchases and email signups. It will display these conversions in real-time on your site.
On-Fire campaigns show the total number of people who converted on your site over a specific period of time. This is perfect for limited time promotions.
Today, we’ll go with Recent Activity because we want our notifications to appear each time a new subscriber signs up to our AWeber mailing list.
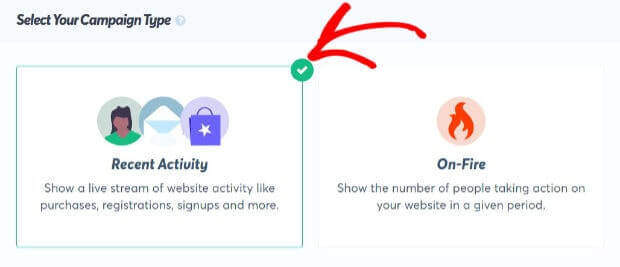
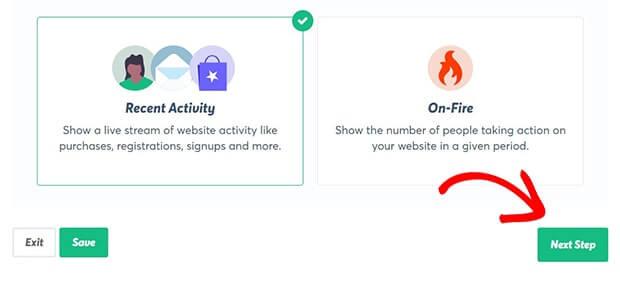
When you’re ready, click Next Step at the bottom of the screen.
Step 2: Design your FOMO Notification
Now, it’s time to design your FOMO notification.
In the bottom left corner, you’ll see the Live Preview of your notification.
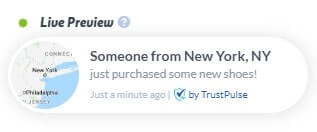
With only a few tweaks, we’ll create this notification in less than a minute:

There are three simple ways to customize your notification:
- Add text to a field box
- Select from the drop-down menu
- Toggle the relevant switch
That’s it.
Then, you have several options when it comes to designing your notification:
- Message link: the link for the page the user will go to when they click on your notification
- Notification image: the icon that appears on the notification
- Notification position: the on-screen position of the notification
And more.
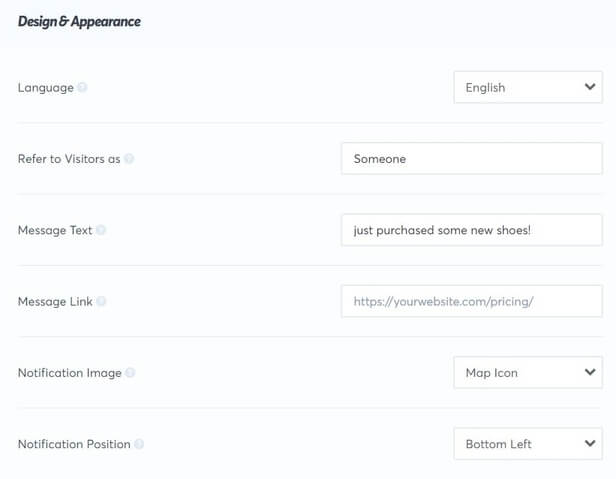
Let’s have a look at how to edit our notification message.
In the Refer to Visitors as field, select your Visitor Alias. This is what TrustPulse will call your new subscribers when their name can’t be determined.

To change the notification text, all we need to do is add our copy to the text field box.

Now, we’ll add our own image. So, click on Notification Image. From the drop-down, select Custom Icon and upload your image.

In the Message Link field, add the link for the page you want people to land on once they click your notification.

Below those options, you’ll see the Advanced Settings.
Here you’ll be able to adjust the fonts and colors, so they fit in with your brand.
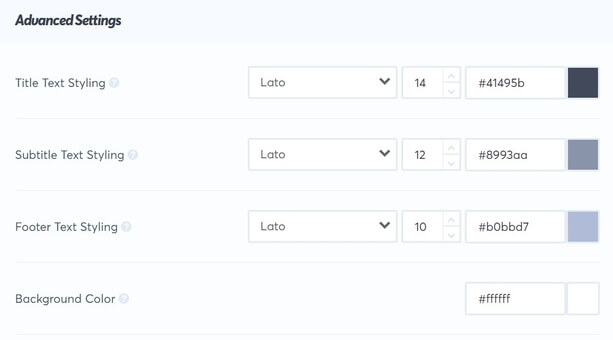
Once you’re happy with the design of your notification, click Next Step.
Step 3: Capture AWeber Subscribers
Next, you’ll create the trigger for your FOMO notification. The trigger is the action someone needs to take to make your notification appear. So, in this case, it’s a new subscriber.
On the Capture Activity page, you’ll see two ways to trigger your notifications:
- Automagic: tracks all onsite activity
- Zapier: shows activity from 1,000 sources
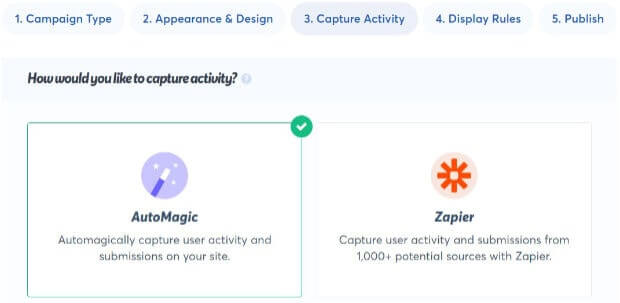
Today, we’re going to use the Zapier integration to connect with AWeber.
Don’t have a Zapier account yet? Sign up for free here.
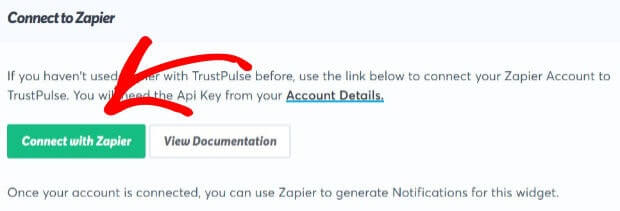
Now, click Connect to Zapier.
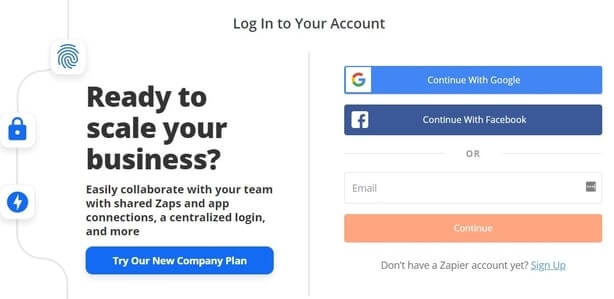
On the next page, you’ll need to log in to your account.
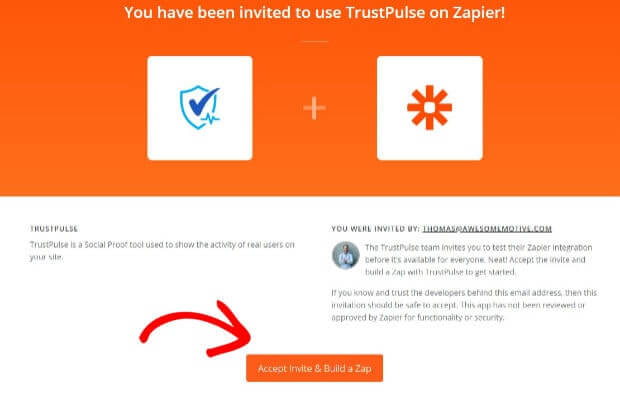
Once you’re in your Zapier account, click Accept & Build Zap.
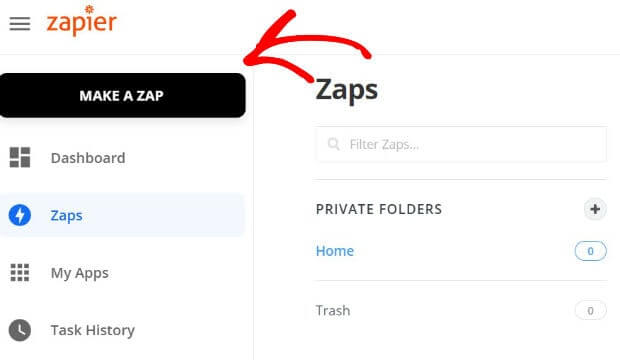
Now, you’ll be in your Zapier dashboard. Select Make a Zap.
On the next page, type “AWeber” in the search bar. Click the AWeber app to continue.
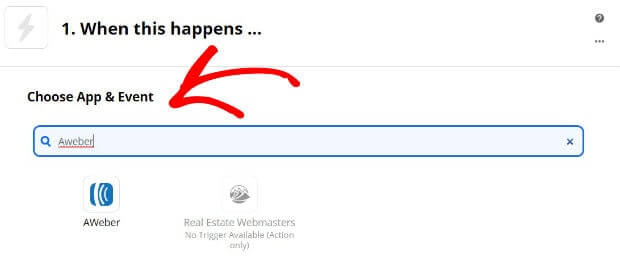
Now, you’ll choose the event that will trigger your action.
For this tutorial, we’ll select New Subscriber.
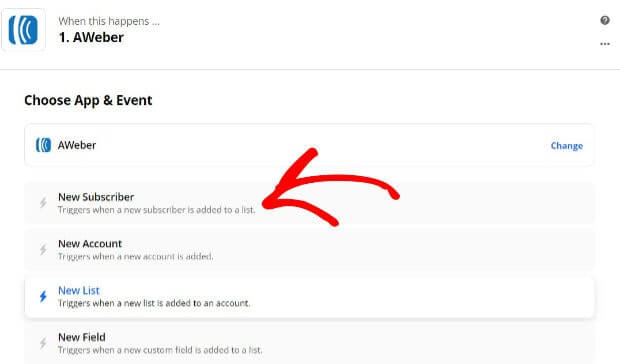
Now, click Continue.

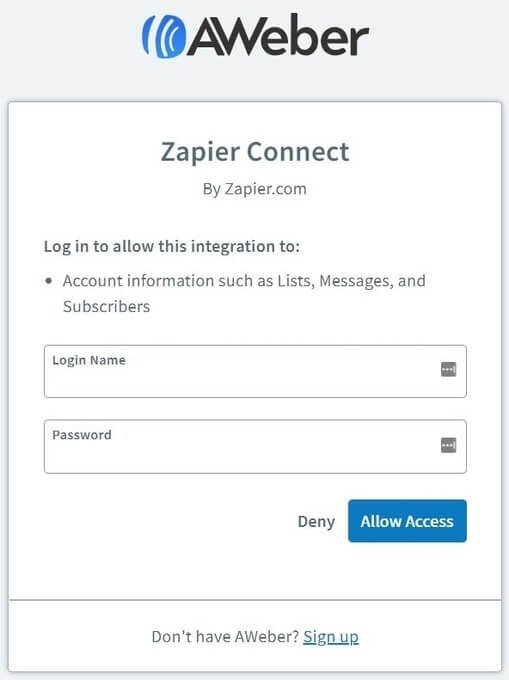
The next step is to give Zapier permission to access your Aweber account.
A new window will open where you’ll enter your AWeber login details. Click Allow Access.
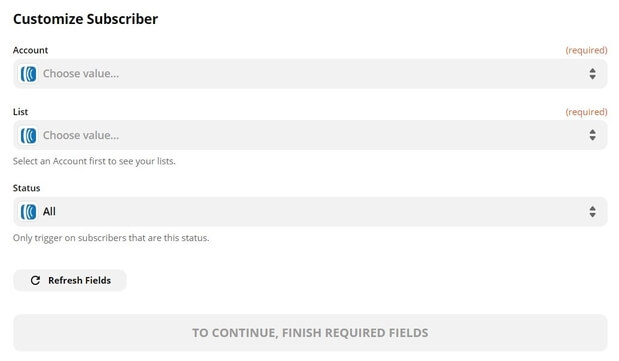
Now, you’ll be back in Zapier where you’ll customize your trigger. Select which list you want to track.
The next step is to test your trigger to make sure it works.
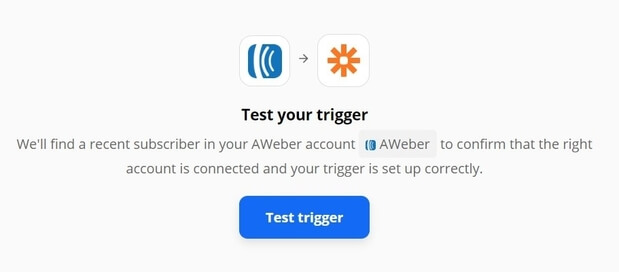
Once you’re happy, go ahead and click Continue to connect your AWeber trigger with TrustPulse.
Now, you will see a list of apps. Find and select TrustPulse.
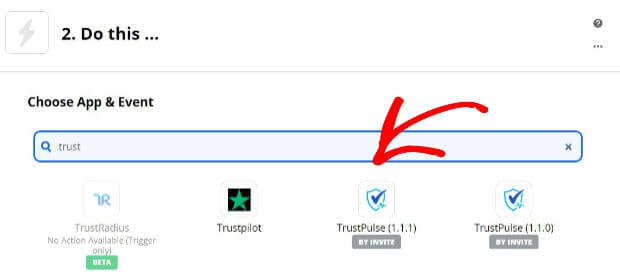
Next, choose Create Notification in TrustPulse.
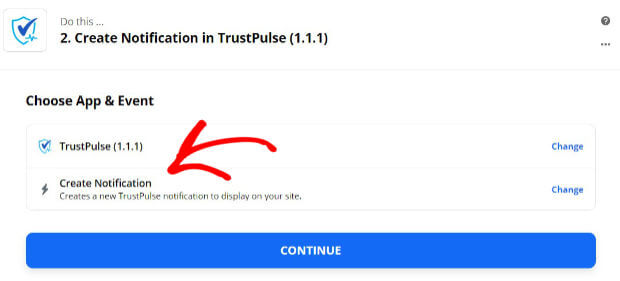
Click Continue. Now, you’ll need to sign into your TrustPulse account.
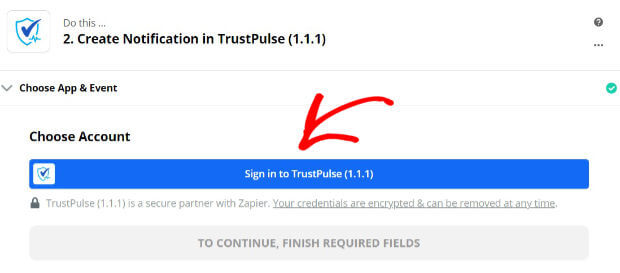
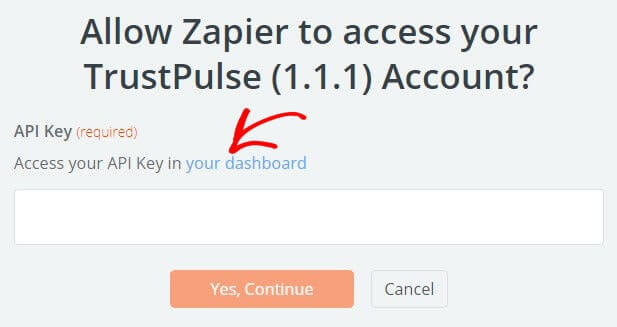
You will then see a new window, and you’ll be asked for your TrustPulse API key. That’s easy because you can click on the hyperlinked your dashboard text in this window to reach your TrustPulse account.
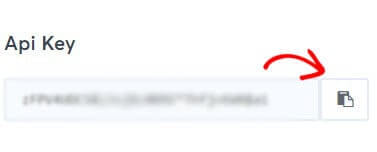
From here, copy your API key.
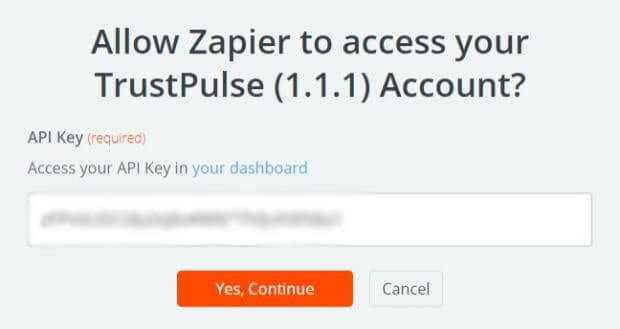
Paste your API key in the Zapier window and click Yes, Continue.
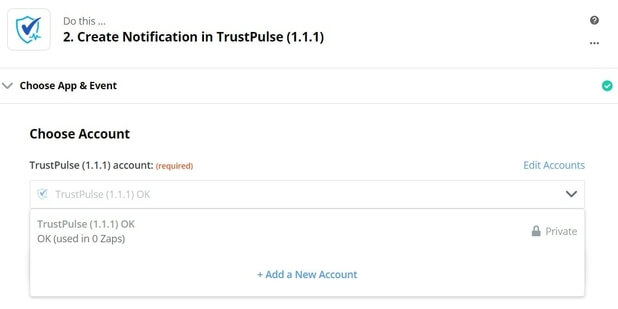
After that, you’ll be back in Zapier. Select your TrustPulse account from the drop-down menu.
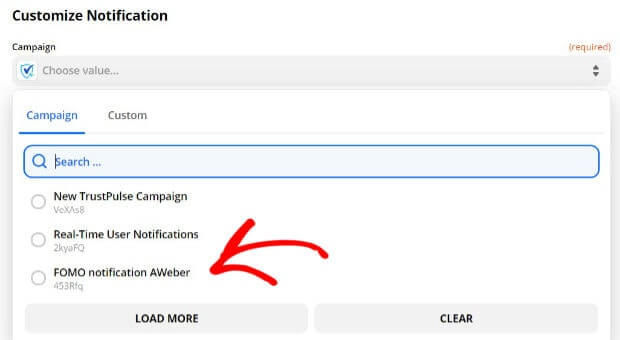
Click Continue. From the Campaign drop-down, select the notification you want to appear.
We’ll choose FOMO notification Aweber, the campaign name we choose in Step 1.
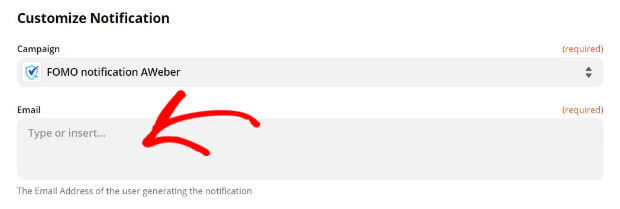
And enter your email address from your TrustPulse account.
Click Continue.
Now, you can test and review your Zap.

When you’re satisfied everything is working, go ahead and Turn on Zap.

Step 4: Display Your AWeber FOMO Notification
The next step is to decide when and where to display your notification.
From the Where should we display your notifications drop-down, you’ll see your options.
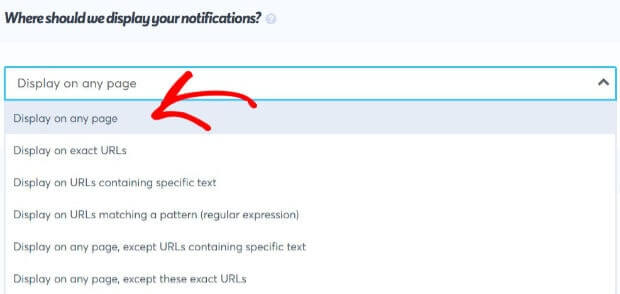
By default, your notification will display on any page. For this tutorial, we’ll stick with that rule.
Next, you’ll be able to tweak your notification settings.
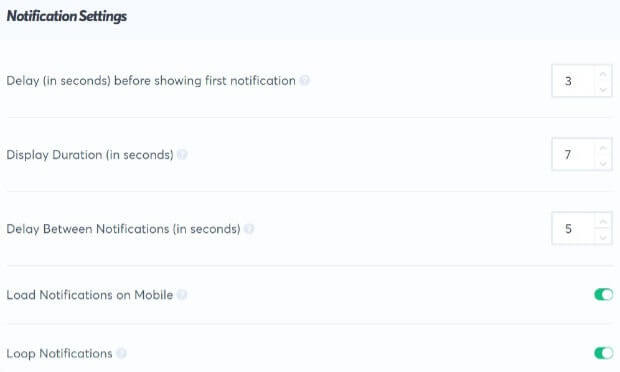
You get to choose:
- The length of time your notification is displayed
- Time between notifications
You’ll see it’s super simple to decide where to display your notifications.
Step 5: Publish Your FOMO Notification
Now, you can preview your notification.
At this stage, you might need to connect your site.
Don’t worry. It’s simple, no matter your website provider.
Learn how to integrate your WordPress site with TrustPulse in this article.
Using a different website platform? Check this guide for adding TrustPulse to any website.
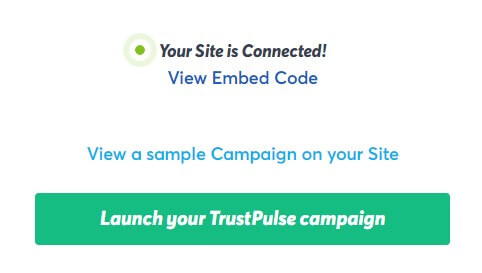
When you’re ready, click your Launch Your TrustPulse campaign.
If you enjoyed learning about how to grow your business with email marketing and social proof, check out this article on growth hacking strategies.
Ready to increase conversions on your site? Sign up for TrustPulse today, free.
