Do you want to encourage your clients to take appointment with you on Calendly?
By using a social proof app, you can show when people make appointments in Calendly. This tells your site visitors they can trust you because other people just like them are visiting your site and taking appointments.
It’s a proven technique many companies use to boost their bookings for consultations and product demonstrations.
In this post, we will look at how easy it is to add new Calendly events to live notifications with the TrustPulse social proof app.
Why Add Live Notifications to Calendly Events
If you’re doing business online, you need to use social proof.
A Calendly live notification can skyrocket your bookings, and it’s incredibly easy to set up in less than five minutes.
First, let’s have a quick look at what exactly social proof is and why it matters to your business.
Social proof is our tendency to copy the people around us, especially when we’re not sure what to do.
Decades of research confirm the power of social proof. So, it’s no wonder just about every company uses it as a powerful marketing tool.
Everything from influencer marketing campaigns to customer testimonials is a form of social proof. The goal is to ease the minds of potential customers so they feel more comfortable doing business with you.
One easy, quick way to show social proof on your website is to use live notifications.
Live social proof notifications are small alerts that appear on your screen to show how other people are engaging with your brand.
Here’s an example from the TrustPulse home page.
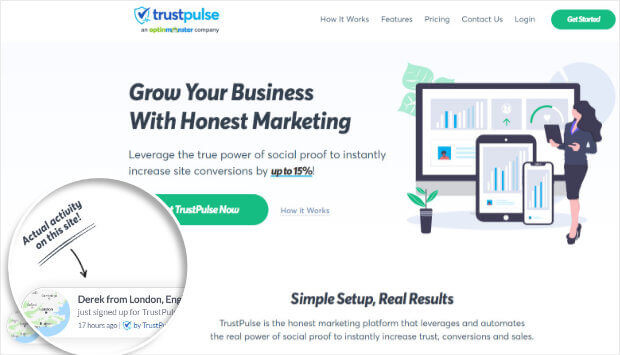
Adding these notifications help businesses increase their conversions by up to 15%.
With Calendly, you can show a new live notification when people book:
- Product demos
- Appointments
- Consultations
With live notifications, your visitors can see other people are booking calls with you, which makes your website trustworthy.
And social proof apps make it incredibly easy to display these messages.
How to Add Calendly Events to Live Notifications
The simplest way to add Calendly live notifications is by using TrustPulse.
TrusttPulse is a social proof app that lets you easily show real notifications without writing any code.
You can display your recent Calendly bookings in real time.
The goods news is it takes just five minutes to create a live notification with TrustPulse.
Let’s begin.
Step 1: Select Live Notification Type
First, you need to log into your TrustPulse account.
From your dashboard, click Create Campaign.

Now, you’ll need to name your campaign and assign it to your website.
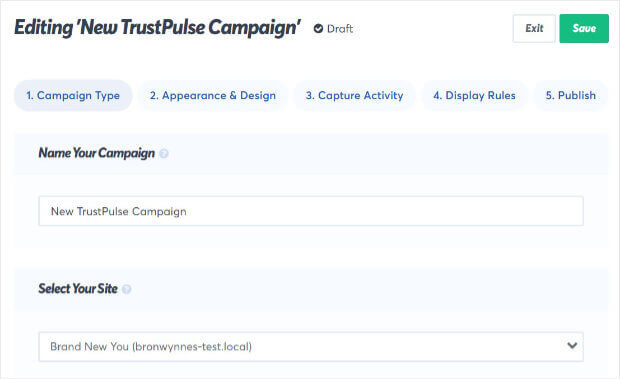
Next, you can choose your live notification type.
You’ll have two options:
- Recent Activity
- On-Fire
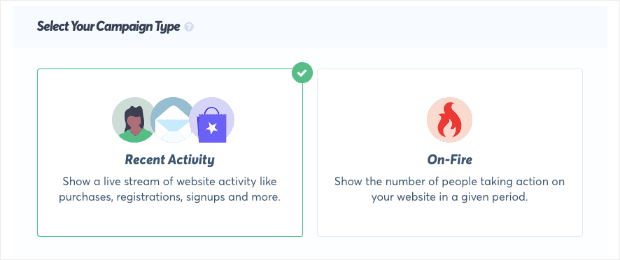
Here’s how these campaigns work.
Recent Activity shows the actions of individual users. So, each time someone schedules an appointment in your Calendly account, a new notification will be displayed.
On-Fire campaigns bring together the actions of groups of people. These work well if you’re expecting a lot of people to take action at the same time. If you’re offering free consultation calls for a limited time, an On-Fire campaign would work well to create urgency.
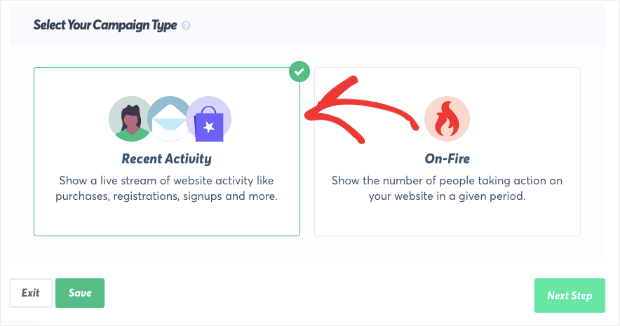
Today, we will choose Recent Activity because we want to show a new notification on our website each time someone books a call.
Once you’re done, click Next Step.

Now, you’ll be able to design your live notification.
Step 2: Customize Your Live Notification
In this step, you’ll be able to customize the colors, copy, and size your notification so it matches your brand and website.
You’ll see a list of fields you can edit:
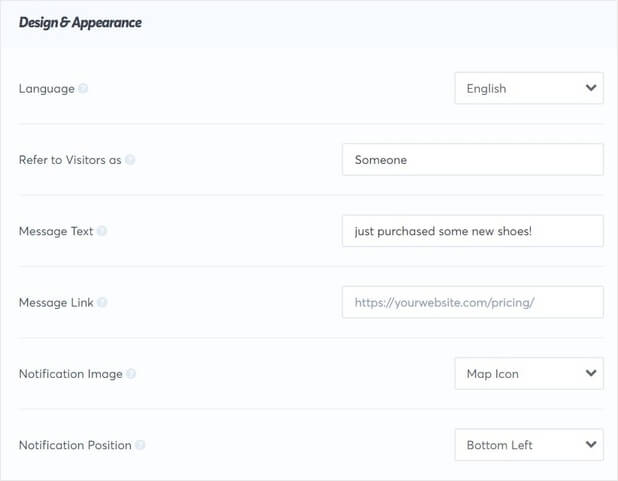
In the corner of the screen, you can view any changes you make to the default notification.
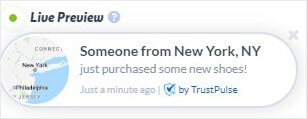
The great thing about TrustPulse is that the default settings are all you need to show attractive notifications. So, if you’re in a rush, you’d only need to make minor tweaks.
But you can change anything about the notification easily.
All you need to do is add text to the field box or select from a dropdown menu.
Let’s have a look at some of the most important fields:
- Message text: the text displayed in your notification
- Message link: the landing page (such as a consultation booking page) your visitors will be sent to once they click on the notification
- Refer to Visitors as: the term TrustPulse will use when the name of your customer isn’t available
Then, you can adjust the appearance of the social proof notification:
- Notification image: choose from the built-in images or upload your own
- Notification corner style: pick rounded or sharp edges
- Notification size: display compact or expanded notifications
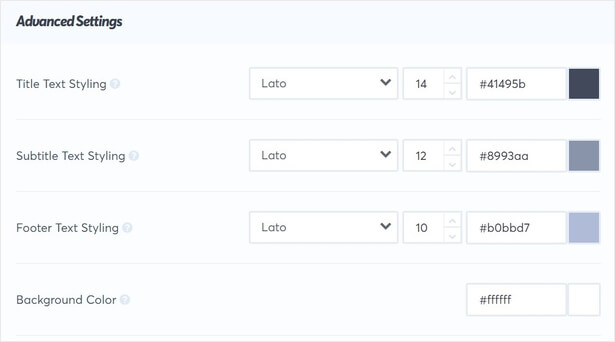
Next, select from Advanced Settings to edit:
- Font color
- Background color
- Font size
And more.
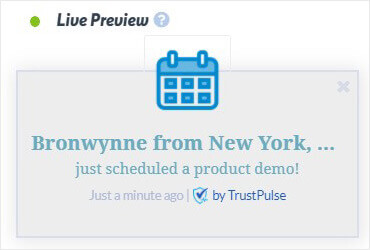
It took just 5 minutes to create this notification:
Once you’re happy with the design of your notification, click Next Step.

Next, we’ll decide on the activity we want to highlight on our site.
Step 3: Capture Live Notification Activity
Now, you’re going to capture activity for your social proof notification.
In other words, you’ll tell TrustPulse which action will create a notification on your site.
Here, you can choose between:
- AutoMagic: capture all activity on your website, like newsletter signups or purchases
- Zapier: track activity from 1,000+ external sites and third-party integrations
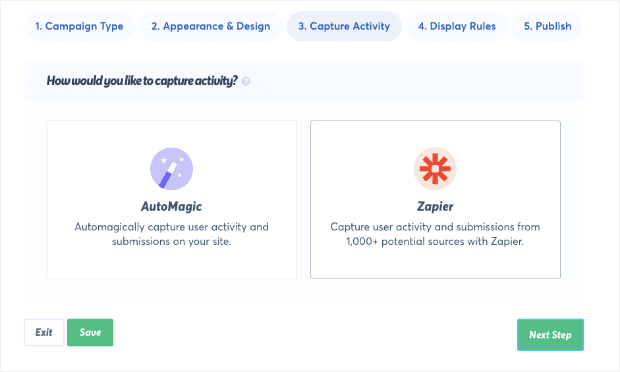
Today, we will use Zapier. This means you can show a notification whenever someone books a call or appointment using your Calendly link, whether they scheduled it from your website, email, or social media.
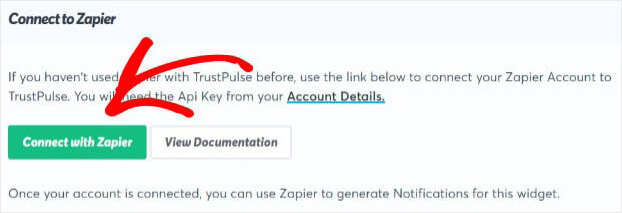
Click Connect with Zapier.
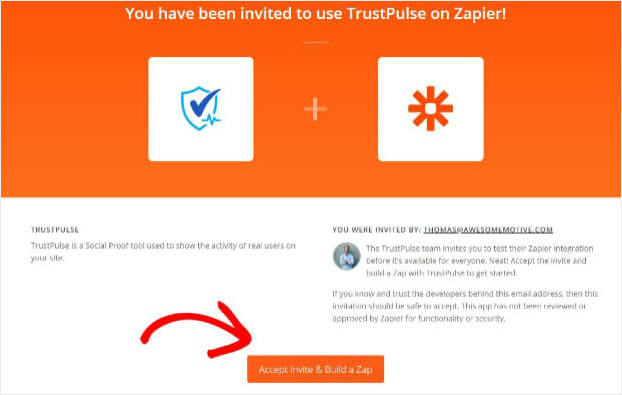
On the next screen, click Accept Invite & Build Zap.
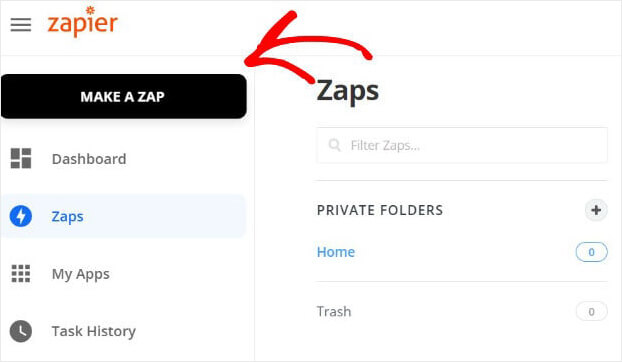
You’ll now be in your Zapier account.
Click Make a Zap.
Select Calendly from the list of apps.
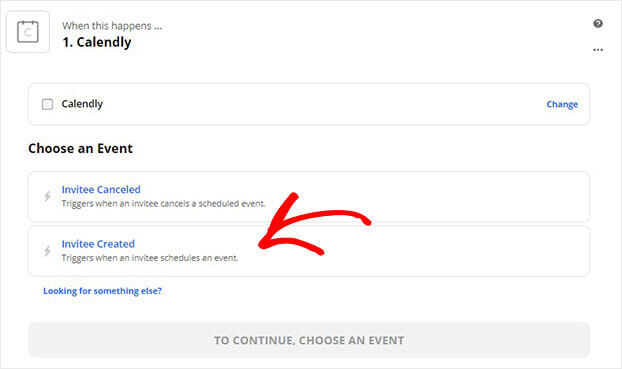
Click Continue to log into your Calendly account.
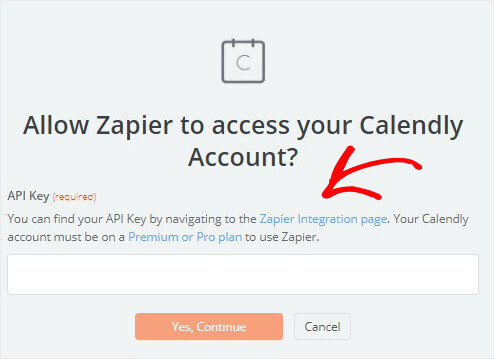
In the next window, you’ll be asked for your API key.
Click the hyperlinked Zapier integration page text to get your API key.
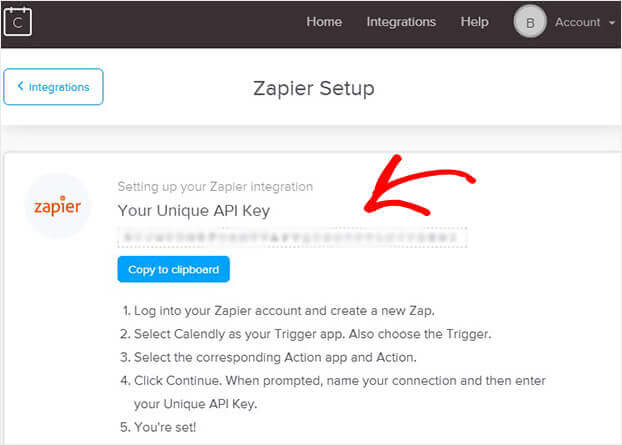
Copy your API key on the next screen.
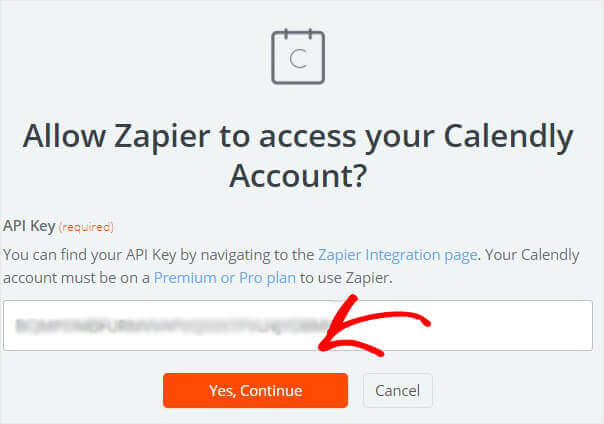
Head back to the window and add your API key.
Click Yes, Continue.
You’ll now be back in your Zapier account.
Click Continue.
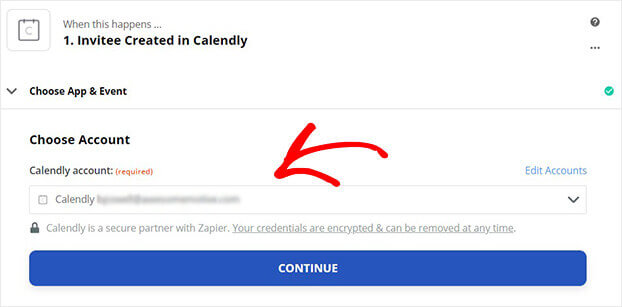
Now, you can test your trigger to make sure your Calendly and Zapier accounts are properly connected.
Once you’re satisfied with your trigger, you can connect your Calendly account to TrustPulse.
Click Continue.
Choose TrustPulse from the list of apps.
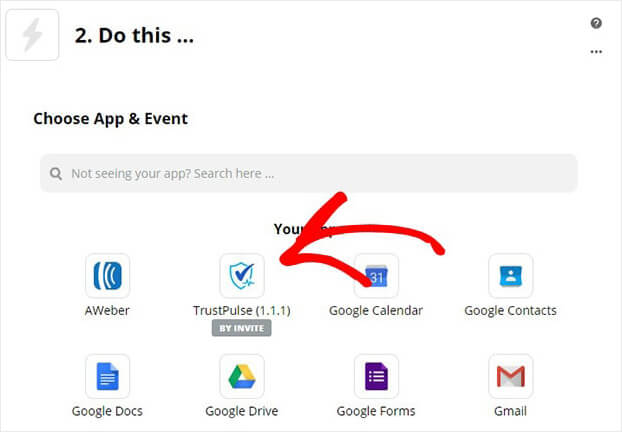
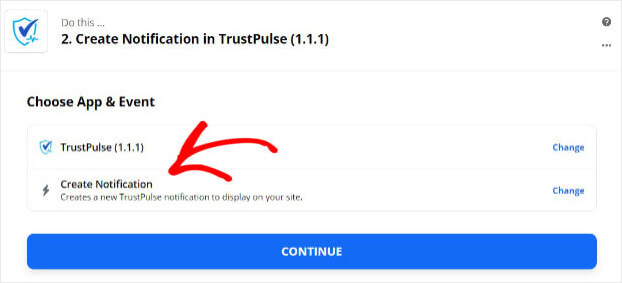
Select Create Notification and click Continue.
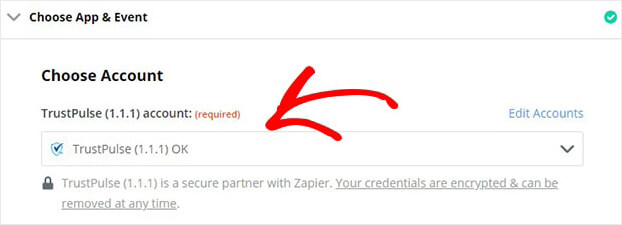
Now, select your TrustPulse account and click Continue.
From the Campaign drop-down menu, select the notification you want to appear.
This is the notification we created in Step 1.
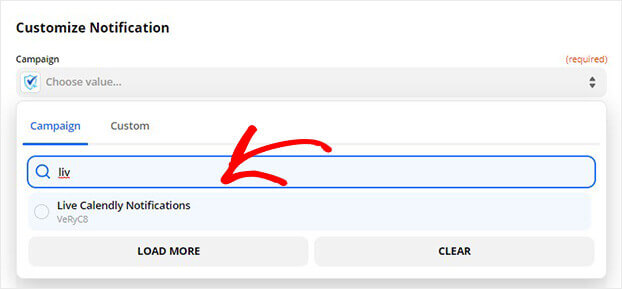
Now, fill in the fields you want to capture.
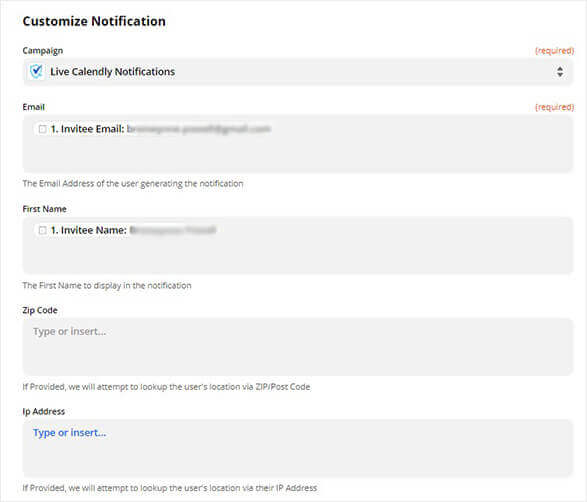
When you’re ready, you can test your notification.
Once you’re happy everything’s working, select Turn on Zap.

Now, you can head back to TrustPulse to display your social proof notification.
Step 4: Display Your Live Notification
By default, your notification will display on every web page.
But you can change where and when you want to show your social proof notification.
Head over to Where should we display your notifications?
You’ll get to show your notifications on specific pages and exact URLs.
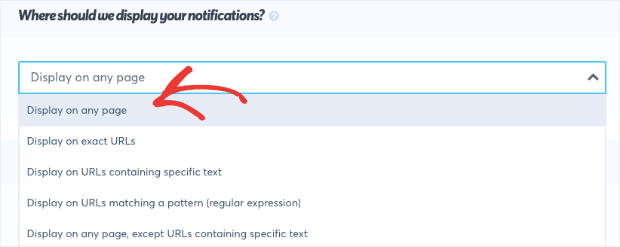
Then, you can control notification settings:
- The amount of time each notification is displayed
- Whether to load notifications on mobile
- Time between notifications
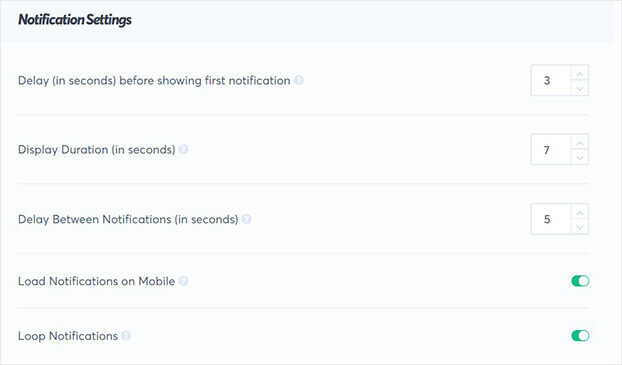
After you’ve set the display rules, you’re ready to publish your notification.
Click Next Step.

Step 5: Publish Your Calendly Live Notification
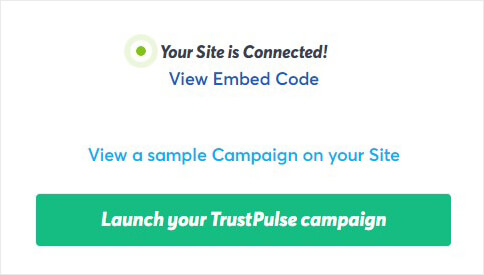
If this is your first TrustPulse campaign, your site might not be connected.

Don’t worry. It’s incredibly easy to add the social proof app to any website.
If you’re using WordPress, all you need to do is download and activate TrustPulse. Here is a guide for connecting TrustPulse to your WordPress site.
Not using WordPress? No problem.
Adding TrustPulse to any website is as simple as adding an embed code to your site.
Check out our guides for integrating TrustPulse with your platform.
Once your site is connected, go ahead and click Launch your TrustPulse campaign.
Ready to start using social proof notifications to boost trust and increase your conversions? Sign up for TrustPulse today.
