TrustPulse makes it easy to create purchase notifications from your ecommerce site and use these notifications as social proof.
In this article, you’ll learn how to create TrustPulse Purchase notifications on your site.
Before You Start
Here are some things to know before you begin:
- Get started quickly with our Getting Started series
- Before getting started, you’ll need to either create a new campaign or edit an existing campaign. Check this guide for more details.
Create a Purchase Notifications Campaign
To create your purchase notifications campaign, follow these steps:
1. In the first step of the campaign editor, name your campaign “Purchase Notifications”, make sure the site selected is where purchases take place, and ensure that Recent Activity is selected.
2. Click on Next Step to progress to the Appearance and Design Tab. Here you can quickly customize the look of your notifications. Keep in mind each notification will change based on the visitor who makes a purchase to show their name, location, and time of capture, or the product purchased if the integration supports it.
3. After customizing the appearance, click Next Step to progress to the Capture Activity Tab where you’ll choose the capture settings to match your store.
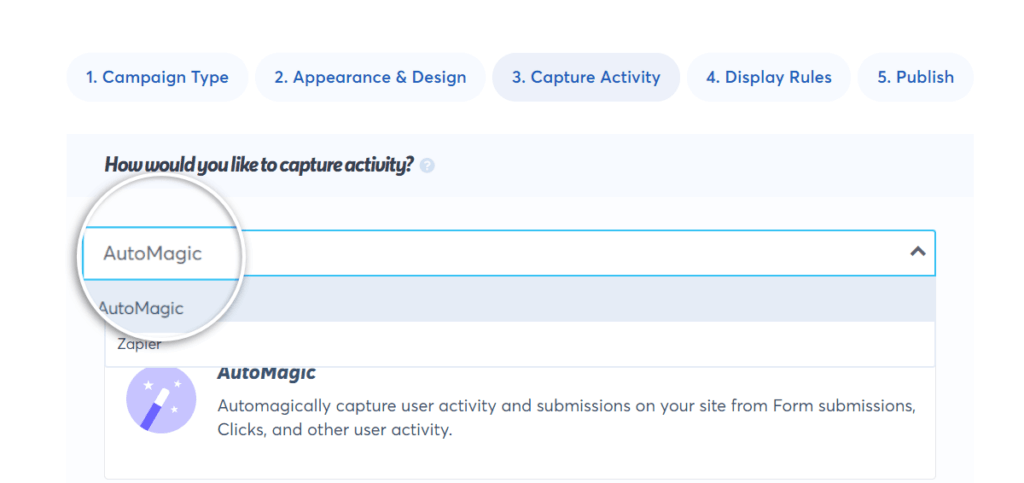
3. For most e-commerce solutions you can use AutoMagic capture to let the TrustPulse API capture events as-they-happen live on your site. Select AutoMagic from the How would you like to capture activity? dropdown.
4. The default capture settings will look for Form type events on Any Page. If you have other Forms on your site you will want to customize this setting.
5. Keep the Form Activity (default) selected from the Select AutoMagic Activity Type dropdown.
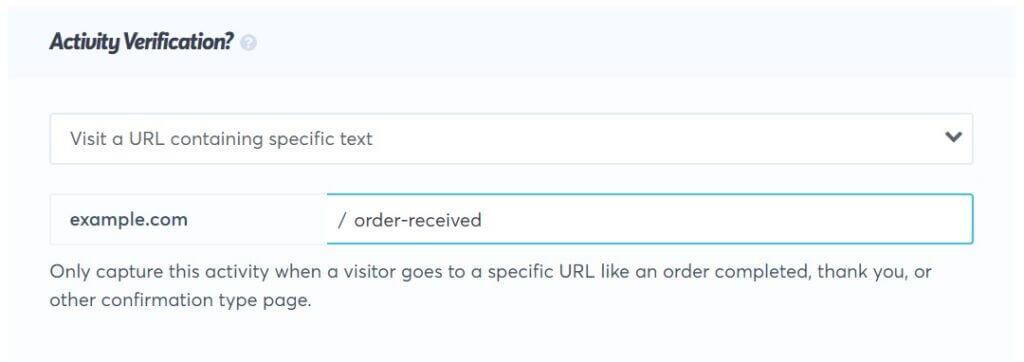
6. Next, from the Activity Verification dropdown and choose Visit a URL containing specific text option. Then add the specific URL slug that a customer is directed to right after a successful purchase. Common examples are /thank-you , /order-received , or /order
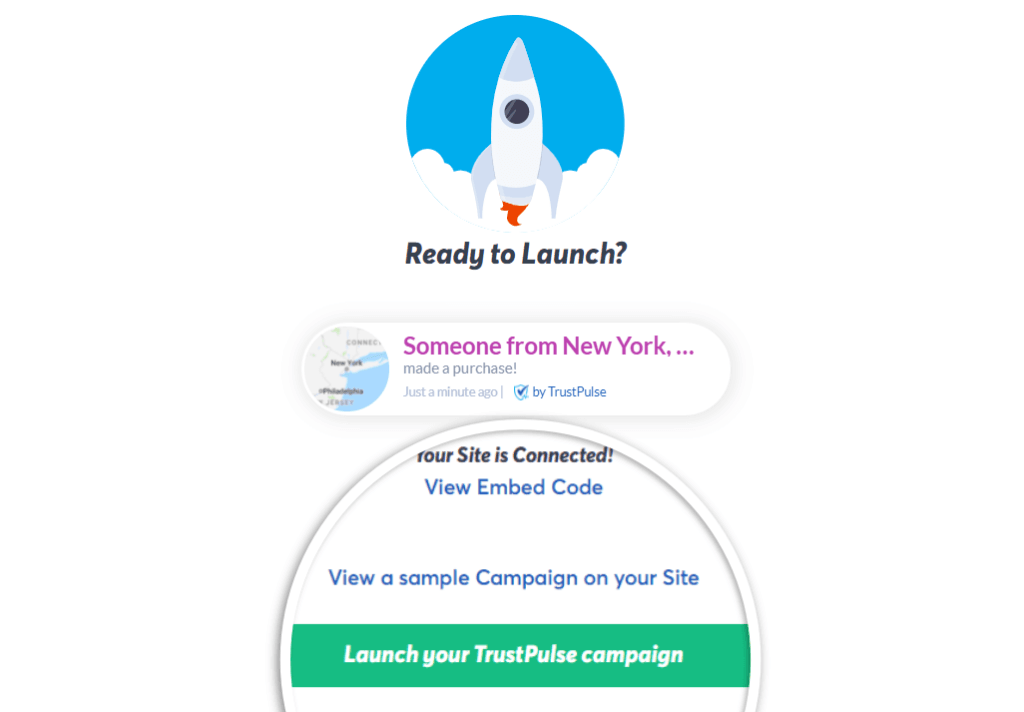
7. Now head to the Publish step where you will click Launch your TrustPulse Campaign button to start capturing purchase notifications! Not yet connected? Learn how to connect your site to TrustPulse
If you’re serious about supercharging your website with social proof then get started with TrustPulse today!