
Want to boost your site engagement by adding YouTube videos to your WordPress site?
Embedding a YouTube feed to your website can keep visitors on your site longer and direct traffic to your YouTube channel. After all, if someone likes your blog content, they’ll probably enjoy your YouTube videos too.
In this article, let’s learn how to embed a YouTube feed on your WordPress site.
How to Show YouTube Videos On My Website
While you could upload your video content directly into WordPress, we don’t recommend doing this.
Hosting and streaming videos from your website takes a lot of bandwidth and web hosting storage. Why pay for that when YouTube gives you unlimited storage for free?
Plus, if your videos are on your website, they’ll be much less accessible to the billions of viewers looking for content on YouTube. Any video engagement you get from your website won’t count toward your subscriber count or views on YouTube, which you may need to monetize your content.
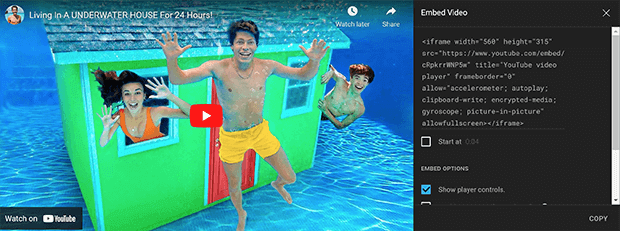
You can manually embed YouTube videos with the code provided by YouTube. But each video requires its own embed code. Copy-and-pasting all those codes would take far too long. You also need to know a fair amount of HTML and CSS if you want to customize how the video player looks at all.
Instead, our suggestion is to use a YouTube plugin like Smash Balloon.
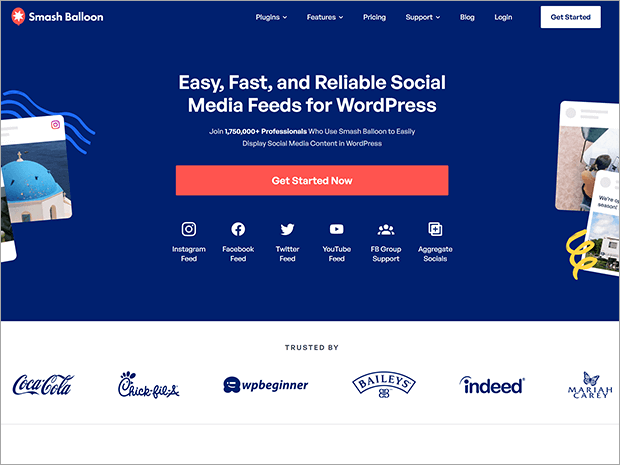
Smash Balloon is a collection of 5 social feed plugins. One of these plugins is YouTube Feed Pro, the very best WordPress plugin for adding YouTube galleries to your website.
YouTube Feed Pro lets you embed custom YouTube feeds with just a few clicks. When users click on a video from your feed, it will appear in a popup video player. The video player automatically matches your website, or you can customize the styling completely.
Here are some of the best features of YouTube Feed Pro.
Smash Balloon Features: YouTube Feed Pro
What we like best about all the Smash Balloon plugins is that they just work. Even total WordPress beginners can use them without any coding experience or advanced tech skills.
All you have to do is install the plugin, connect your YouTube account, and add the channel you want to display in your feed. In the next section, we’ll show you a full step by step tutorial.
Don’t worry: YouTube Feed Pro won’t slow your site down. It uses bloat-free code and lazy loading, meaning it only loads more videos as users scroll through the feed.
Your feeds can include videos from a specific YouTube playlist or channel, live streams, your favorites list, a specific search term, or simply single videos.
For more information, check out our complete Smash Balloon review.
And now, here’s the tutorial we promised!
How to Add a YouTube Feed to Your WordPress Website
Step 1: Install YouTube Feed Pro
First, you’ll need to purchase a Smash Balloon plan that works for your business. You can get YouTube Feed Pro as a standalone plugin, or get the All-Access Bundle with priority support and all the Smash Balloon plugins and extensions.
If you’re a small business with more limited funds, you can use a free version called Feeds for YouTube, available on WordPress.org. It doesn’t have the full functionality of the pro version, but it’s still a perfectly functional video gallery plugin.
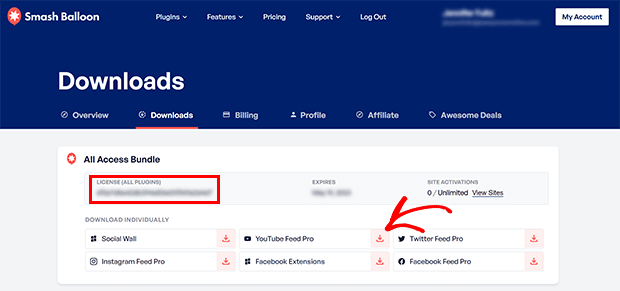
After you have your plan, log into your Smash Balloon account and find the Downloads section. Look for the YouTube Feed Pro plugin and download the zip file. You should also copy your license key to a text file or other document to use later.
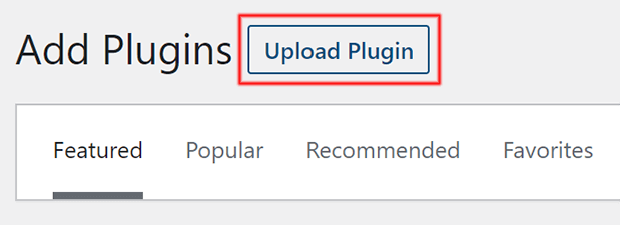
After that, log into your WordPress dashboard and go to Plugins » Add New.
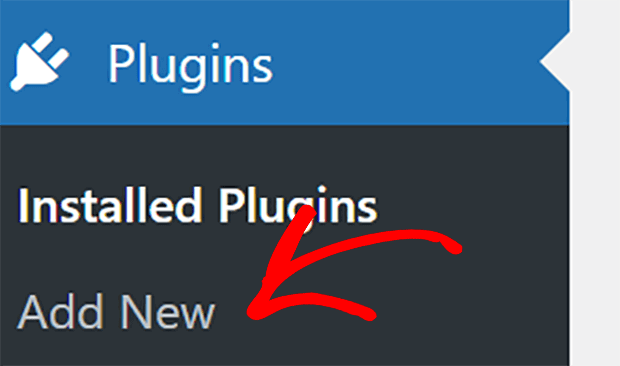
Next, click on the Upload Plugin button in the upper left corner.
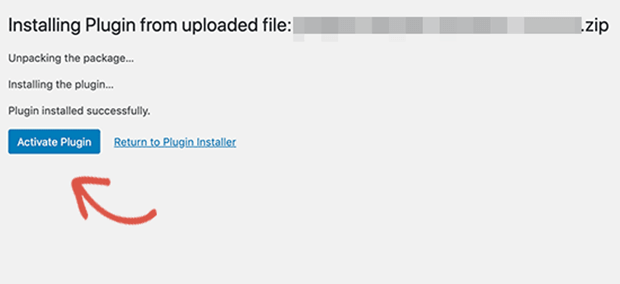
Select the file you just downloaded and click the Install Now button. Once WordPress uploads and installs the plugin, click the Activate Plugin button.
Now you need to enter the license key for YouTube Feed Pro.
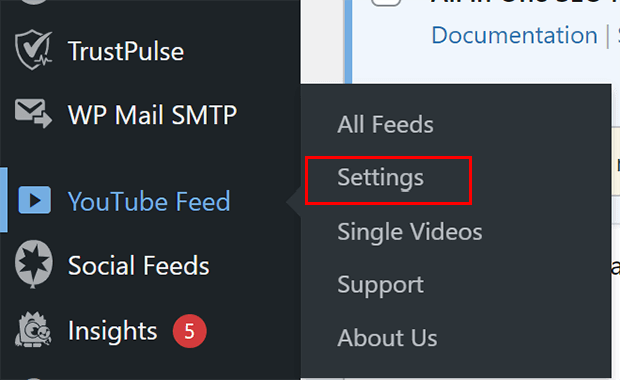
To do that, go to YouTube Feed » Settings in the WordPress dashboard sidebar.
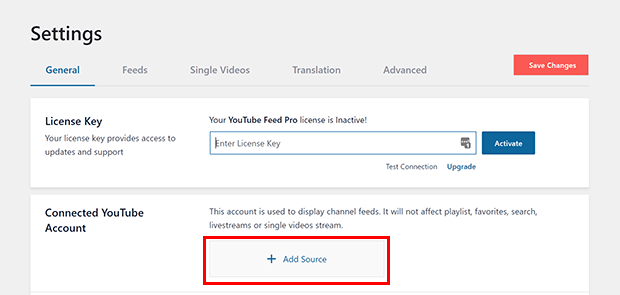
Paste your license key from your Smash Balloon account into the license key field, then click Activate.

Step 2: Connect to YouTube
Next, you need to connect your YouTube account. First, make sure you’re signed into the Google account associated with your YouTube account.
From the Settings screen, click on Add Source.
You’ll be temporarily redirected to a Google sign-in page. Click on the account you want to use.
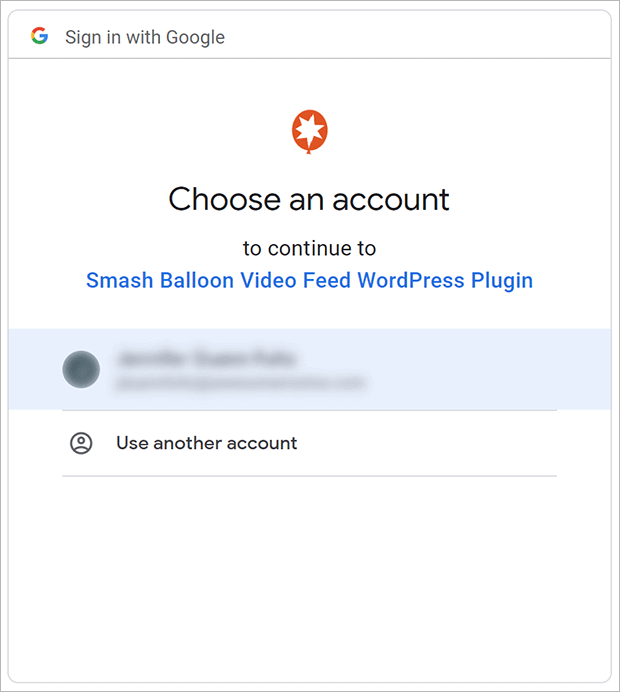
You’ll be prompted give the plugin permission to access your YouTube account. Go ahead and click Continue. You will then be redirected back to WordPress.
Now you can create your YouTube feed!
Step 3: Create a YouTube Feed
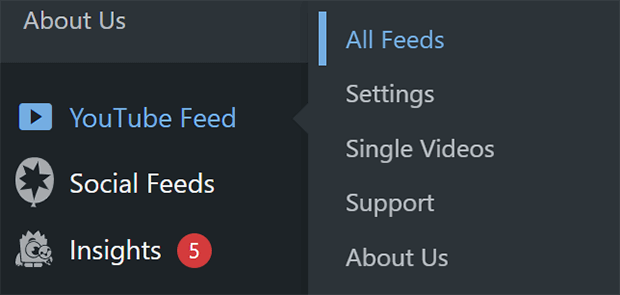
To create your YouTube feed, go to YouTube Feed » All Feeds.
Click the Add New button.

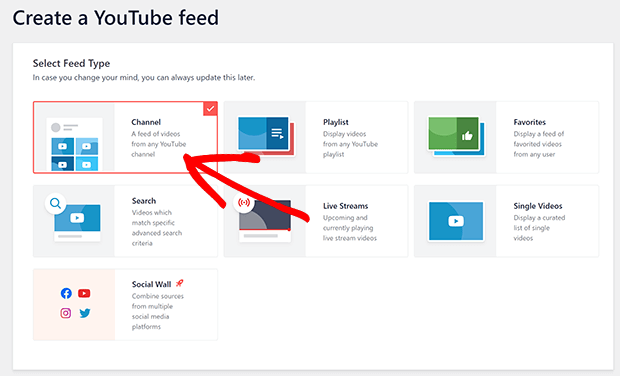
You can create several different feed types. In this tutorial, we’ll show you how to create a YouTube channel feed. In order to create video feeds from a playlist, favorites list, search term, livestream, or single videos, you’ll need to add an API key.
Select Channel and then click the Next button in the lower right corner.
Next, enter the channel ID or username of the desired channel.
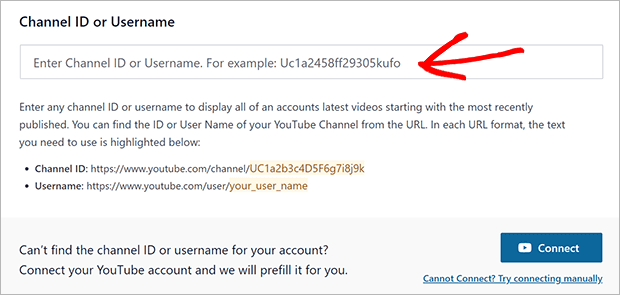
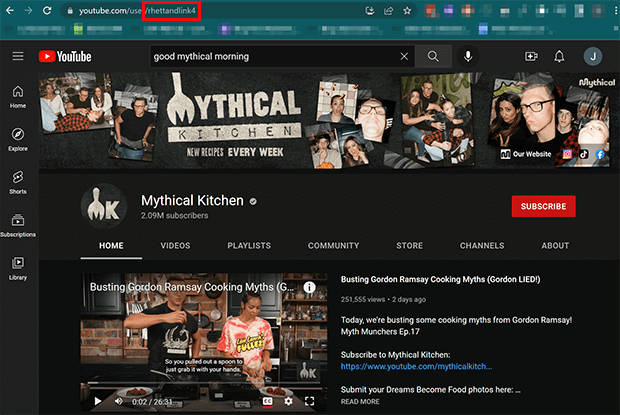
If you aren’t sure what the channel ID or username is, go to the YouTube channel you’d like to add to feed. Look in the URL and copy the channel ID or username. The part you need is in bold below:
- Channel ID: https://www.youtube.com/channel/UC1a2b3c4D5F6g7i8j9k
- Username: https://www.youtube.com/user/your_user_name
The channel ID will be a string of random numbers and letters. The username is more likely to have actual words and names in it.
After you provide the channel ID or username, click Next.
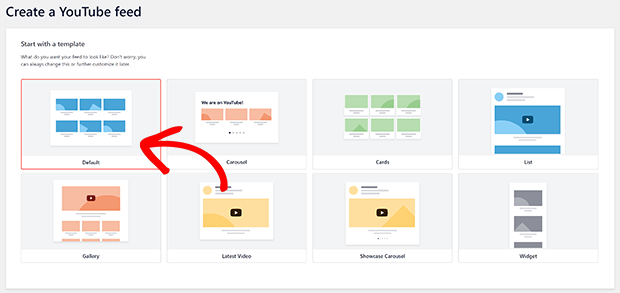
Choose a template for your YouTube feed and click Next. If you change your mind later, it’s easy to adjust. For now, we’ll use the default template.
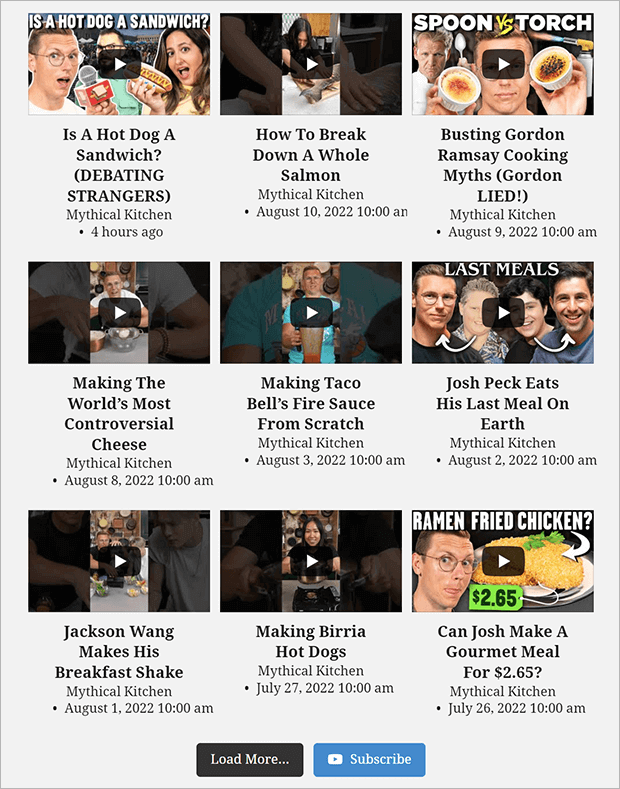
Once that’s done, you’ll be taken to the feed editor. This is where you can name your feed and configure your feed settings.
Step 4: Customize Your YouTube Feed (Optional)
Conveniently, your new YouTube feed will automatically match the styling of the WordPress theme that you’re using.
If you want to change the look, however, that’s easy too. We’ll show you just a few of the many customization options.
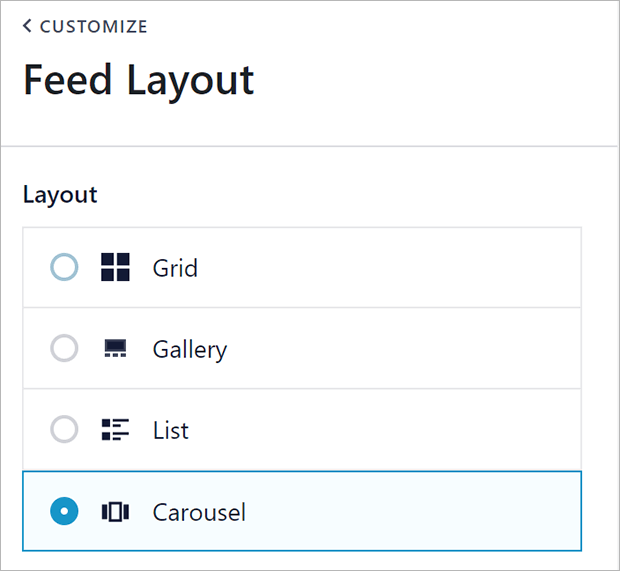
Layout
You can use a grid, gallery, list, or carousel layout for your feed. You can customize each layout separately. For example, you can set the number of videos you want to show by default before the user clicks Load More.
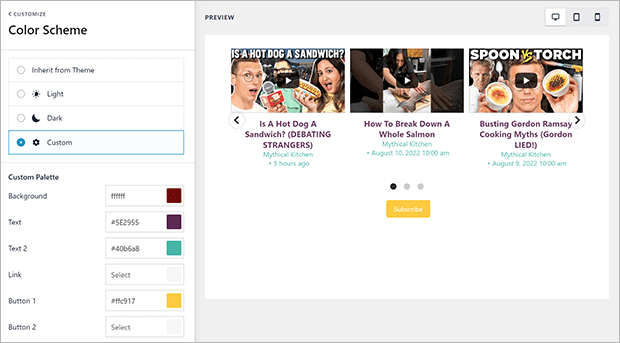
Color Scheme
You can also customize the color scheme by using the color picker or entering hexadecimal color codes. As you make changes, you’ll see the feed preview update in real time.
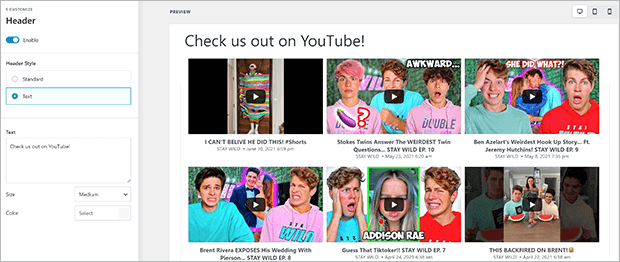
Header
You can add either a static text header or pull information from your YouTube channel into the header for your video feed.
Videos
You can also adjust the appearance of individual videos in both the feed and the player.
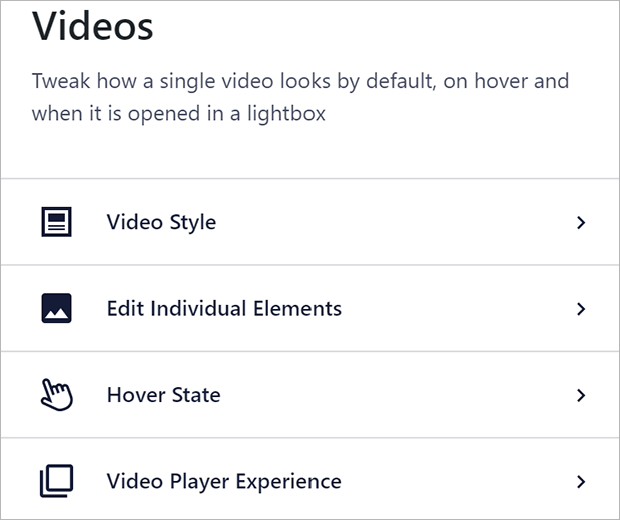
We especially want to point out two settings in the Video Player Experience. To find them, go to Videos under the Customize tab.
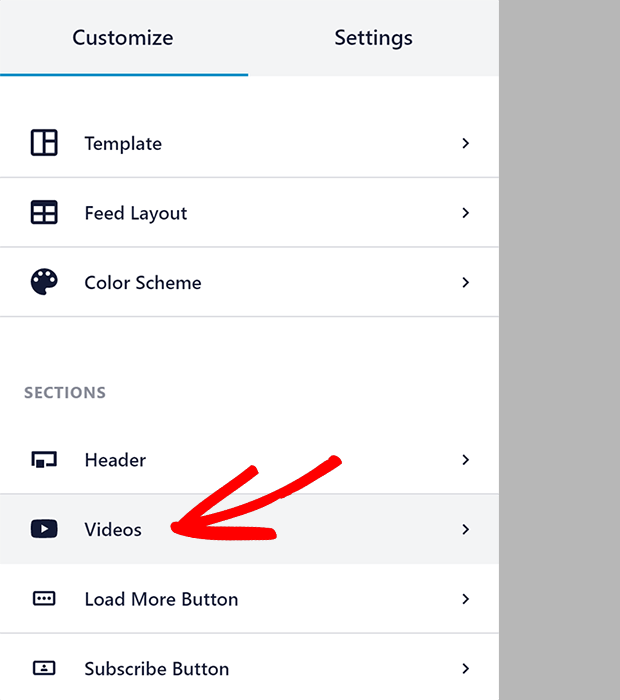
From theret, click on Video Player Experience.
Enable or Disable Autoplay
You can choose whether videos play automatically when clicked or only when the user clicks a second time. Just select Automatically or Play when clicked from the dropdown menu.

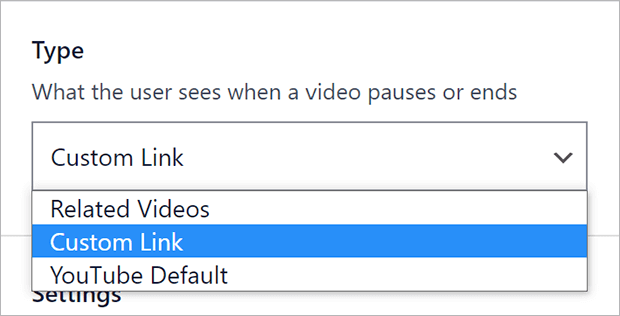
Call to Action
Unlike the standard YouTube embed code, you can use Smash Balloon to include a special call to action at the end of your videos. Go to Call to Action from the Video Player Experience pane.

Your options are to show related videos, display a custom link, or default to the YouTube channel’s end of video settings.
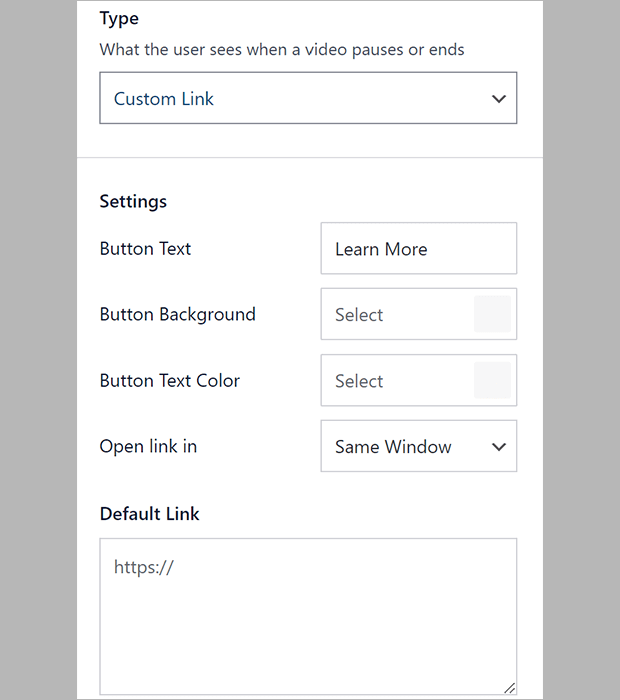
When you add a custom link, there will be a button that users can click to visit the link. As you might expect, you can customize how the button looks and whether the link opens in the same or a new window.
You can even display different links on different videos. You can do this by adding a specially formatted link and button text to the description of that particular YouTube video, like this:
{Link: Button Text https://my-site.com/buy-now/my-product/}
Once you finish configuring your YouTube feed, don’t forget to save changes. The Save button is in the upper right corner.
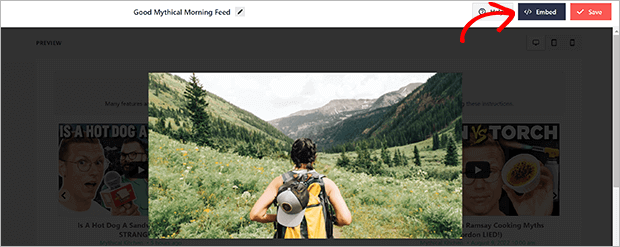
Step 5: Embed Your YouTube Feed
Now you can add your YouTube feed wherever you want on your WordPress site. Look in the upper right corner of the feed builder to find the Embed button.
Copy the shortcode to add the feed on posts, pages, even OptinMonster popup campaigns!
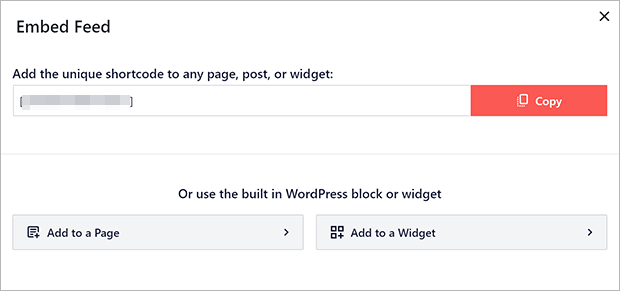
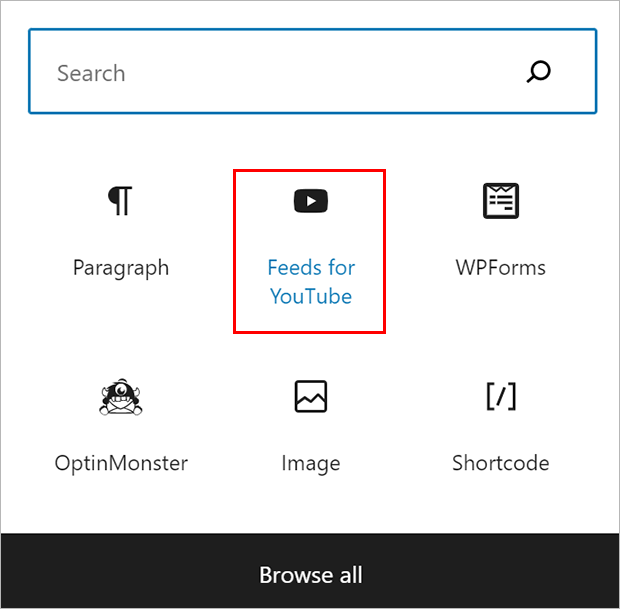
You can also add the feed to a WordPress page or widget area. Click on the page or widget option, which will redirect you to the page editor or widget editor. Then choose the Feeds for YouTube block to add the feed to your WordPress post, page, or widget.
Add YouTube To WordPress
And you’re done! Now you know the easy way to add a YouTube feed to your WordPress site.
Now that you have your YouTube feed on your website, you can start improving your YouTube SEO.
What are you waiting for? Add your YouTube feed the easy way with Smash Balloon!
If you like this article, please follow us on Facebook and Twitter for more free articles.
