
Are you looking for an easy way to create a free shipping notification that increases your WooCommerce sales?
Offering free shipping is a proven method for reducing cart abandonment and boosting customer loyalty.
But it’s only effective if your customers know that you’re offering it.
Fortunately, it’s easy to promote your free shipping offer across your WooCommerce site thanks to the onsite notifications.
By the end of this tutorial, you’ll know exactly how to create a free shipping notification that generates more sales for your online store.
Why Add a Free Shipping Notification?
Do you know what’s the top reason that make online shoppers abandon their carts?
Unexpected costs.
Modern shoppers have a lot of choices and they won’t think twice about ditching their carts at checkout if they feel shipping costs are too high.
Not to mention, free shipping is a surefire way to reduce cart abandonment and generate more sales for your WooCommerce store.
Let’s have a quick look at the benefits of free shipping:
1. Build Competitive Advantage
Online shoppers browse around, making price comparisons before they buy. Free shipping might just be the difference between someone choosing you over a competitor.
2. Reduce Cart Abandonment
Now, we know shipping and handling costs are one of the main reasons customers abandon their carts. The rate of cart abandonment is as high as 80%! That’s a lot of lost sales and revenue. Free shipping means your customers get no nasty surprises at checkout.
Put simply, free shipping is a win for you and your customers.
But if they don’t know about it, it’s not going to grow your online business.
You need to clearly highlight your free shipping offer on your website.
And there are different ways to promote your store’s free shipping deal.
Some retailers use a free shipping bar that stays at the top of your online store. Floating bars are highly visible headers or footers that scroll with your visitor as they browse your site.
Floating bars work because they’re noticeable but unobtrusive.
Another method is to add a free shipping notification.
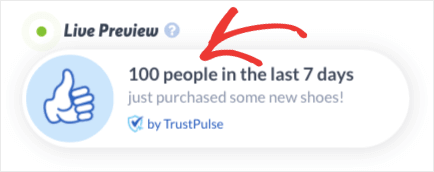
A free shipping notification is a small alert that slides onto the screen.
Like a floating bar, it doesn’t interrupt your site visitor’s browsing experience but still does the job of promoting the offer.
For today’s tutorial, we’ll look at how you can add this free shipping notification to your site in five minutes flat. It’s that easy.

Ready?
Let’s get started.
Add a Free Shipping Notification to WooCommerce
Before we begin, you’ll need a TrustPulse account.
TrustPulse is the easiest way to add a free shipping notification to your WooCommerce site, because you can create notifications quickly without coding.
Plus, it syncs with WooCommerce effortlessly.
Step 1: Create a Free Shipping Notification
First, you’ll log into your TrustPulse account.
Click Create Campaign from the top corner.

Next, you’ll need to name your campaign and assign it to your site.
Don’t worry if your website’s not connected yet. It’s easy to sync your WooCommerce store with TrustPulse.
All you need to do is install and activate the TrustPulse plugin for WordPress.
Here is a detailed guide for connecting TrustPulse with your WordPress site.
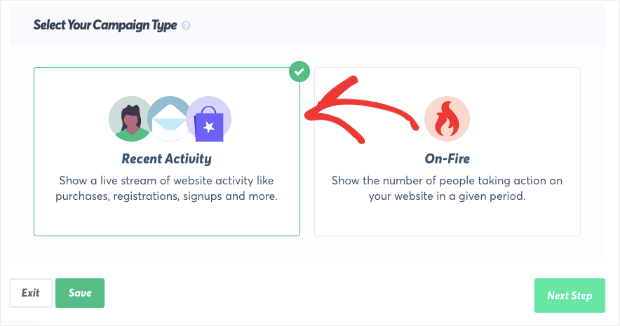
After that, you can select your campaign type.
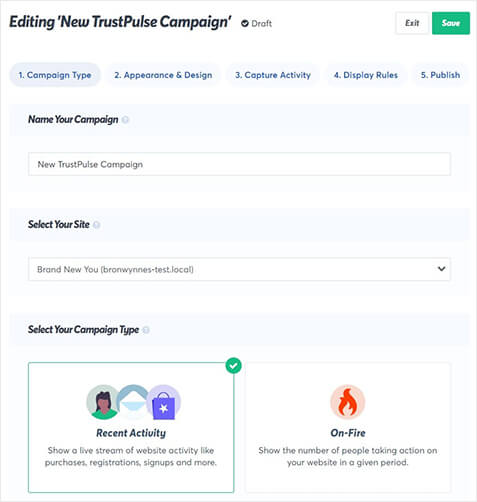
Here, you have two options:
- Recent Activity
- On-Fire Campaigns
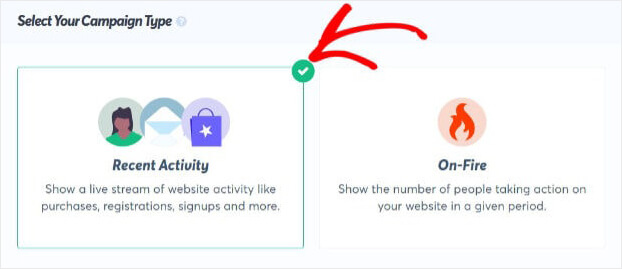
Recent Activity campaigns show a live stream of activity on your site. They’re great for displaying real-time sales notifications or email signups.
These alerts add social proof to your website. When your site visitors see other people joining your list and buying your products, they’re more likely to do the same. That’s because these notifications help to establish your credibility.
On-Fire campaigns track all activity on your site over a given period. Use On-Fire campaigns for time-sensitive deals and offers where you expect a lot of conversions over a short period of time.
For example, a flash sale would be a great opportunity to use an On-Fire campaign. On-Fire notifications increase FOMO, the fear of missing out. As humans, we don’t want to be left out of interesting, rewarding experiences.
For this tutorial, we’ll go with Recent Activity. Then you can click Next Step.
Step 2: Design Free Shipping Notification
On the next screen, you’ll see the options to customize your free shipping notification.
Today, we’re displaying a free shipping notification on loop. So, we won’t be tracking real user activity.
This means we need to show a default notification.
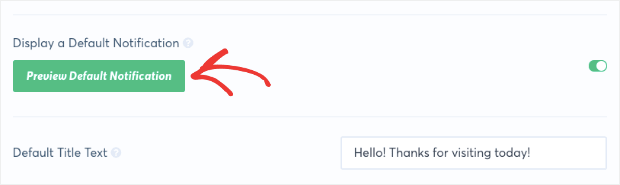
Scroll down the bottom of the screen to Display a Default Notification.
Toggle the switch to green.
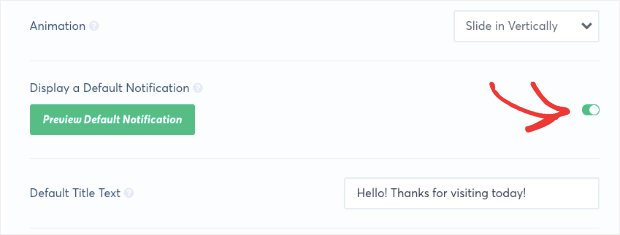
Now, you’ll see the options to customize your free shipping notification.
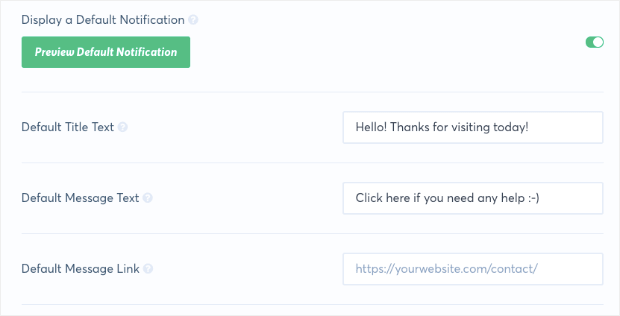
Changing anything about the alert is really easy. All you need to do is add your text in the field box or select from a dropdown menu.
You can modify:
- Title text: the text in the title of your notification
- Message text: the text in the message of your notification
- Message link: the link the site visitor will go to when the notification is clicked
You’ll also be able to add an image to your notification. Choose from the premade icons or upload one of your own.
![]()
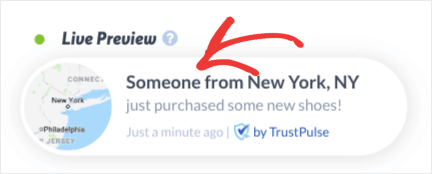
You’ll see a preview of the notification in the bottom corner of the screen. But that’s not the preview of the default notification.
To view a preview of your default notification, click Preview Default Notification.
You’ll be able to change the appearance and size of your free shipping notification.
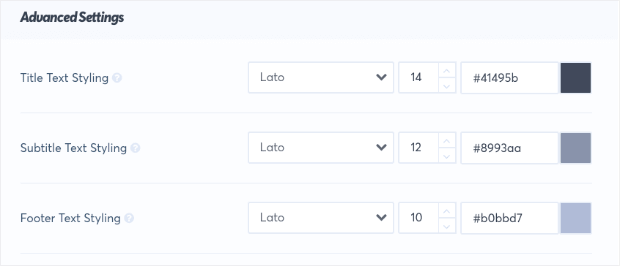
Now, you can click on Advanced Settings to modify anything about the look of your notification.
Here you can change:
- Fonts
- Colors
- Background color
Once you’re happy with your notification, click Next Step.
Step 3: Disable Capture Activity
In most cases, you would need to add a trigger to create a notification in TrustPulse. For example, you might want to display real-time sales alerts. Then a new sale would trigger the notification.
But in the case of our free shipping notification, we don’t need a trigger.
We’ll have a quick look at how to capture activity.
You have two options:
- AutoMagic: captures all on-site activity
- Zapier: tracks activity from 1,000+ sources off your site
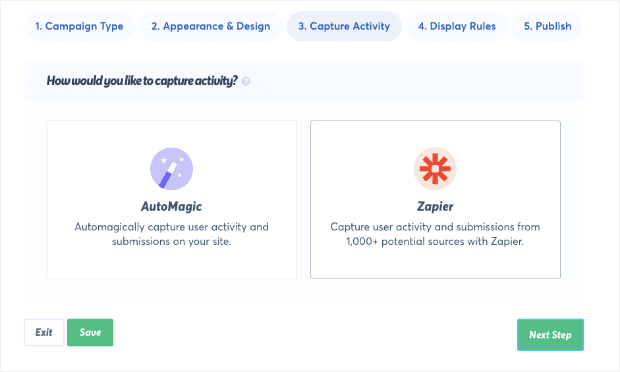
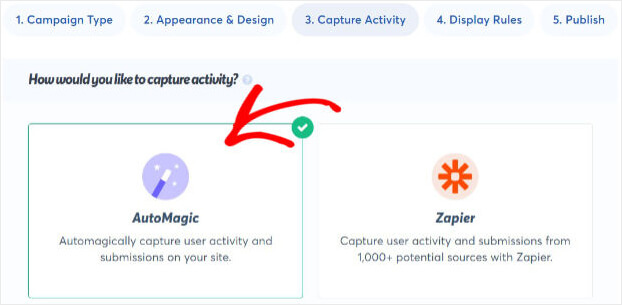
For this tutorial, we will go with AutoMagic.
Scroll to down to where it says Where should we watch for activity on this site?
Choose Form Activity from URLs containing specific text from the drop-down menu.
Now, you want to make sure you’re not capturing any activity. So, all you need to do is add a URL path that isn’t valid.
You could add an #.
Click the + sign.

Click Next Step to display your free shipping notification.

Step 4: Display Free Shipping Notification
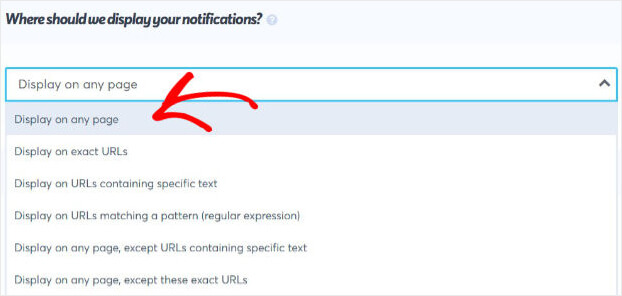
Now, you can decide where and when you want to display your notification.
You can choose to display on:
- Any page
- Exact URLs
- Any page, except URLs containing specific text
We want to feature our free shipping notification across our site.
Head over to Where should we display your notifications?
So, we’ll leave the default setting Display on any page.
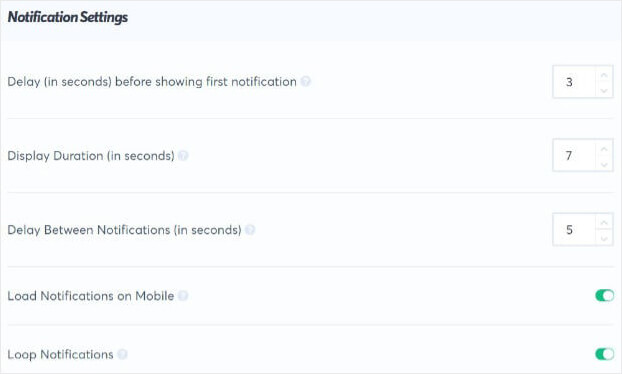
You can also set the frequency of your free shipping notification.
After you’ve decided on your display settings, you can publish your free shipping notification.
Step 5: Publish Free Shipping Notification to WooCommerce
You’re ready to publish your notification.
Now, you’ll see a preview of the notification on this page.
Head back to Appearance and Design to get a live preview of your free shipping notification.
That’s it!
We hope you found our article helpful.
If you’re looking for resources to grow your eCommerce site, have a look at these posts:
- How to Add a Low Stock Notification to WooCommerce
- How to Add a Live Sales Notification to WooCommerce
- How to Increase eCommerce Sales Now: 8 Ideas You Need to Try
Do you want to use notifications to increase your sales?
Get TrustPulse today and start converting your website visitors into customers.
